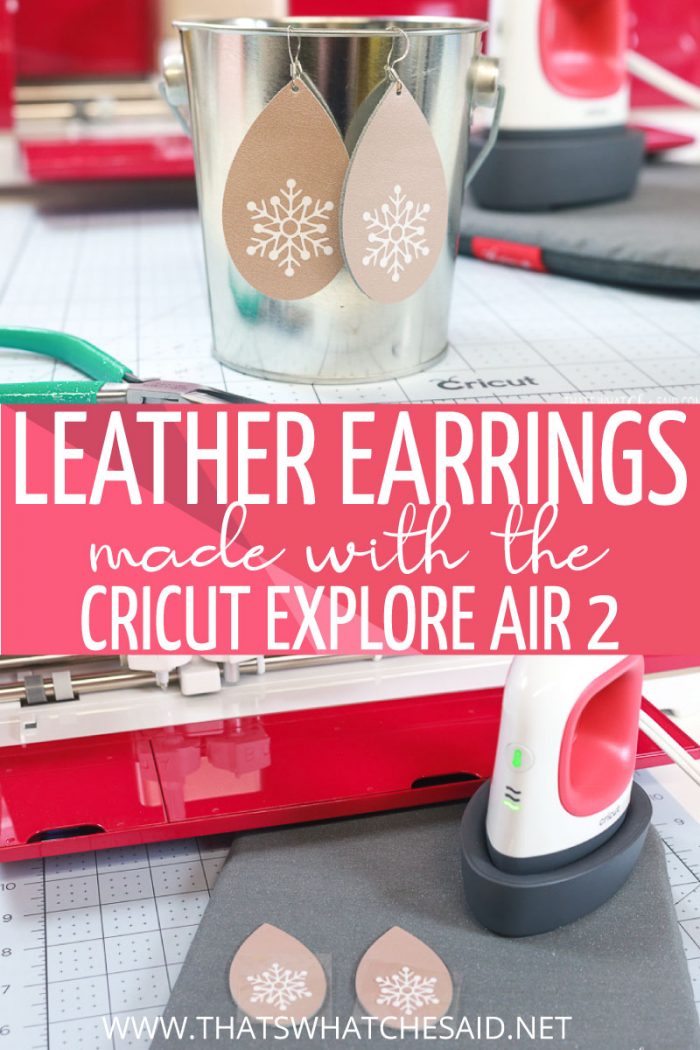
It is no secret that I am a fan of my Cricut machines! Learn how to make these adorable snowflake leather earrings using a Cricut Explore Air 2 and find out all this machine can do while we utilize the deep-cut blade, scoring stylus, Cricut pens, and EasyPress Mini!
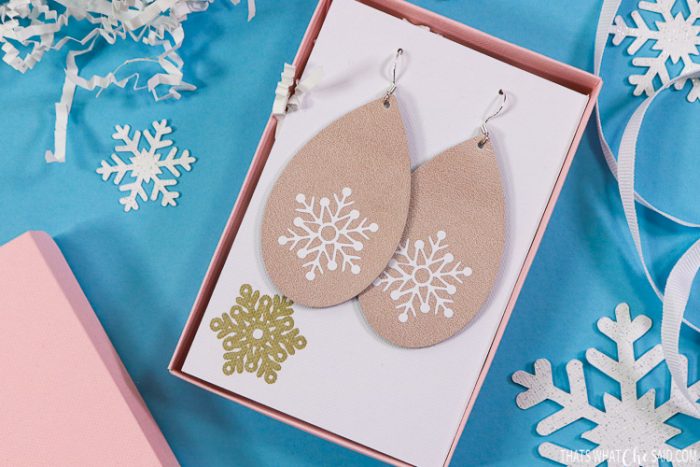
If you are looking for a great cutting machine that will cut over 100 materials quickly and effectively and can score fold lines and can write, then this post is for you! The Cricut Explore Air 2 can do just that!
We are going to make these awesome metallic leather snowflake earrings and we will walk through my top 5 reasons I love the Cricut Explore Air 2 machine!
This post may contain links to Amazon Associate and other affiliates.
As an Amazon affiliate, I earn a small commission from these links at no additional cost to you.
Leather Earring Supplies:
- Cricut Explore Air 2 Machine (mine is the Wild Rose Edition + Bundle exclusive to JOANN)
- Light Grip Mat (blue)
- Strong Grip Mat (purple)
- Deep point blade (black)
- Rose Gold Metallic Leather
- White (or Rose Gold) Iron-on
- Weeding Tool
- Cricut EasyPress Mini + Mat
- Jewelry Pliers
- Earring Hooks
GIFT BOX SUPPLIES:
I designed these earrings using images in Cricut Access! If you don’t have an Access account you can get one here!
You may find the file I designed in Design Space here and use it for your own project.
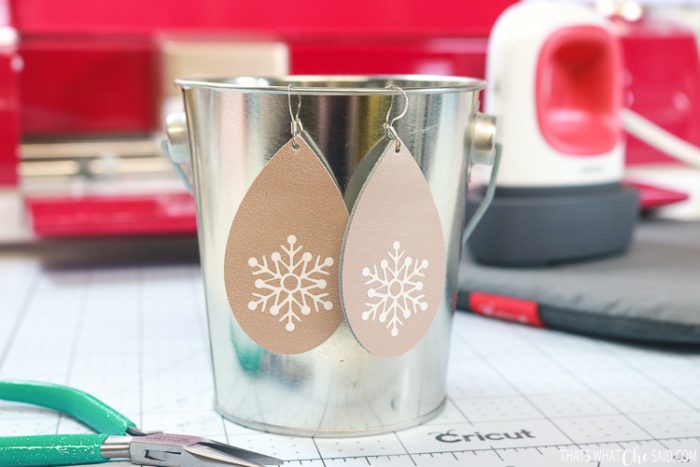
How To Make Leather Earrings Using a Cricut Explore Air 2
First, open the file in Cricut Design Space. Be sure you have Explore Series Machine selected from the drop-down in the upper right. Click Make It.

On the mat screen, MIRROR the white snowflake mat as well as the gold mat, which is the earrings. (We will talk about why we mirror the earrings a bit later!) Click Continue.
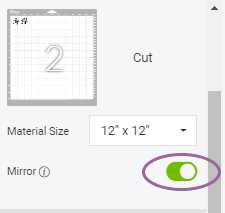
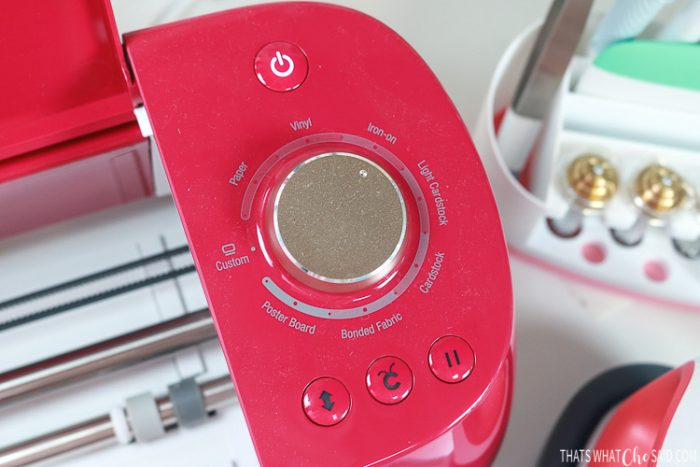
Select your machine from the drop-down on the cut screen and be sure to turn the dial on your actual machine to iron-on.
Cricut Explore Air 2 Cuts 2x Faster
My boys keep me busy and I create when I have a few spare minutes so I want to do projects quickly! With multiple mats, a faster cut time is golden!
Our first mat is iron-on and I am using an iron-on scrap for this project and placing it on my blue LightGrip mat with the shiny side down. I will cut using the fine point blade that comes with the machine. Load the mat and click the flashing “C” to begin cutting.
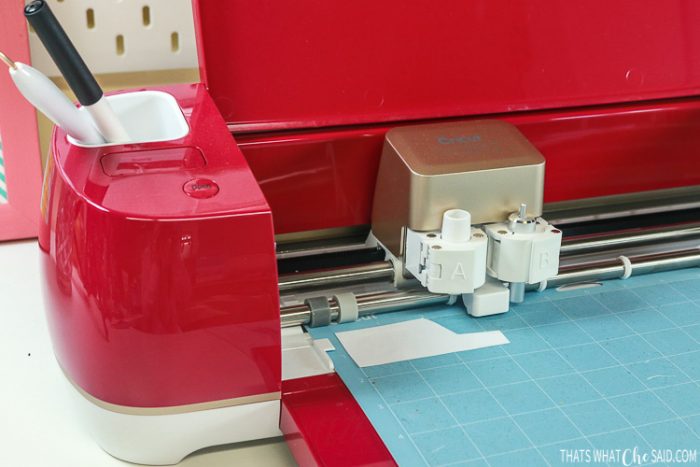
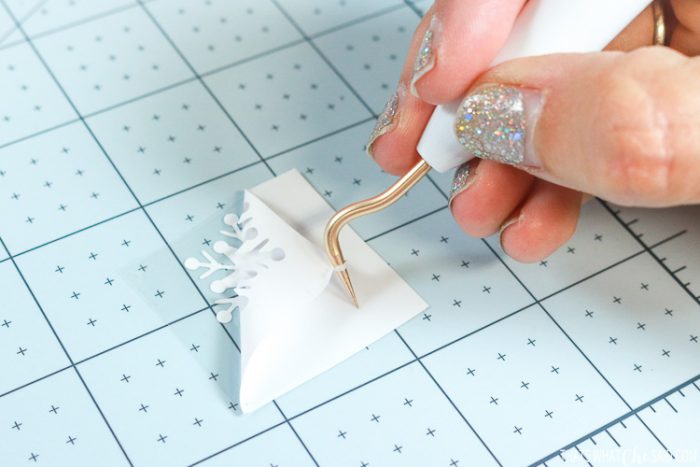
When finished cutting, remove the mat from the machine and use a weeding hook to remove the excess iron-on from the outside and inside of the snowflake.
Cricut Explore Air 2 Cuts over 100 Materials including leather!
Our next mat is our actual earring mat. I am cutting rose gold metallic leather. Leather is one of the many different materials this single machine can cut! I know adhesive vinyl, iron-on and cardstock seem to be the basics but the Explore Air 2 machine can cut acetate, felt, fabric, cork sheets and so much more!
To cut the leather earrings, you will need a strong grip mat and a deep cut blade.
TIP: Place your leather GOOD side down on your mat!
Trust me, this gets you the cleanest cuts and also keeps your mats from attracting all those leather fibers! This is why we mirrored the earring mat in the first few steps of this tutorial.
Since leather is not an option on the knob of our machine, we will turn it to the CUSTOM setting. When Custom is selected, a wide variety of material options appear in Cricut Design Space.
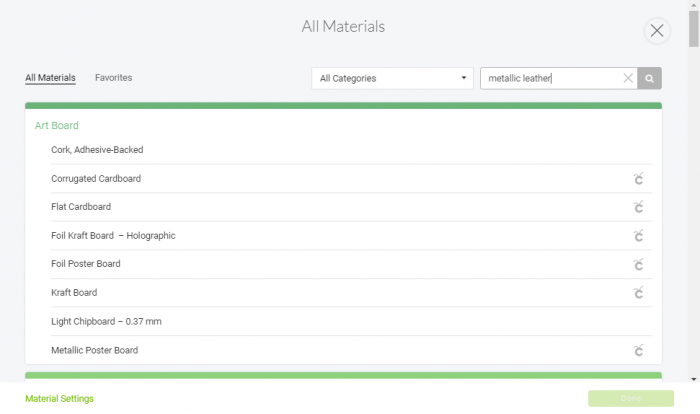
Search for metallic leather by typing it on the search bar or filter by category. Select it and hit Done.
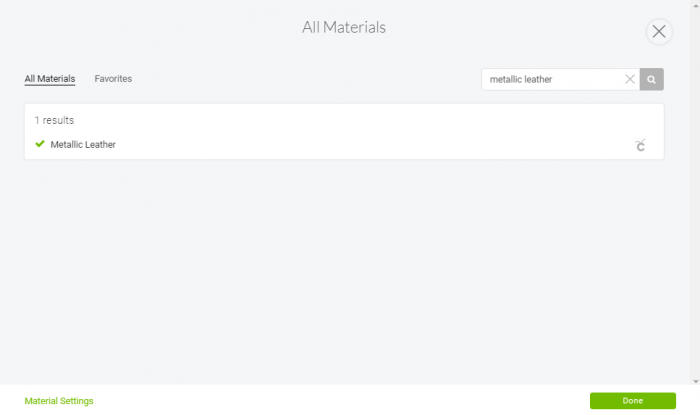
Design Space will then tell us that we need to use the deep cut blade so we will open chamber B and remove the fine tip blade and insert the deep cut blade in its place.
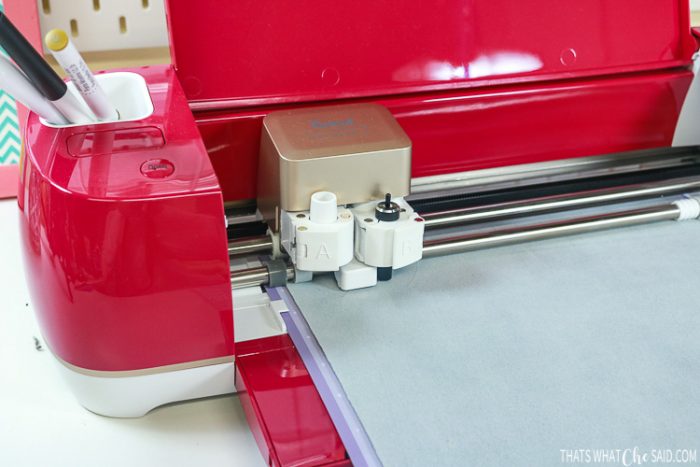
Load the mat and press the flashing C to begin cutting. Unload mat when finished.
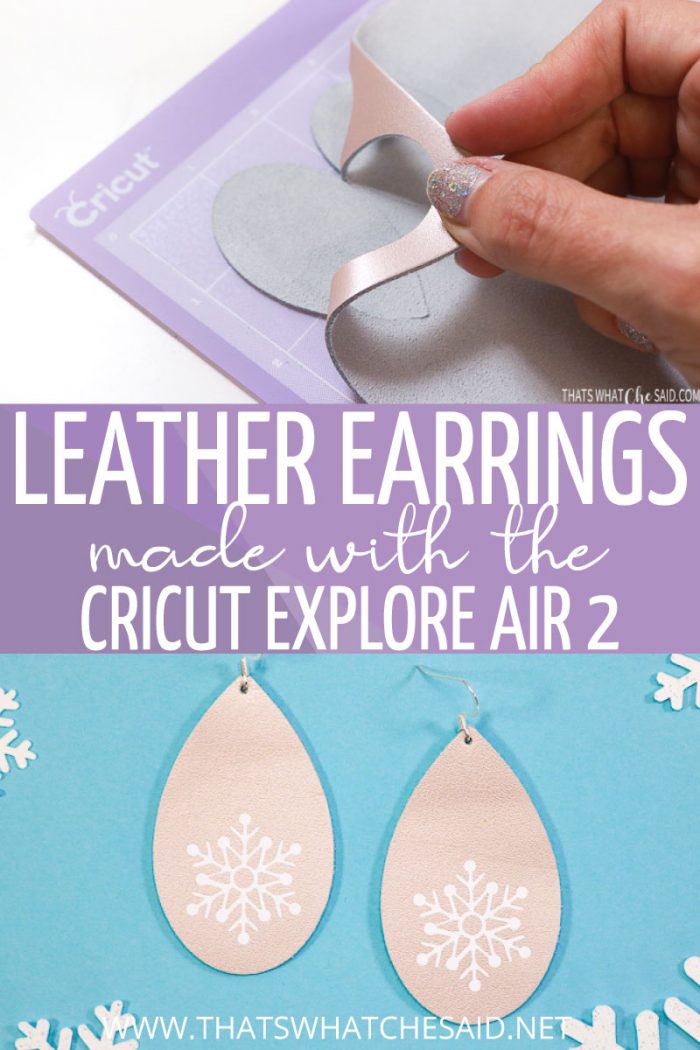
I peeled up the corner of the leather to show you how beautifully the leather cut!
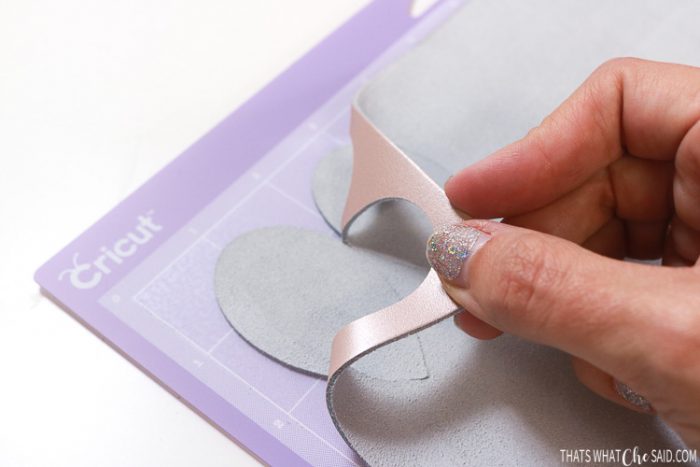
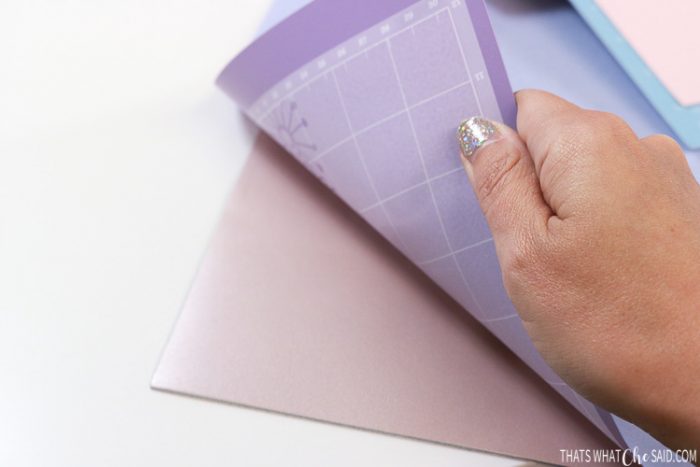
When removing the leather from the strong grip mat, flip the mat over and remove the MAT from the leather! Then carefully remove the earrings.
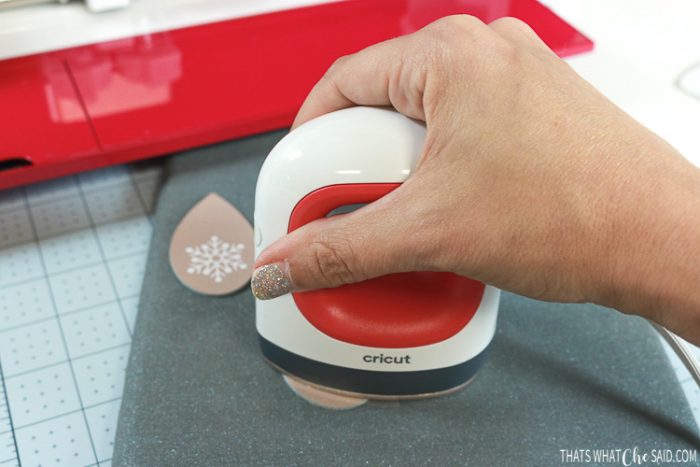
Using the EasyPress Mini and the small EasyPress Mat, turn your mini to the low setting and iron the snowflakes onto the earrings.
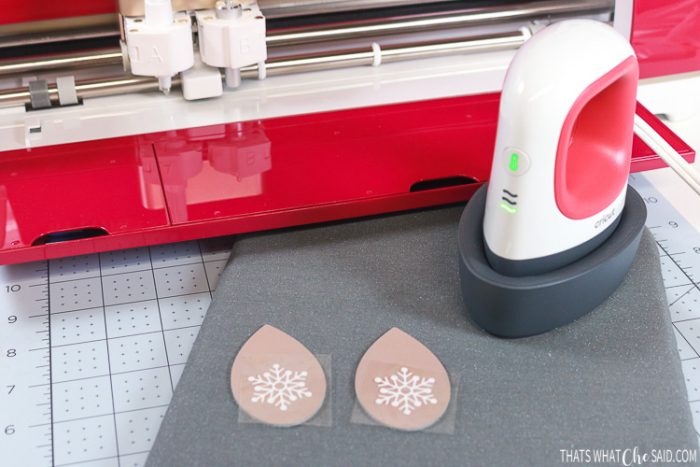
You want to keep the Easypress Mini constantly moving so you don’t leave any carrier sheet lines or plate lines in the leather. You may find out more about the EasyPress Mini here. Warm peel away the carrier sheet.
Now we are ready for earring assembly. Using a safety pin or crop-a-dile, punch a hole in your earring. Use jewelry pliers to open up the earring hook loop and place the leather earring on it. Return the hoop to its original position.
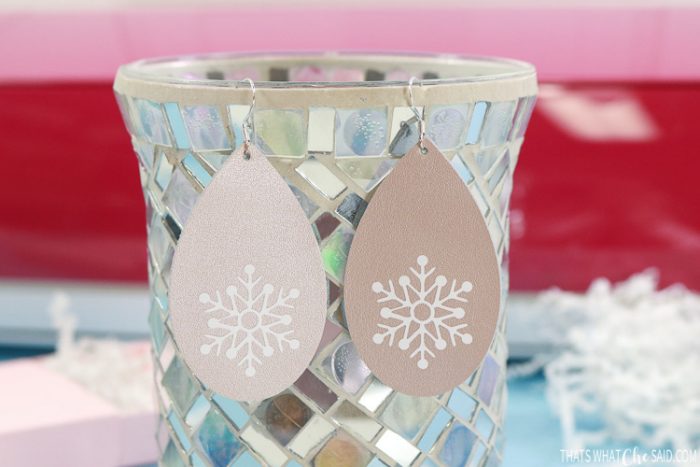
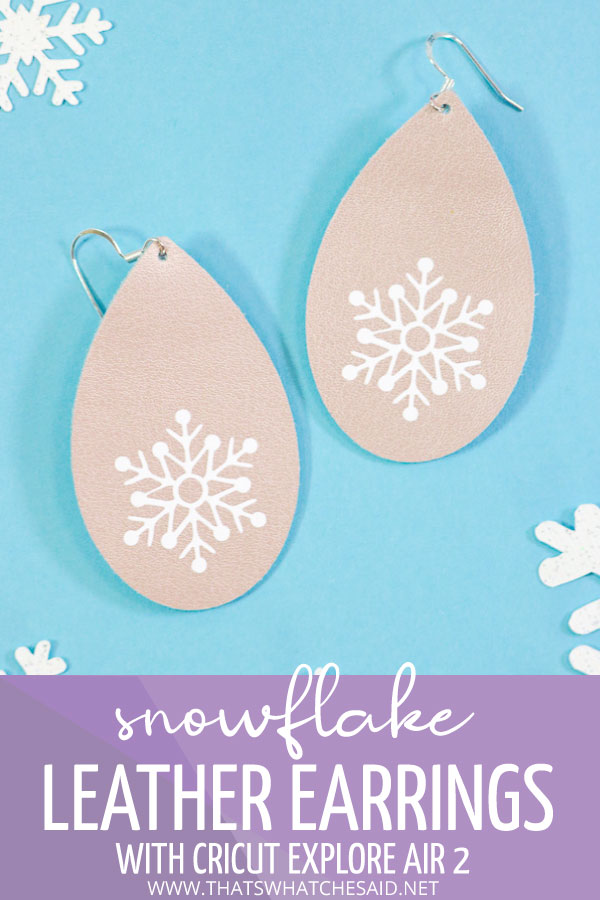
You now have an awesome set of leather earrings made with the Cricut Explore Air 2!
Dual Chamber of Cricut Explore Air 2 Allows for Multi-Tool Use
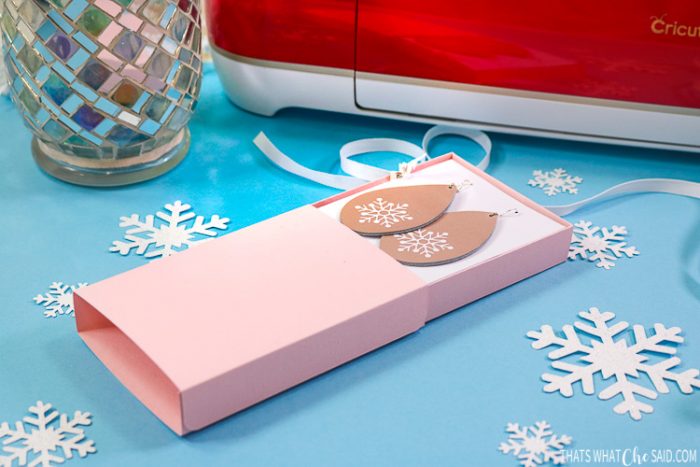
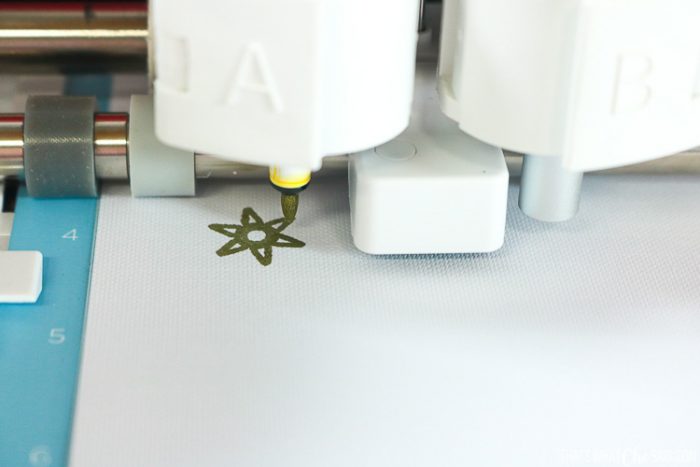
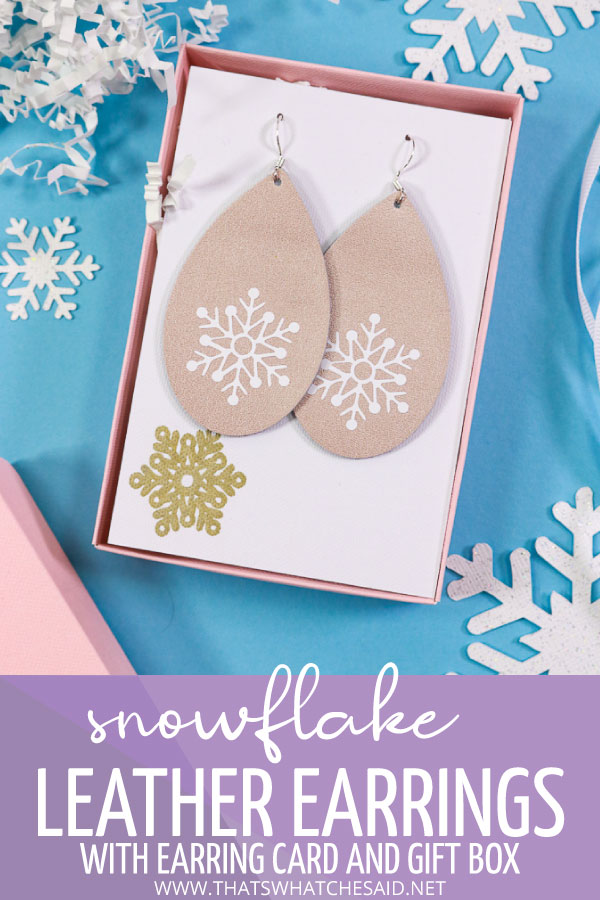
I thought we needed an earring card inserts and gift boxes! So you can make and gift these all in one project! To make them we need to use the Cricut Pen and Cricut Stylus tools and will take advantage of that dual-chamber!
I love that the dual cartridge allows for multiple tools and multiple functions while a single mat is loaded! The machine will write or score and then cut right after!
You can find detailed instructions on using Cricut Pens here.
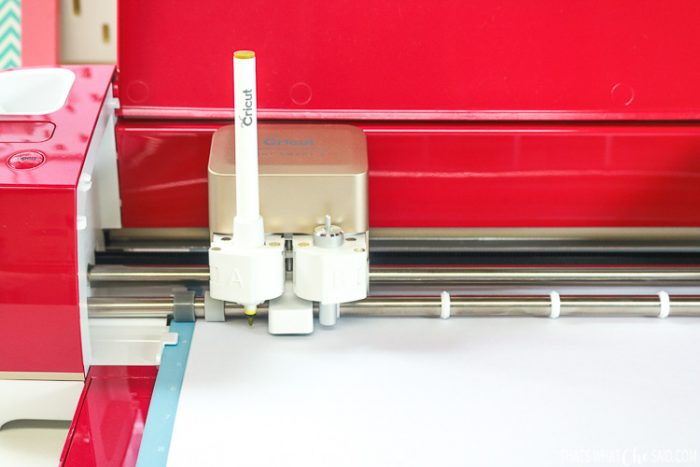
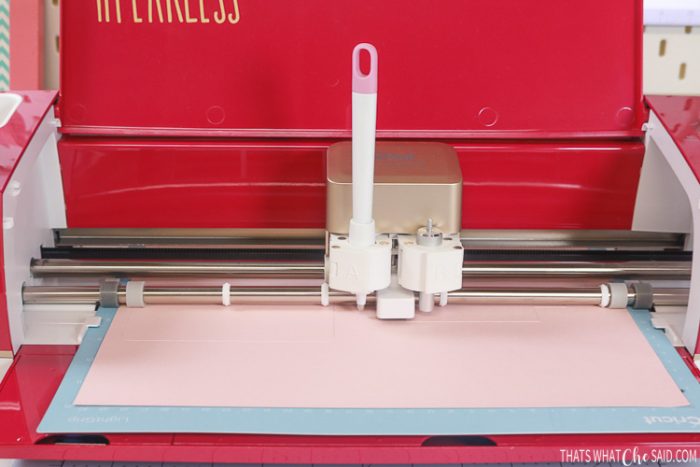
You can see the cute snowflake drawn on by a gold Cricut Pen.

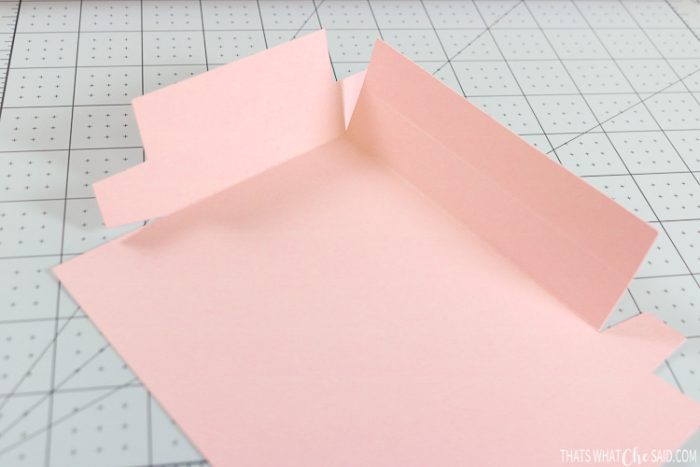
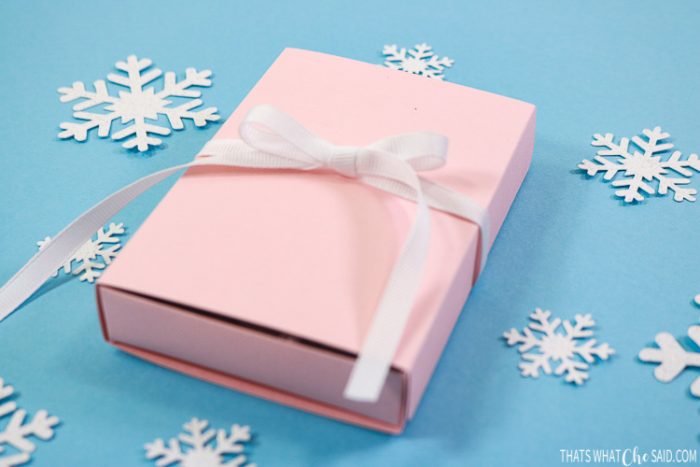
Then I used a tape runner to assemble the box after I sized it to fit the earring card insert! The scoring stylus made folding the edges a breeze!
Cricut Explore Bluetooth Connectivity
In my craft room, my computer is not next to my machine and that is no problem because the Cricut Explore Air 2 has a Bluetooth connection that allows my computer and machine to talk wirelessly!
This makes creating so much easier for me in my space! Not to mention clears up some wire mess!
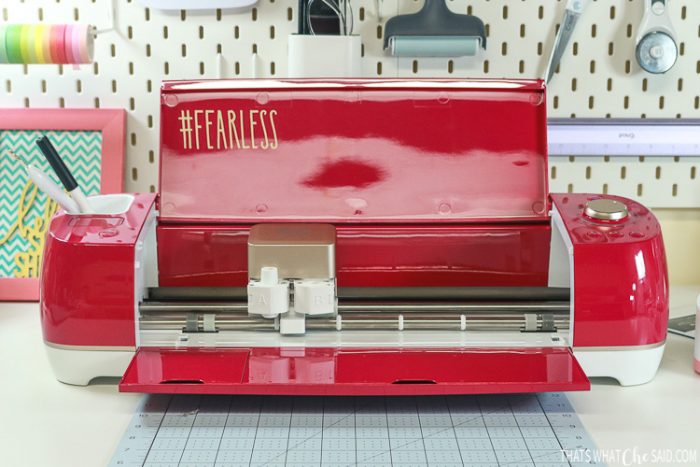
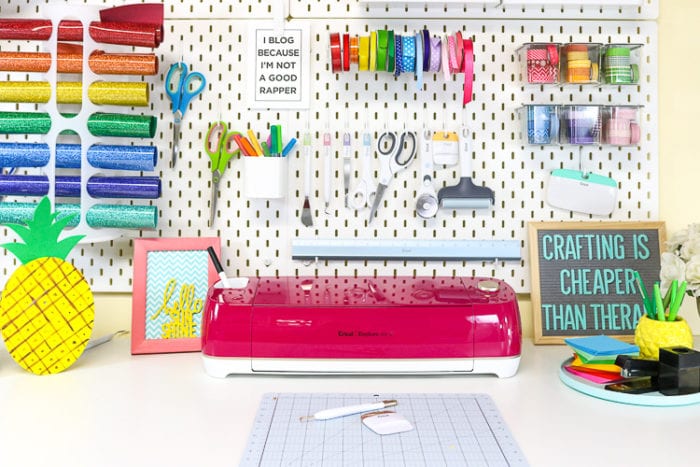
Explore Air 2 Colors
You guys…you KNOW I love color and the Explore Air 2 Family has the MOST AMAZING color choices! So whatever your favorite color may be or if you need one to match your space, you are in luck! So many color choices and look how good mine looks with my Rainbow Peg Board wall. Every time I walk in my craft room I get happy!
pin leather earrings using Cricut Explore Air 2



Comments & Reviews
Gay Prewett says
I was not aware the Air 2 would cut leather! A great tutorial, and love the idea of making the earring card and gift box too! Thank you!
Cheryl Spangenberg says
Thanks Gay! Yes, it cut the leather beautifully! I have cut thinner faux leather with my fine point blade but this thicker leather needed the deep cut! I love that this machine is so versatile!
Linda says
Hi Cheryl! I went to the link to download the project but it says the project is unavailable. Could you let me know how to get the project? Thanks!
Cheryl Spangenberg says
Hi Linda, So sorry but Design Space is having issues. There isn’t anything I can do at this time. I would check back though, hopefully it’s a small glitch and they fix it soon!
Cheryl Spangenberg says
Try this link Linda, it just bypasses the Cricut Community post: http://shrsl.com/20kd0
Ariana Garcia says
Hi Cheryl! Sorry but I am having the same issue as above. Do you know if may have been taken down? Is there another way to get the project? Thanks!
Cheryl Spangenberg says
Try this one: http://shrsl.com/20kd0
Yvonne says
What type of earring hoops do you recommend?
Cheryl Spangenberg says
Hi Yvonne! In the supply list, last item, I linked the earrings from the set I use! You can use any you prefer really!
jean says
Hi Cheryl thank you for the tutorial i have an explorer 2 and | didn’t now I could cut leather also but I couldnt find the svg file on here for the project is it only accessible through design space access
kind regards
jean
Cheryl Spangenberg says
Hi Jean, yes this project was done for Cricut using images from Cricut Access. I did update the link in the post and you can use my project, but it will ask you to pay if you are not a Cricut Access Member. This was a sponsored post for Cricut years back and it was required to use Cricut Access designs. I will try to make some to share for free!