Expanding the Adaptive Tool system for the Cricut Maker are 4 new tools. Fine tip debossing, perforation blade, engraving tip, and wavy blade. Today we will use the debossing and perforation blade to take your card and envelope making skills up a level!
This post may contain links to Amazon Associate and other affiliates.
As an Amazon affiliate, I earn a small commission from these links at no additional cost to you.
I never have a card when I need it and I love giving handmade cards so making them with my Cricut has always been a love of mine! Now I can give handmade cards with even more love using the debossing and perforation blades with my Cricut Maker!
One of the best things about the Maker is the ability to keep adding tools that can be used with the machine and furthermore, additional materials such as metal. As you learn new things and want to expand your crafting abilities, the Maker can grow with you!
The Adaptive Tool System is one of the things that make the Maker unique and it joins three major crafting technologies to give you professional results at home!
Debossed Cards
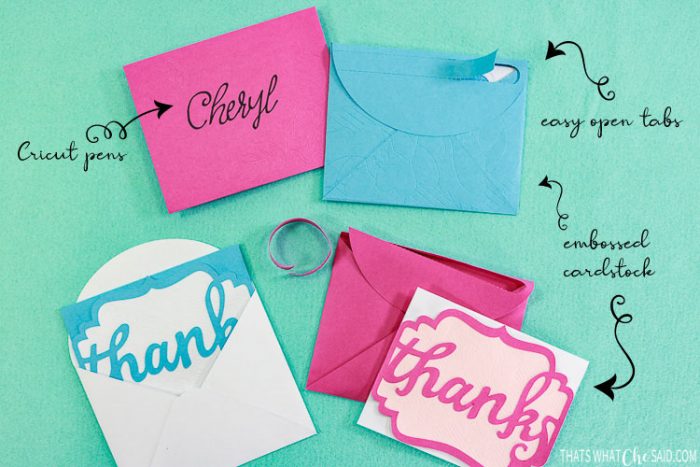
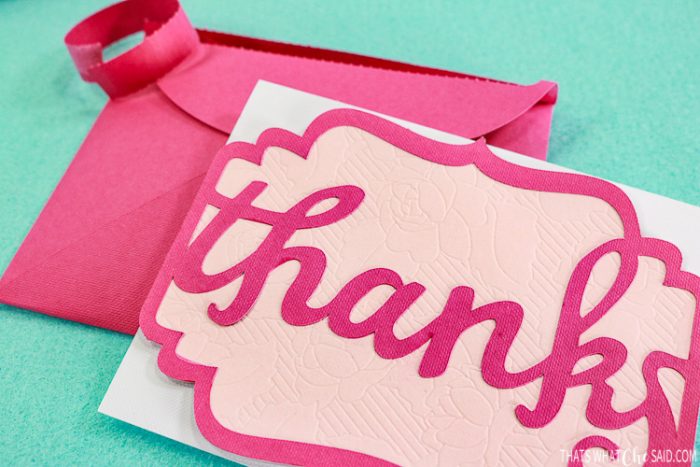
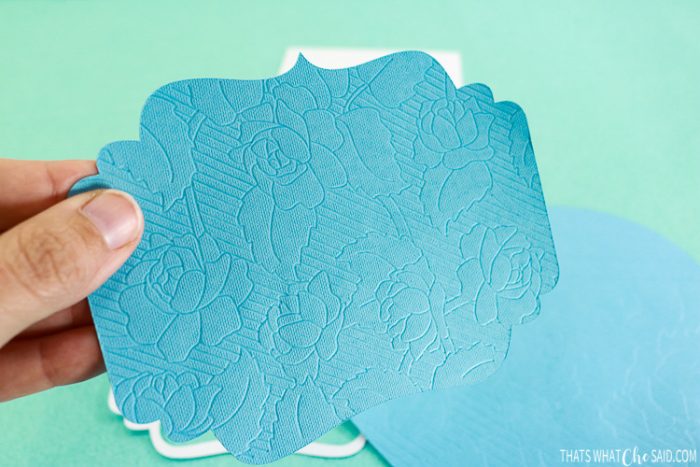
With the new debossing tool, part of the QuickSwap Toolset, you can now easily add debossed flourishes to your cards and envelopes! I have added a floral pattern to the back layer of my card and outside of the envelope and love the way it turned out.
How to Use the QuickSwap Housing:
- Press the silver “button” on the top of the housing and this will release the tool currently on the housing.
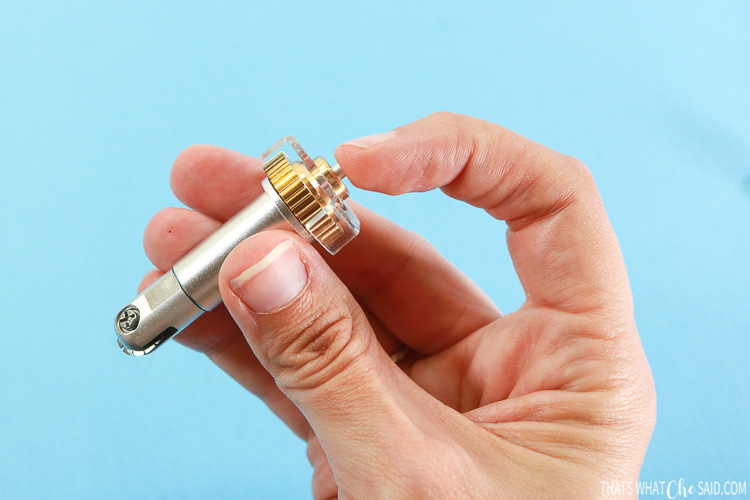
- With the button still depressed, slide on the new tool tip. Easy as that!
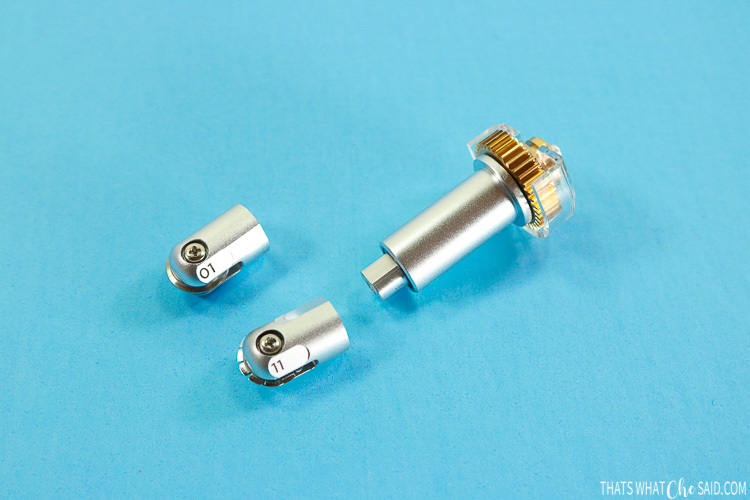
The QuickSwap Housing allows you to bop between several tools quickly and easily! I also love that I can get 1 housing and use multiple tips!
Easy Open Envelopes
Along with my card love, I also make envelopes and when using cardstock, I find that I really need to use a strong adhesive to keep the envelope together.
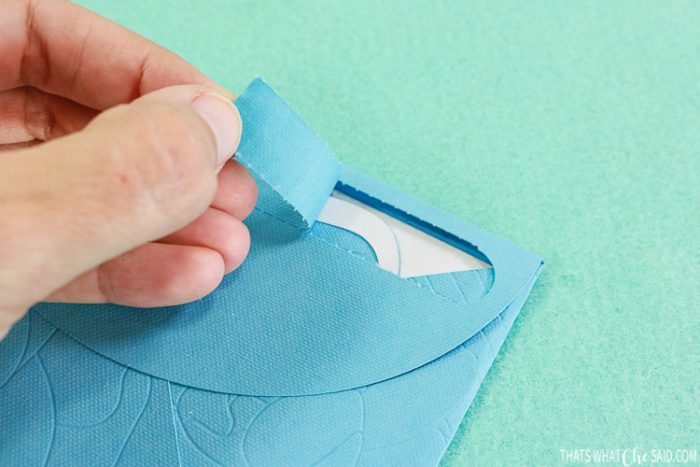
That adhesive also makes opening the envelopes a bit challenging! By adding 2 perforation lines to my design in Cricut Design Space, and popping on the perforation tool onto my QuickSwap housing, I now have envelopes with easy to open pull tabs!
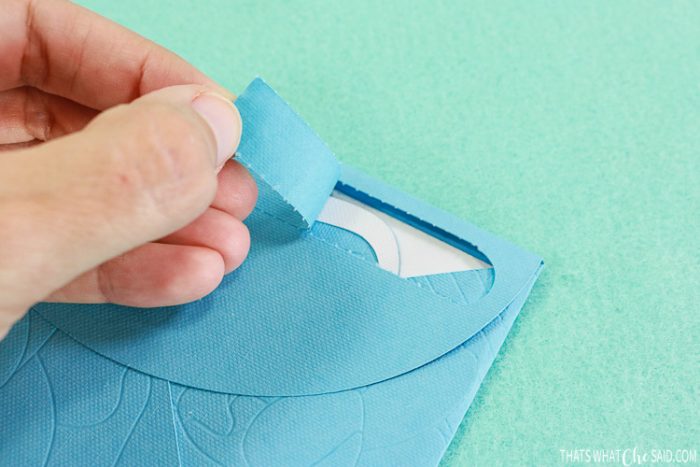
Don’t forget you can also use your Cricut Pens to write names on the front!

Tips for Debossing & Perforation QuickSwap Tools:
- When you find a design you want to deboss, simply select that design and change the linetype to Deboss.
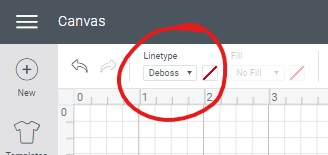
- Be sure to attach your debossed design to your base design so it stays in the correct place!
- To create perforated lines, I use the score tool in the Shapes Toolbar and add my line where I want it to be. Next, change the line type of that line to perf.
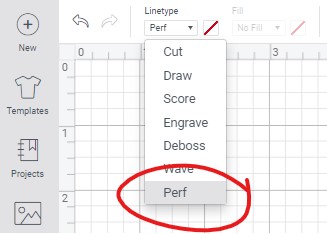
- Be sure to attach your perforated line to your base design to it stays in the correct place!
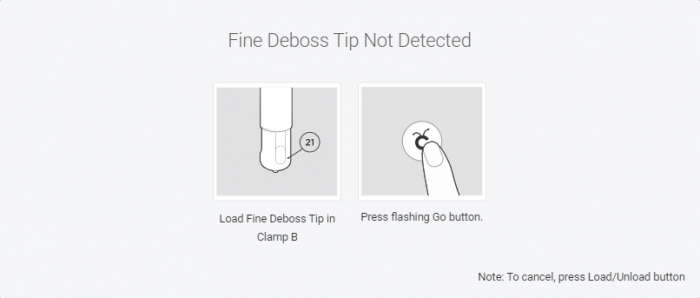
The Maker actually “checks” to be sure you are using the correct blade before it starts cutting, saving you materials and time! It will alert you if you are not using the correct one and tell you to change it!
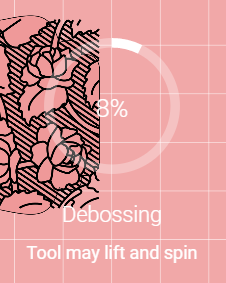
With the steering system, the Maker always makes sure the direction of the blade is correct at all times as well! So you know your projects will turn out beautifully! It alerts you that the blade may be lifting and turning!
Debossed Card & Envelope Supplies
- Cricut Maker
- LightGrip Mat (blue and comes with Maker)
- Fine tip blade (comes with Maker)
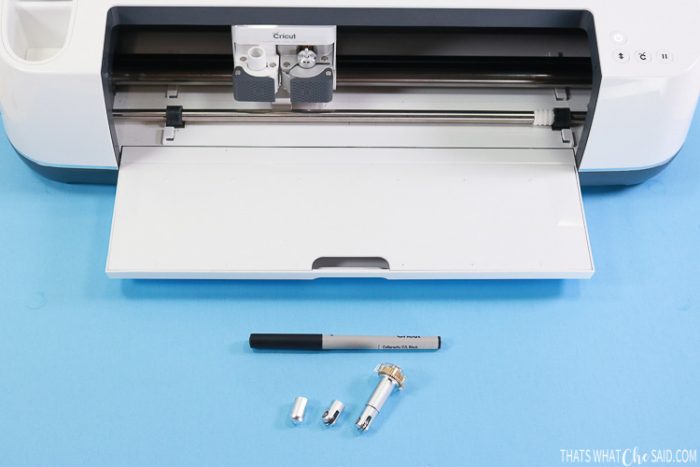
- QuickSwap Housing + Perforation Tip
- Fine Debossing Tip
- Cardstock in your choice of colors (3 separate and coordinating)
- Stronghold adhesive tape runner
- Cricut Pen (optional if personalizing the envelope)
- Spatula Tool
- Debossed Thank You Card with Easy Open Envelope CDS File

Debossing and Cutting Card & Envelope
Open the design in Cricut Design Space. If you want to personalize the envelope, you can do so using the Cricut Pens. I have a detailed tutorial on how to use the Cricut pens.
TIP: Be sure to attach to the type to the envelope so it stays in place!
Next, you will connect your machine and select cardstock as your material.
Follow the prompts on the screen. Design space will alert you as to which tool you will use first and so forth for each mat. You can also find the order here in the mat preview on the cut screen.
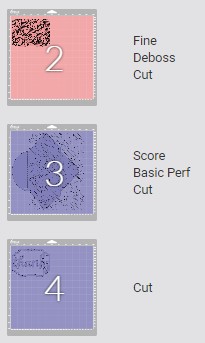
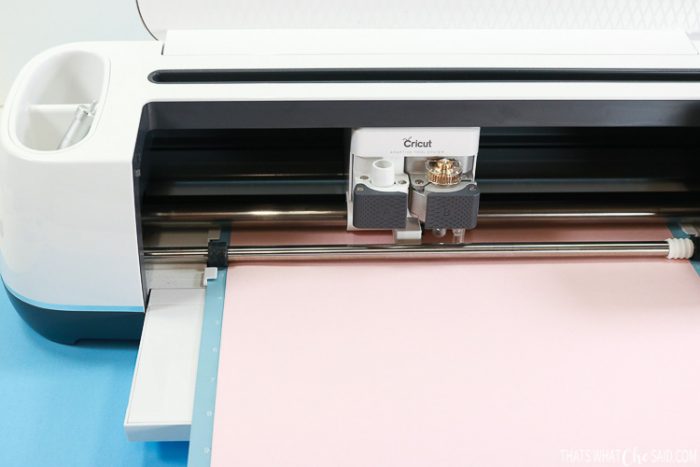
Cut, Deboss, Write and Perforate your cardstock!
Carefully remove the mat from the cardstock. Note: Use the spatula tool to help release the cardstock from your debossed designs area. The Maker has 10 times more cutting force than the Explore line and that debossing tool really presses your material to the mat.
Assembling debossed card and easy-open envelope
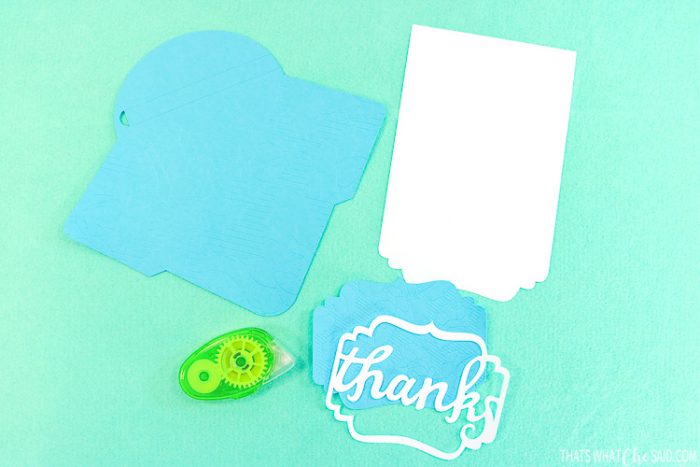
Glue the Thank you Frame onto the debossed frame cut out. Then attach that to your card blank. Fold the card blank along the scoreline to create a nice clean crease!

Using a strong-hold adhesive tape runner, fold both sides of the envelope in and then fold the bottom of the envelope up. Secure with tape runner.
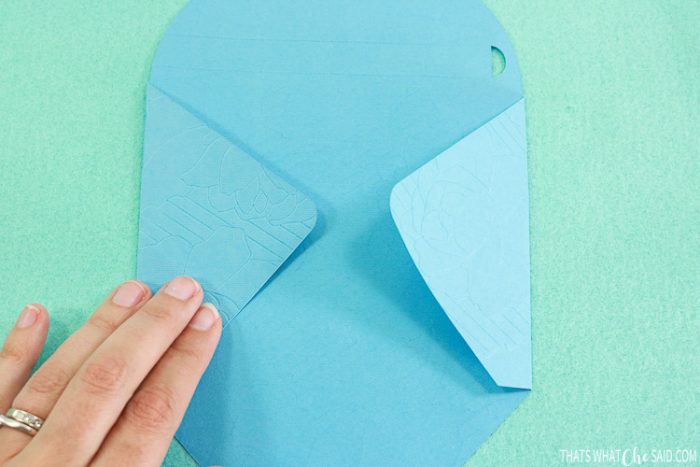
Fill out your card and insert into the envelope. Using the tape runner, secure the envelope flap in place.
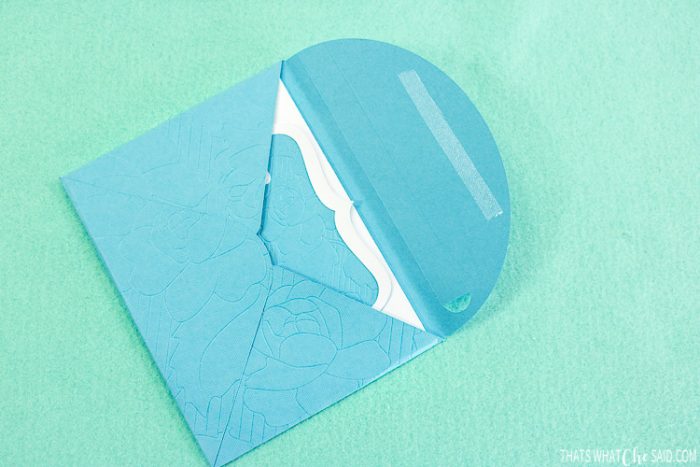
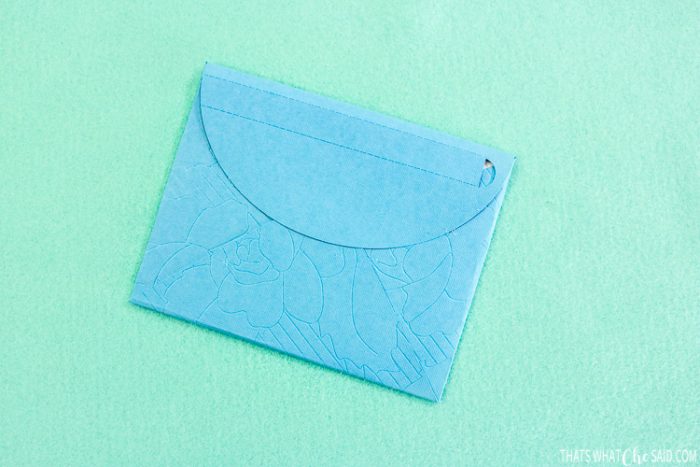
To open the envelope, use the semi-circle cut out to start removing the card stock area between to the 2 perforated lines. Voila! Easy to open cardstock envelope!
MORE CRICUT PROJECTS & TUTORIALS
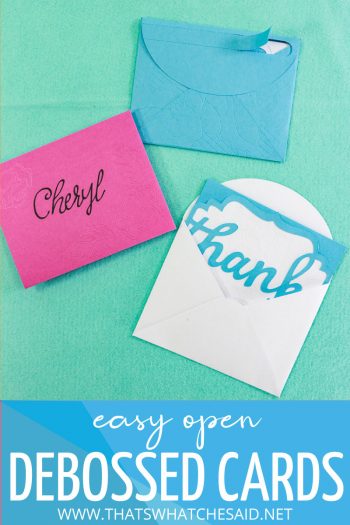
PIN DEBOSSED EASY OPEN CARDS HERE





Comments & Reviews
Alicia says
Hi how can I get the file to make the DEBOSSED CARDS WITH EASY OPEN ENVELOPES. It’s so neat I love how you have it with easy open.
Cheryl Spangenberg says
Hi Alicia, Thanks so much! The link to the Design Space file is in the supply list within the post!
Christine Johnson says
What font did you use for “thanks”?
Cheryl Spangenberg says
Christine, that is a design space image (#M8D9157) and my entire project is also linked in the supply list to find it.
Lei says
I tried to open this file in Design Space, but the link says that the project is not visible at this time. Am I doing something wrong, or did you take it down?
Cheryl Spangenberg says
No Lei, you are not doing anything wrong! Cricut changed things in Design Space which makes all my links invalid, grrr. I had not gotten a chance to update it yet so I appreciate you letting me know. Please try this link: https://design.cricut.com/landing/project-detail/5d7995d555f31d05e8ac5b0d I will update the post as well! Be sure you have your Maker machine selected or you will get warnings.
Lei says
That link worked. Thank you!!