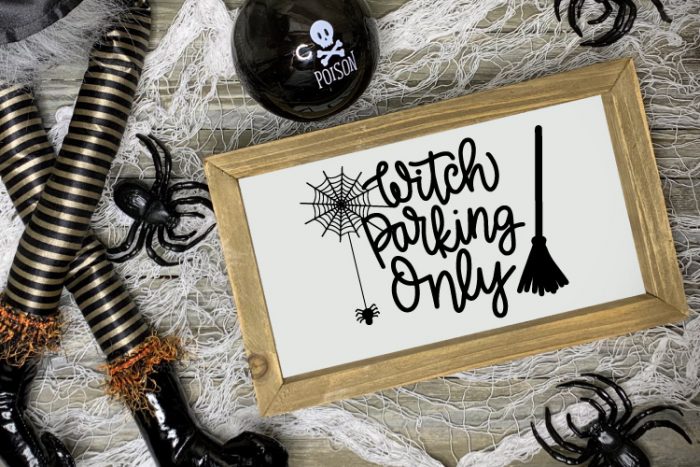
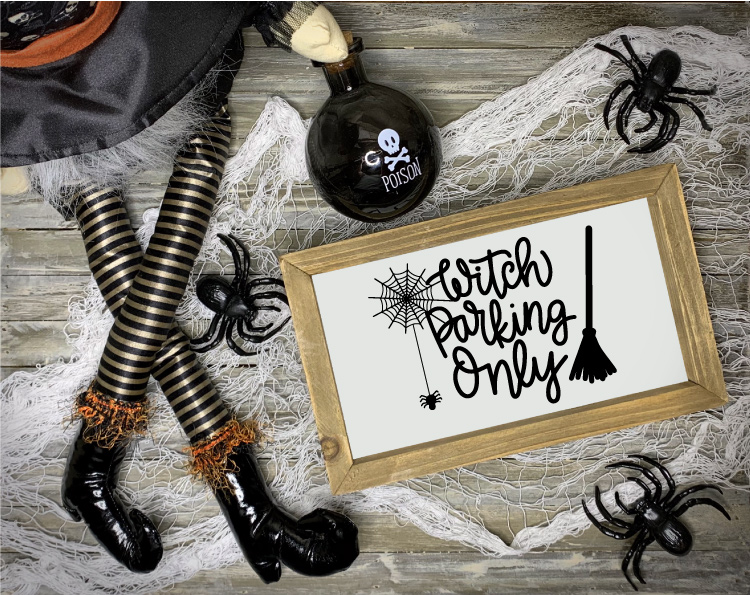
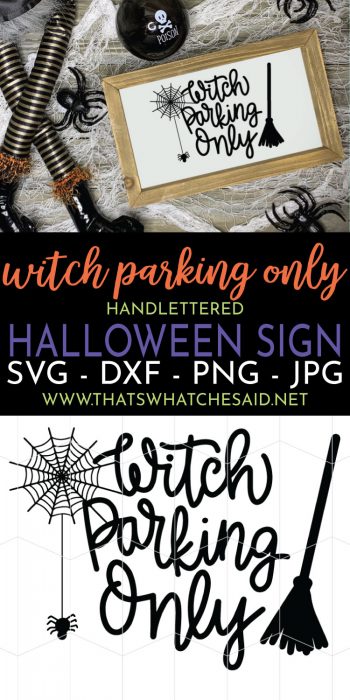
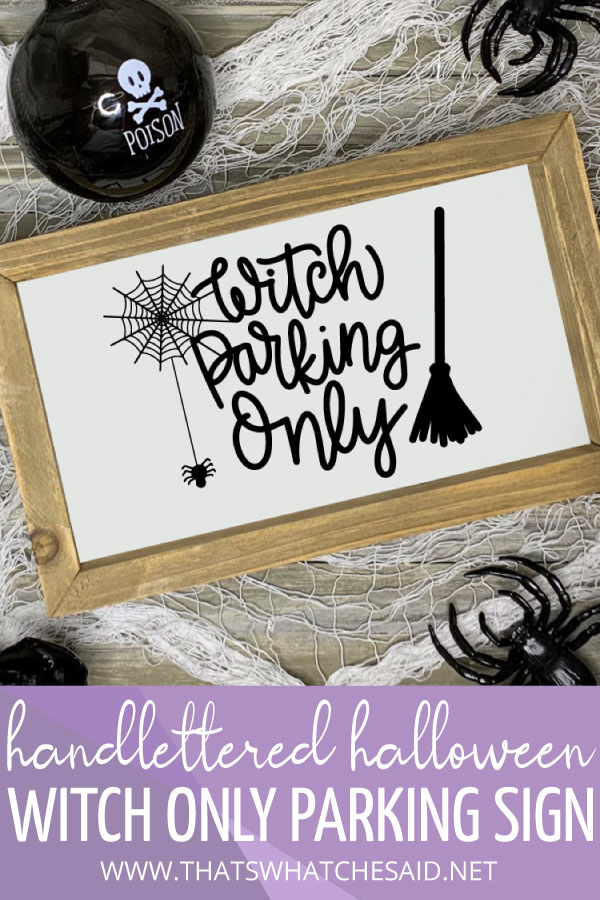
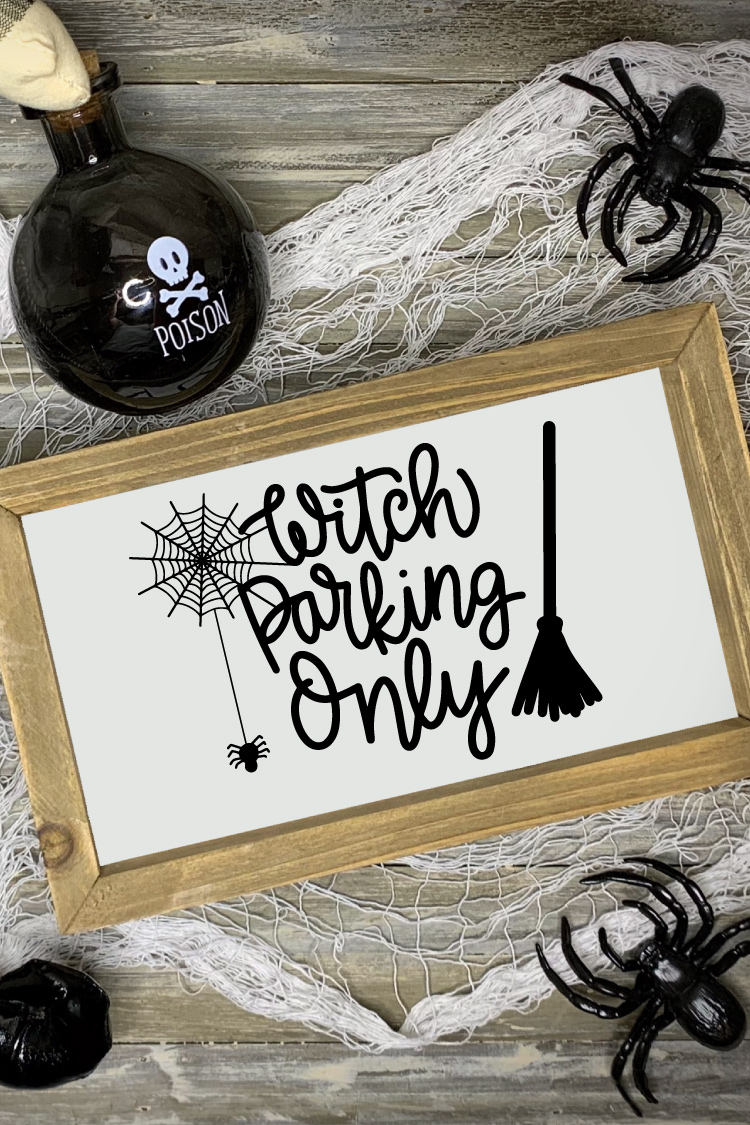
Create a fun Halloween sign to add to your decor with my Witch Parking Only SVG file. This file is hand-lettered by me using my iPad Pro and Apple Pencil! Use this file on a sign for the inside or outside of your home!
This post may contain Amazon Associate and other affiliate links.
As an Amazon affiliate, I earn a small commission from these links at no additional cost to you.
I am such a sucker for cute Halloween decor and an even bigger sucker for cute Halloween decor I can make myself! YOU can make this too with my file below and some craft supplies! You can get fancy and make your sign from scratch or I will link some premade ones below to help with the project!
Witch Parking Only Sign Supplies
- Blank Sign
- Electronic Cutting Machine such as a Cricut or Silhouette
- Black Adhesive Vinyl
- Transfer Tape
- Witch Parking Only SVG file (found below)
If you use a naked blank sign and not the one I liked above you might need these supplies also:
- White Acrylic Paint (if you don’t grab the sign linked above)
- Foam Paint Brush
- Stain color of your choice for the frame (or use colored acrylic paint)

HOW TO MAKE WITCH PARKING SIGN
Time needed: 1 hour
My hand-lettered “Witch Parking Only” SVG file is perfect for a fun wooden Halloween sign! This can be used both inside or outside for your seasonal decor.
- Prep Wooden Sign
Depending on what type of blank sign you are using, you will want to stain or paint the frame and paint the background of the sign white using acrylic paint and a foam paintbrush. Let dry completely.
If you grabbed the frame I linked in the supply list it is ready to go and you can skip this step! - Cut Witch Parking Only sign from black adhesive vinyl.
Using your electronic cutting machine, download the SVG file and size it accordingly for your sign. Cut from black adhesive vinyl.
Here are detailed tutorials if needed:
– How to Upload SVGs into Cricut Design Space
– How to Upload SVG’s into Silhouette Studio
– How to cut adhesive vinyl using a Cricut
– How to cut adhesive vinyl using a Silhouette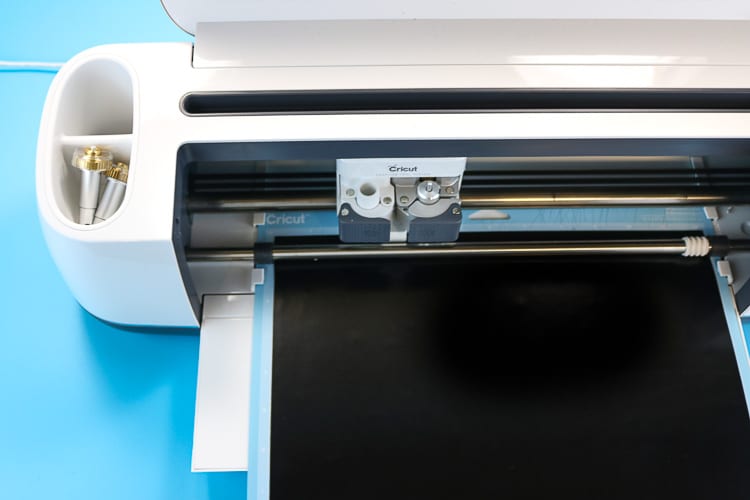
- Weed vinyl design.
After your design is cut, use a weeding tool to remove the excess vinyl, leaving only your design. If you need help for the web, using the Cricut Brightpad to weed can help!
- Apply vinyl design
Place transfer tape over your entire design and use a scraper to smooth the transfer tape down completely to your vinyl design. Flip over and carefully remove the paper backing of the vinyl, leaving the design on your transfer tape. Center your design and apply to the board.
Detailed instruction on applying vinyl here. - Remove transfer tape
Carefully peel back the transfer tape, leaving your design on your sign.
- Hang and enjoy!
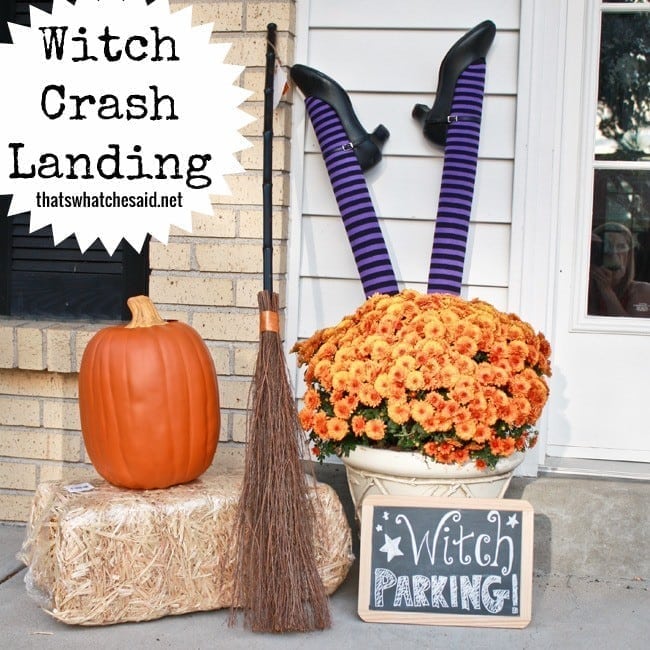
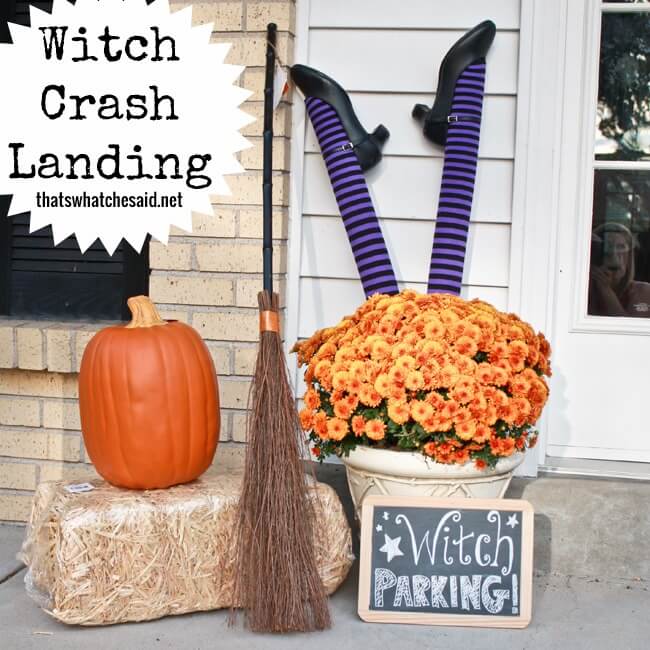
I am kind of in love with witch parking, errr… crash landing, stuff! I made this porch display years ago and it goes back up every year! My neighbors get a kick out of it! This new sign would be great to replace that handwritten chalkboard I use!
MORE WITCH PROJECTS
DOWNLOAD WITCH PARKING ONLY SIGN HERE
The duration of this FLASH FREEBIE is over and it is no longer available as a free file.
You may now find it in my shop as an instant download!
Flash Freebies are available for a limited time.
Be sure to sign up for my emails so you never miss another Flash Freebie!
Don’t Miss Out!
Get quick crafts, easy recipes and free printables & cut files straight to your inbox!
MORE HALLOWEEN PROJECTS:
PIN WITCH PARKING ONLY SIGN








Comments & Reviews
Jennifer Bowers says
Thanks! Love it!
Cheryl Spangenberg says
You are welcome! Glad to hear it! xo
Veronica says
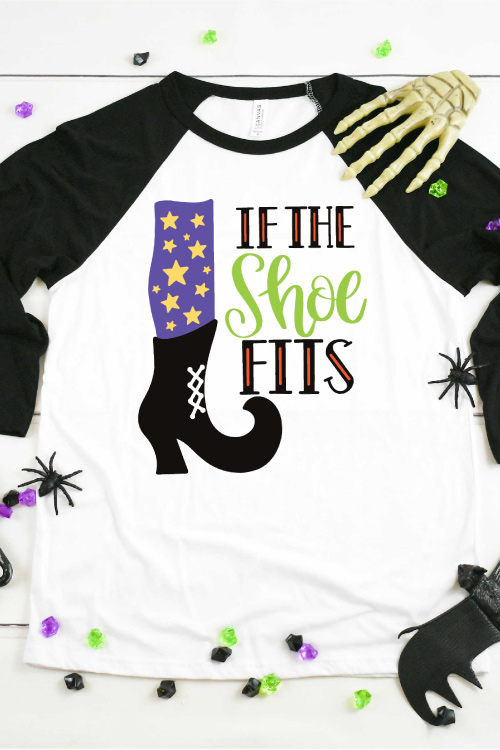
Is there a video or instructions on using different colors of vinyl in the same pattern. Like in in the witches saying with the red hat.
Cheryl Spangenberg says
Hi Veronica, in Cricut Design Space or Silhouette Studio?