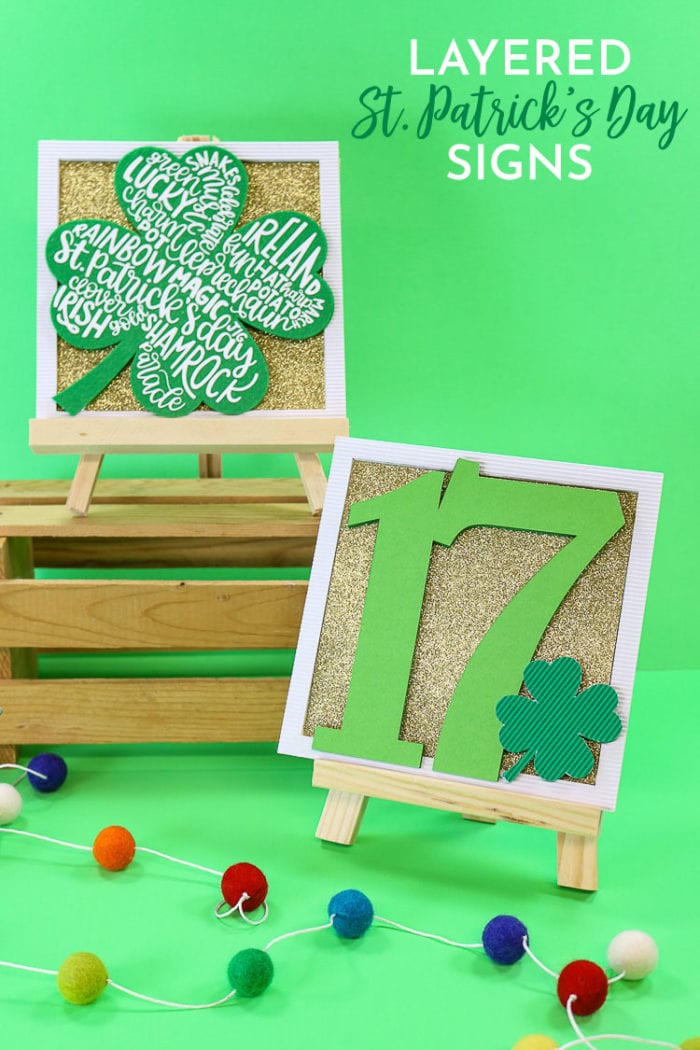
Make some adorable St. Patrick’s Day Signs with the help of your Cricut Maker and the awesome designs in Cricut Access! These signs are built in layers so you can mix and match up materials to your liking to create depth and texture!
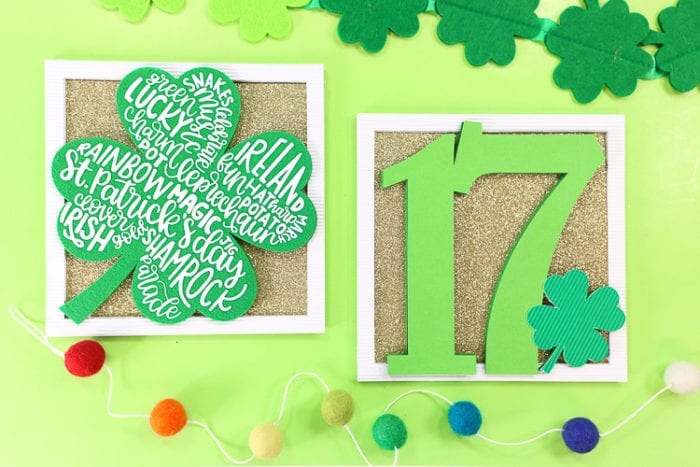
It is no secret that I am a huge fan of my Cricut Maker! The versatility with the adaptive tool system just hits the head of the nail for me! Today I used several of those tools, the fine point blade, knife blade and the rotary blade to make these DIY St. Patrick’s Day signs!
Supplies for St. Patrick’s Day Signs:
- Cricut Maker
- Rotary Blade (comes with Maker)
- Knife Blade
- Pink, Blue, Purple and Green Mats
- Weeding Hook
- Brayer
- White Everyday Iron on
- Heavy Chipboard
- Corrugated Cardboard
- Felt
- Cardstock
- Glitter Cardstock
- Tacky Glue
- Hot Glue Gun & Glue Sticks
- Green & White Paint & Paintbrushes
You can find my design files here in the Cricut Community. You are welcome to use them! These are sized for 7-inch square signs. If you would like to change the size (any size up to 10.5″) click Customize to resize the design.
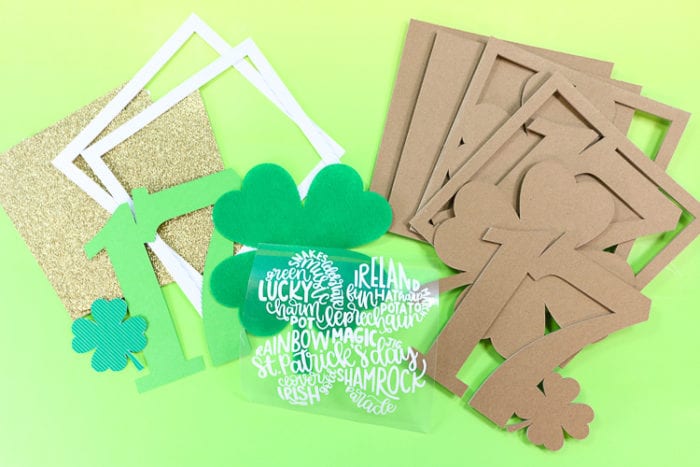
Layer Assignments:
- Dark Gray = 2.0 mm Heavy Chipboard
- Yellow Gold = Gold Glitter Cardstock
- White – White iron on (shamrock design)
- Off White = White Corrugated Cardboard
- Green 1 – Felt (large Clover)
- Green 2 – Green Cardstock (17)
- Green 3 – Corrugated Cardboard (small clover)
Feel free to mix and match your own materials of choice! I separated the layers so you can cut different materials!
Click Make it and be sure to MIRROR your clover design mat as that one is iron on!
Click Continue and prepare your mats as directed. Here are some helpful in-depth tutorials that might help:
- How to Cut Chipboard on the Maker
- How to Use the Rotary Blade to cut Felt (and why you should do this!)
Remember to double check your material and tool for each mat as we are cutting several different things for this project!
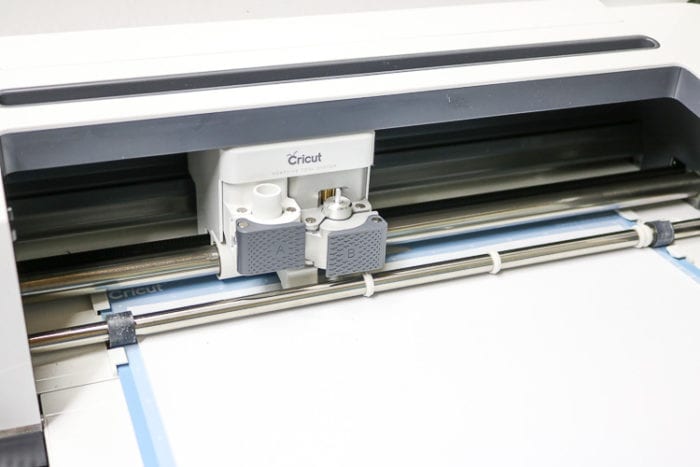
Here the machine is cutting the iron on with the fine point blade and the Blue Mat. I also cut the green cardstock and glitter cardstock this way. I cut the corrugated cardboard using the fine tip with the Standard Green Mat.
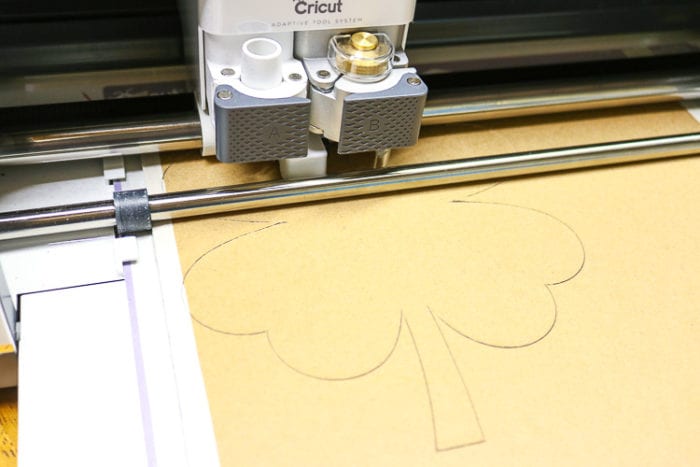
I cut all the chipboard using the Knife Blade and StrongGrip Mat (purple).
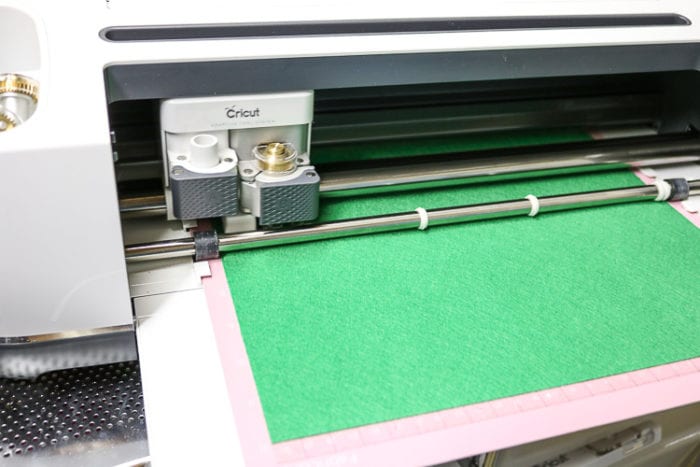
Then I cut the felt with the Rotary Blade and the FabricGrip Mat (pink mat).
Making St. Patrick’s Day Signs:
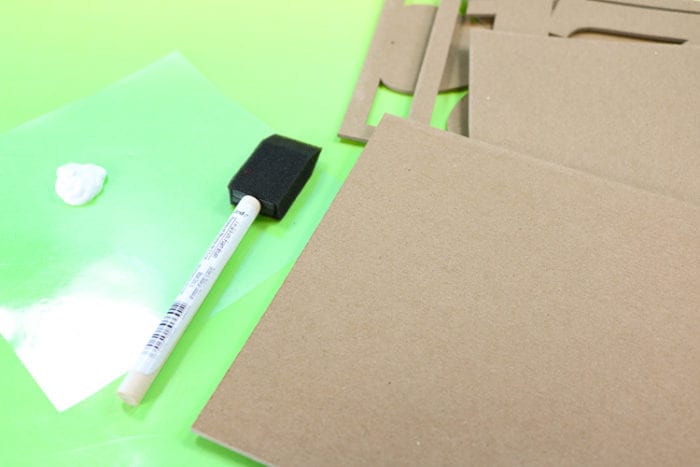
Now you will want to paint your edges of your chipboard pieces. Start with the solid squares and paint the edges white.
Next paint the outside edges and inside of the frame white on the design blocks and the edges of the designs you will want to paint green.
Paint the edges of the shapes green. While you are letting those pieces dry, use a weeding hook and carefully weed your excess iron on.
I consulted the Interactive Heat Settings Guide to get the correct temperature and time to press the iron on to the felt.
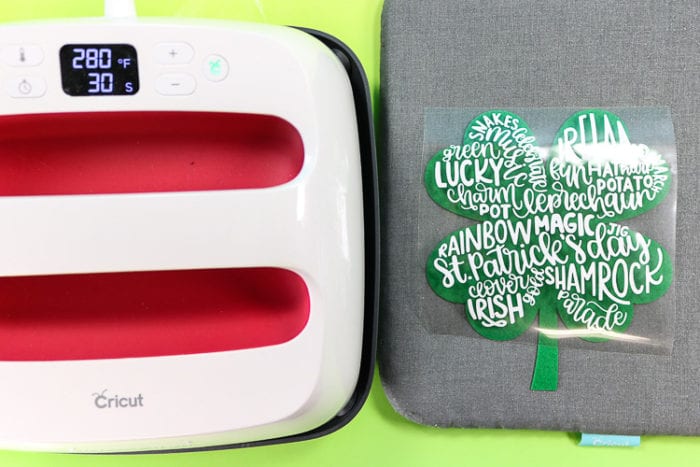
Press and remove the carrier sheet!
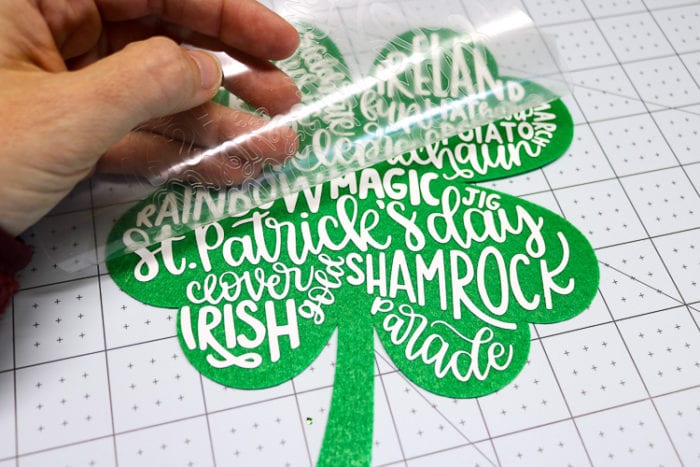
How to Assemble the St. Patrick’s Day Layered Sign:
Use Tacky Glue and add the glitter cardstock to the solid square base layer. Use hot glue to apply the Design Layer onto the top of the glitter cardstock. You may need some clothespins to clamp it together for a few minutes.
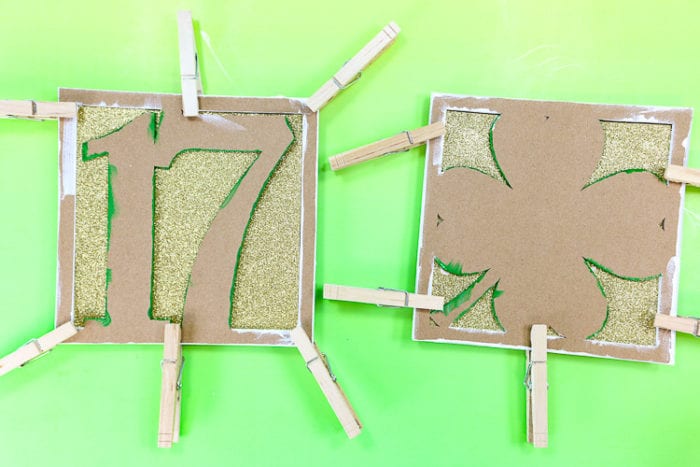
Next, and add the white frame with tacky glue.
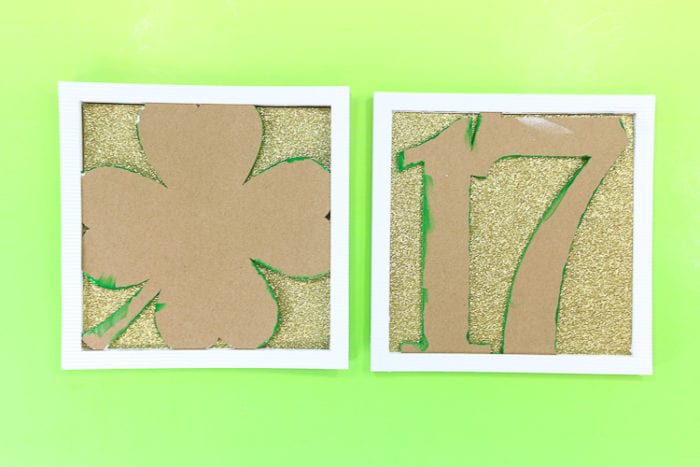
Then, Add the shape layers with hot glue. Again use the clothespins if needed.
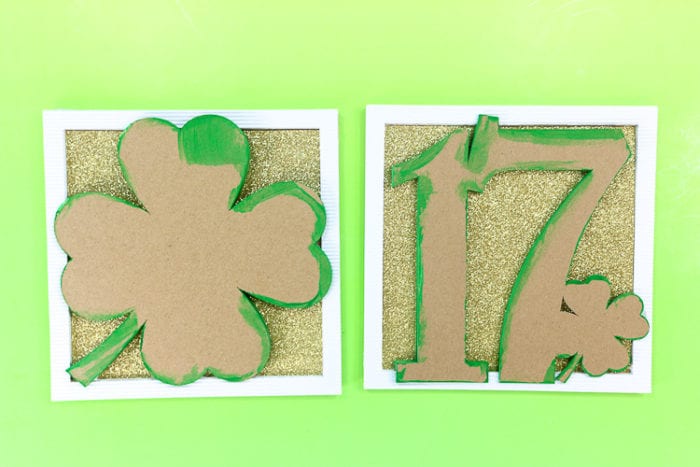
Finally add your pretty layers (felt, paper and corrugated cardboard) with tacky glue.
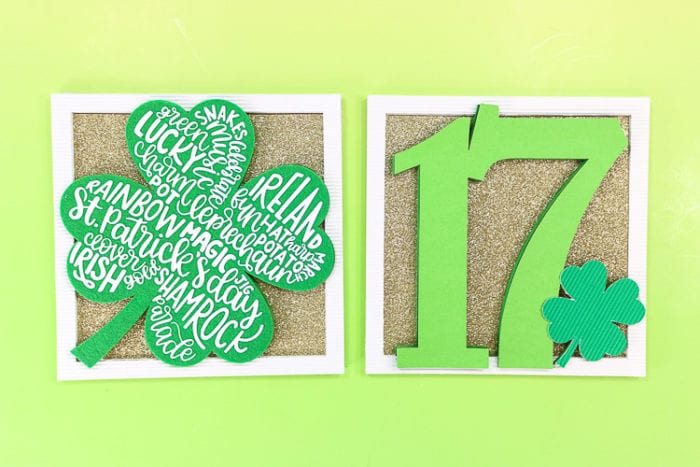
After I finished this project I thought how cool a rainbow would have been on top of that glitter cardstock and under the design layer! Maybe you can add one to yours!
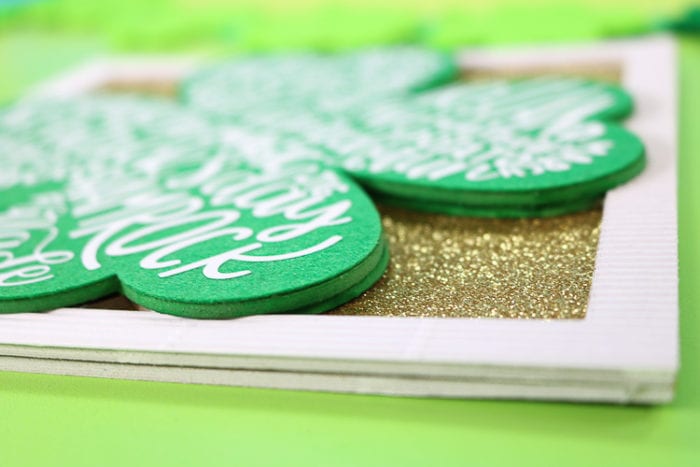
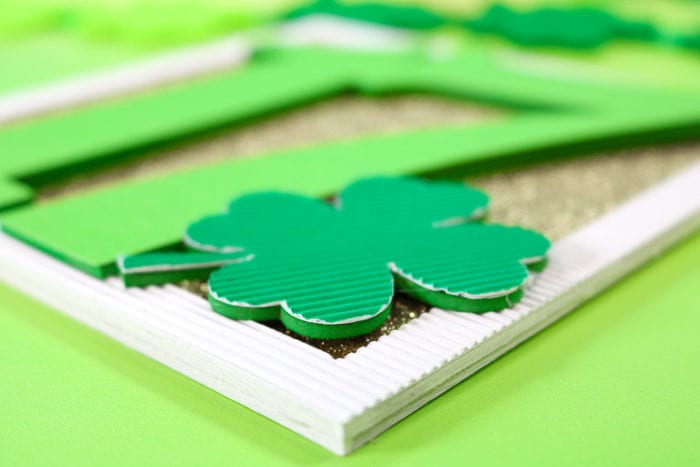
Here you can see the layers a bit better! These are cute 3D St. Patrick’s Day signs and I love all the different textures!
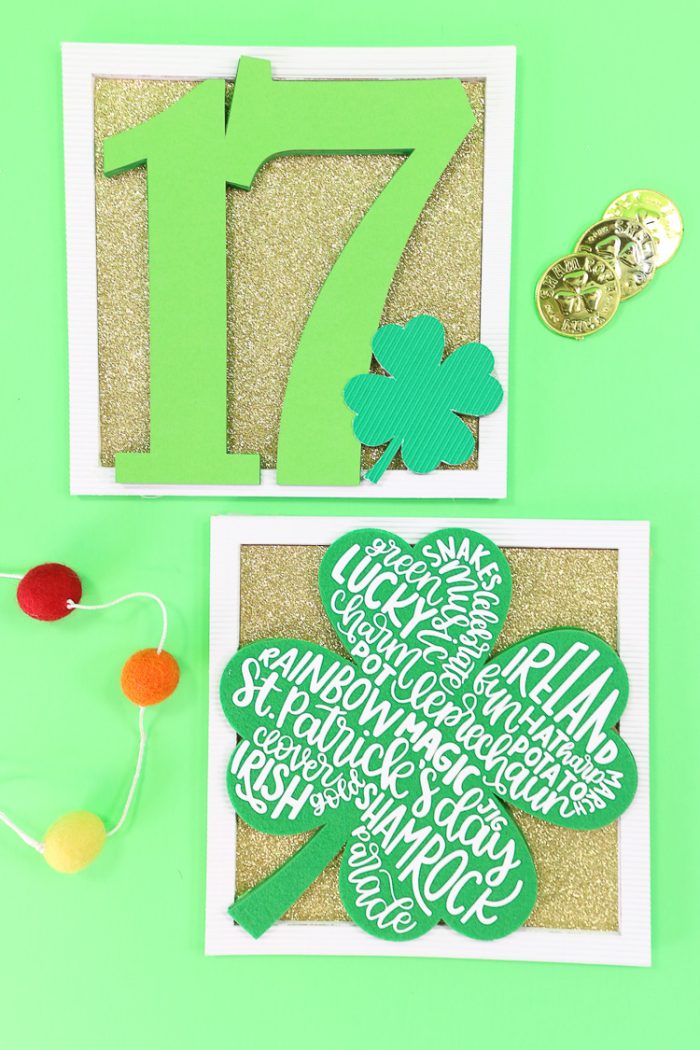
This project is just another example of how versatile the Maker is! One machine just cut six different materials, using 3 different blades.
Be sure to check out my All Things Cricut page as well as my Cricut Deals page!
PIN ST. PATRICK’S DAY LAYERED SIGNS


Comments & Reviews
Shirl Lundstrom says
Love this duo!!!
Cheryl Spangenberg says
Thanks so much Shirl!