Make a fun embroidery project using patterned fabric! The Cricut BrightPad makes is so easy to transfer your design to solid or patterned fabric!! Take any design in Cricut Design space and turn it into embroidery hoop art!
Last week I shared how the Cricut BrightPad made weeding glitter iron on so much easier for my “Snow Much Fun” Embroidery Hoop project. Today I am going to show you how the Cricut BrightPad helps you with a needle and thread Embroidery Hoop project!
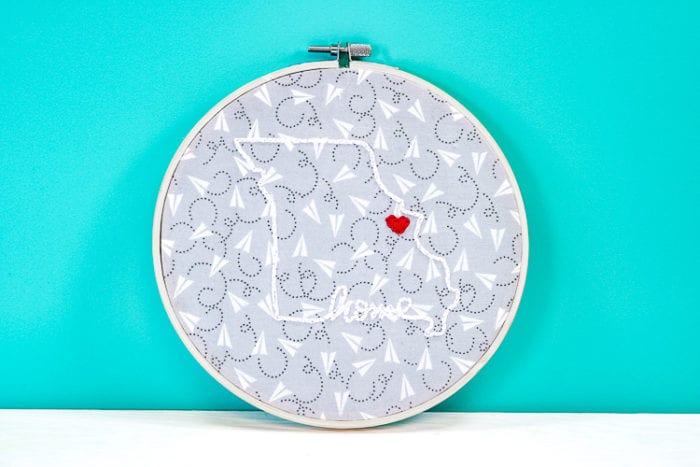
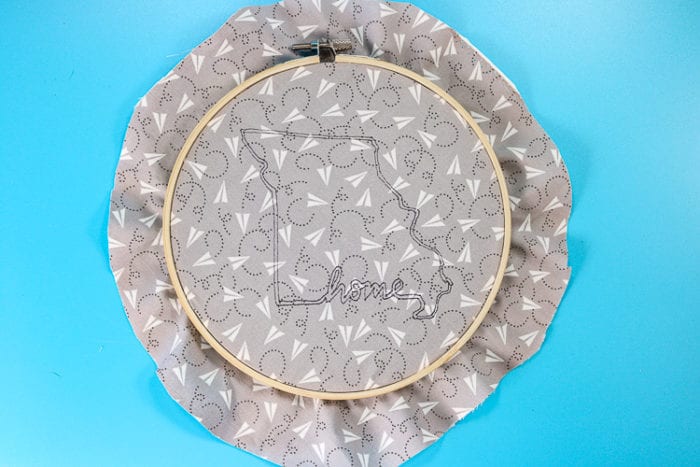
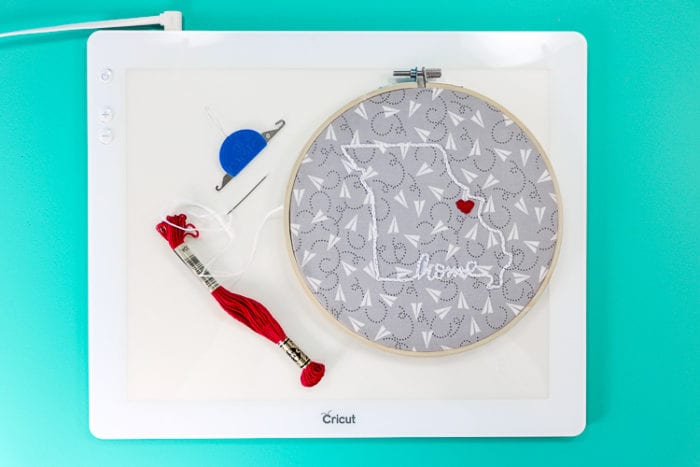
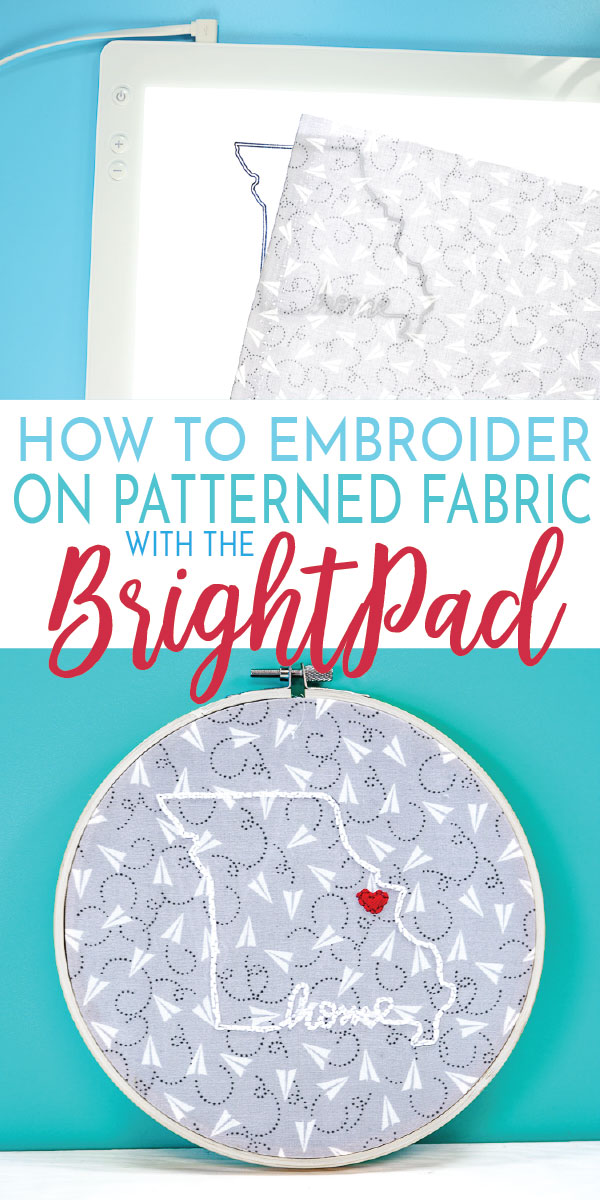
We have some good friends who are leaving home and relocating for a job and I fell in absolute LOVE with this paper airplane fabric at Hobby Lobby. I thought an embroidery hoop would be a cute going away gift with the shape of Missouri and a heart over St. Louis to remind them of their hometown when they start their next adventure!
Normally when you make embroidery hoop projects you use light colored solid fabrics so that you can see to trace your design. But what if you want a fun patterned fabric? You KNOW I have to be difficult, lol!
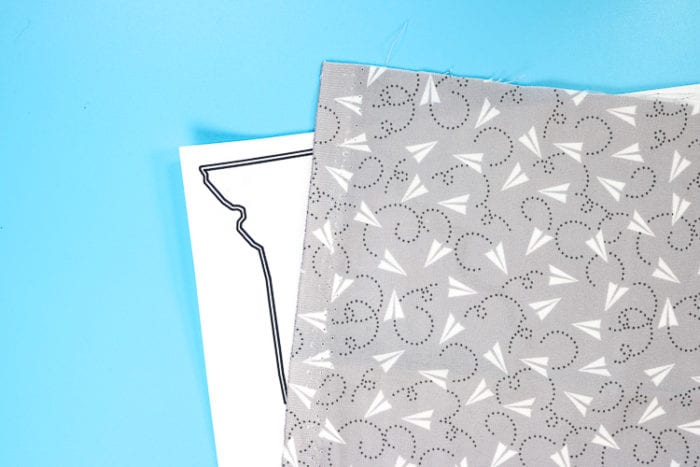
With the grey background, dot designs and the planes it would be nearly impossible to see the pattern through the fabric.
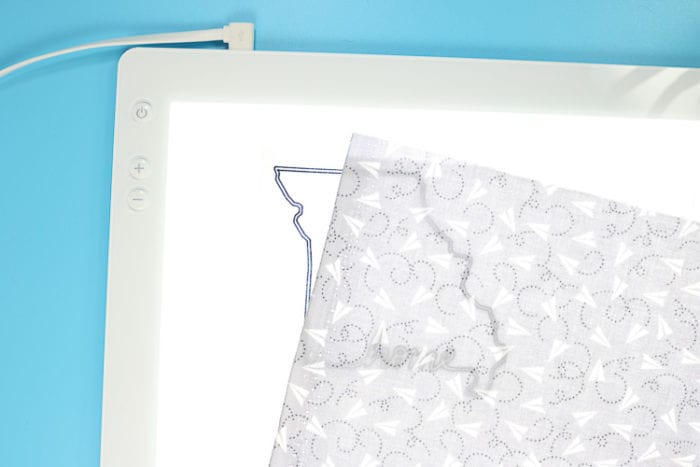
With the help of the BrightPad, I was easily able to trace the design!
Let’s get started!
How to Make Embroidery Hoop Project on Patterned Fabric:
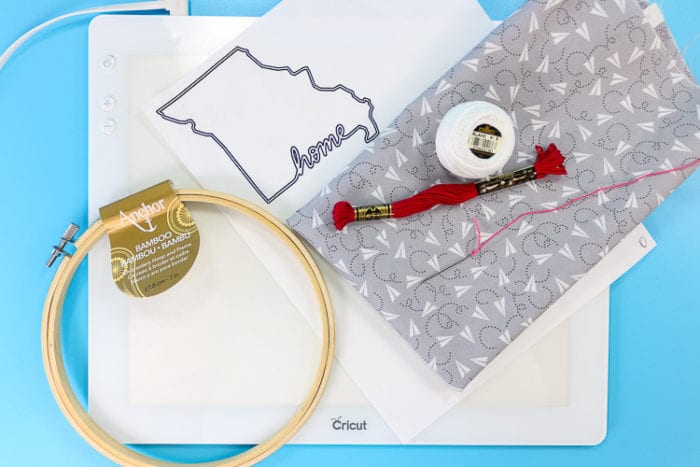
I chose this Missouri design from Cricut Design Space. If you don’t already have Cricut Access, I highly recommend it! I used my Cricut Maker and my Cricut Marker to transfer the design to copy paper. You can find all the details on how to use Cricut pens here.
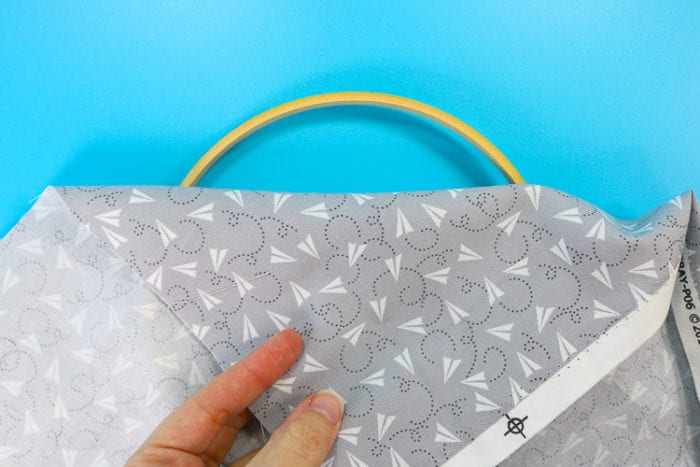
I placed my fabric good side down onto the inner hoop of the embroidery hoop.
I pulled the fabric tight, added the outer hoop, and then trimmed the fabric about an inch around the edge.
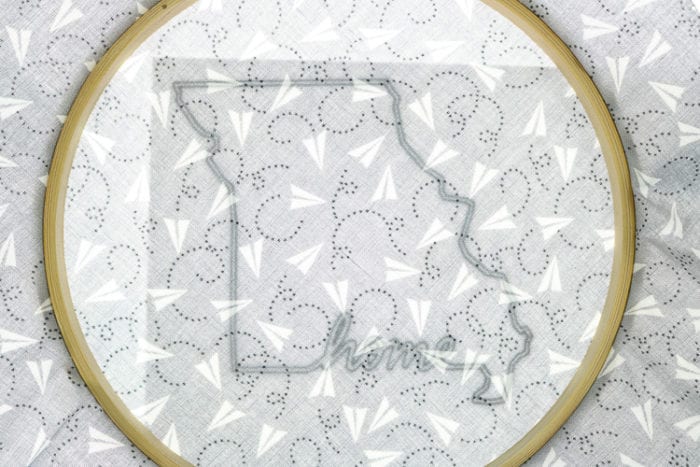
Next, I flipped the hoop over and placed on top of the printed design and then on top of the Cricut BrightPad.
I have it on the brightest setting here and you can clearly see the pattern of my design on the patterned fabric. The light and slim design means it’s easy to bring along to craft nights also!
Trace it onto your fabric.
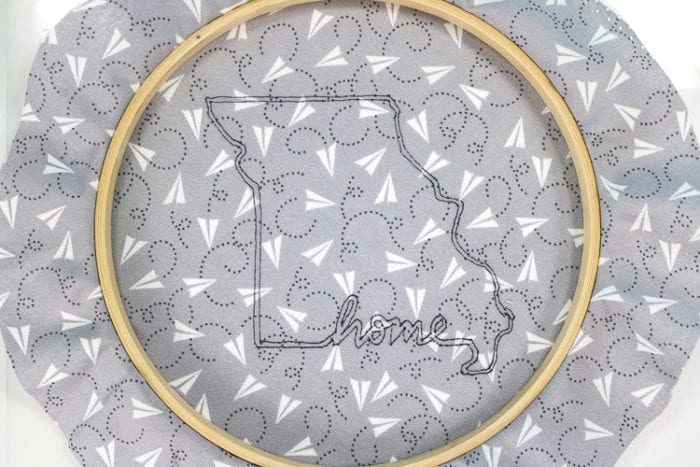
Remove the fabric and place it correctly on the embroidery hoop with the good side up this time!
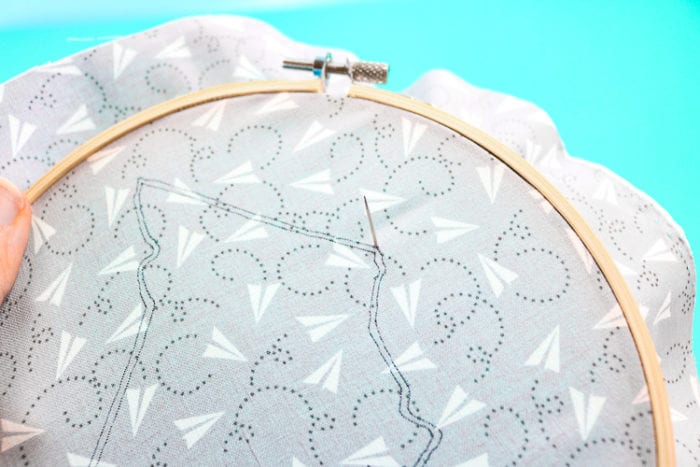
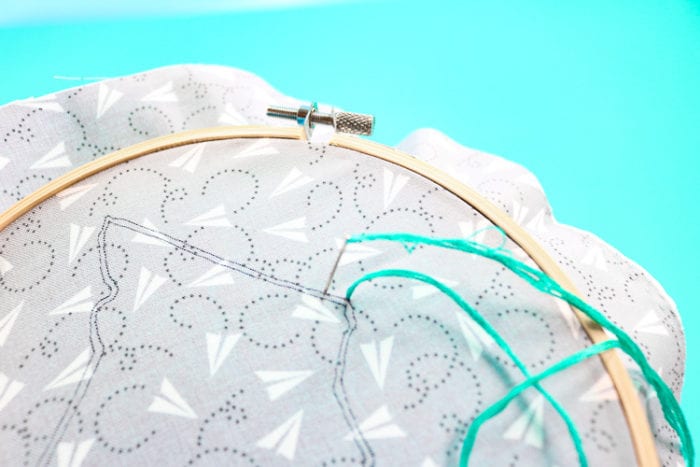
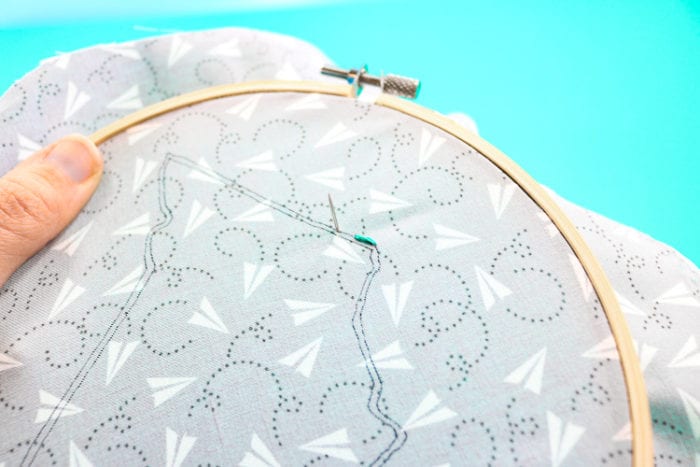
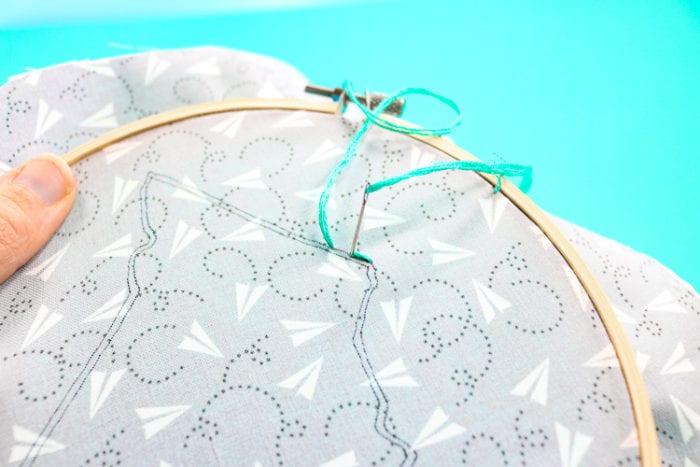
Then using a back stitch, follow the outer line of the design.
How to Embroider a Back Stitch:
Come up with your needle from behind your hoop.
Place needle 1/4 inch from where you came up and pass through to the back of your hoop.
Come up with your needed from behind your hoop 1/4 inch from where you went back in.
Pass back through the hole on the end of your previous stitch. Repeat for the whole outer line.
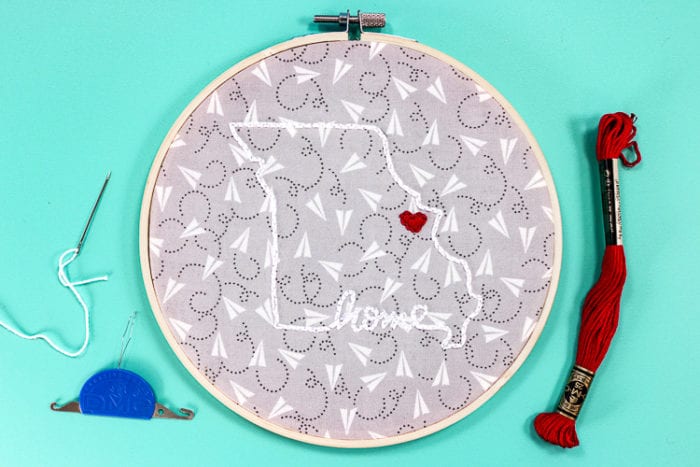
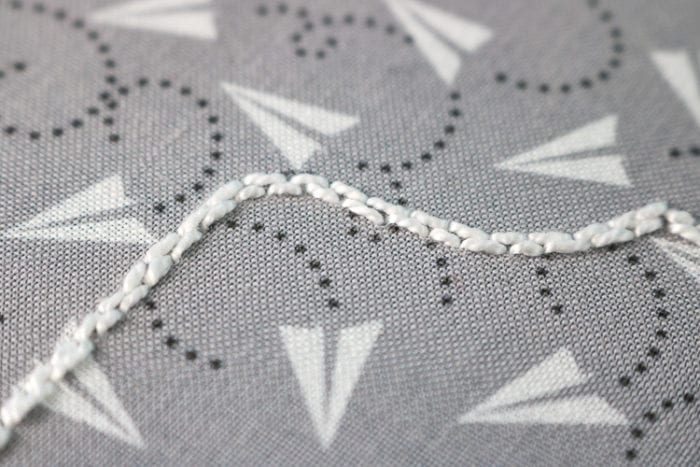
For the inner line, I did a brick stitch or an offset back stitch. So it’s a back stitch that is started and stopped in the centers of the stitches above it.
I added a heart over St. Louis. <3
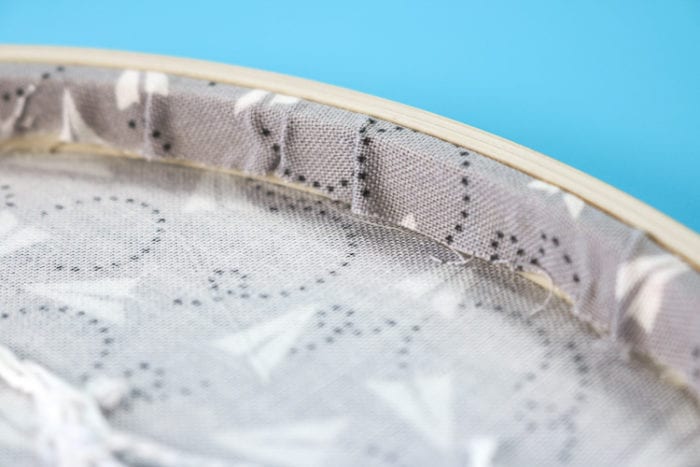
I trimmed the fabric so that there was just enough overhang to hot glue to the inside of the back of the hoop.
Then added a felt circle on top of that to finish off the hoop!
With the help of the BrightPad, you now can create fun embroidery hoop projects using awesome patterns of fabrics and the entire design selection of Cricut Access! Let the fun begin!


Leave A Reply!