This large Envelope Valentine Box is easy to make and perfect to personalize for your child for their classroom party! Easily customize it with so many designs from Cricut Design Space!
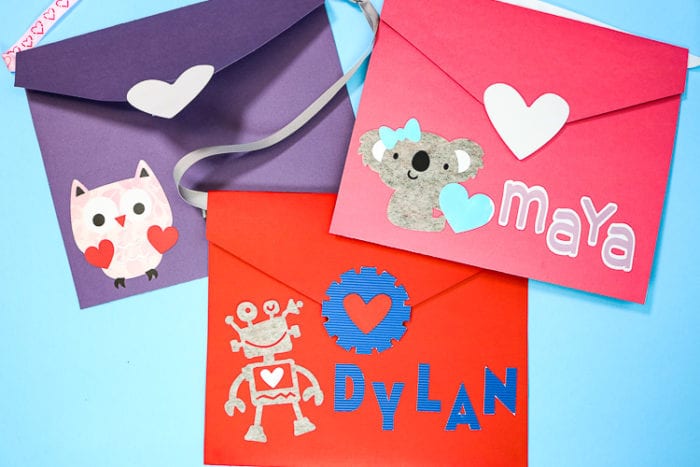
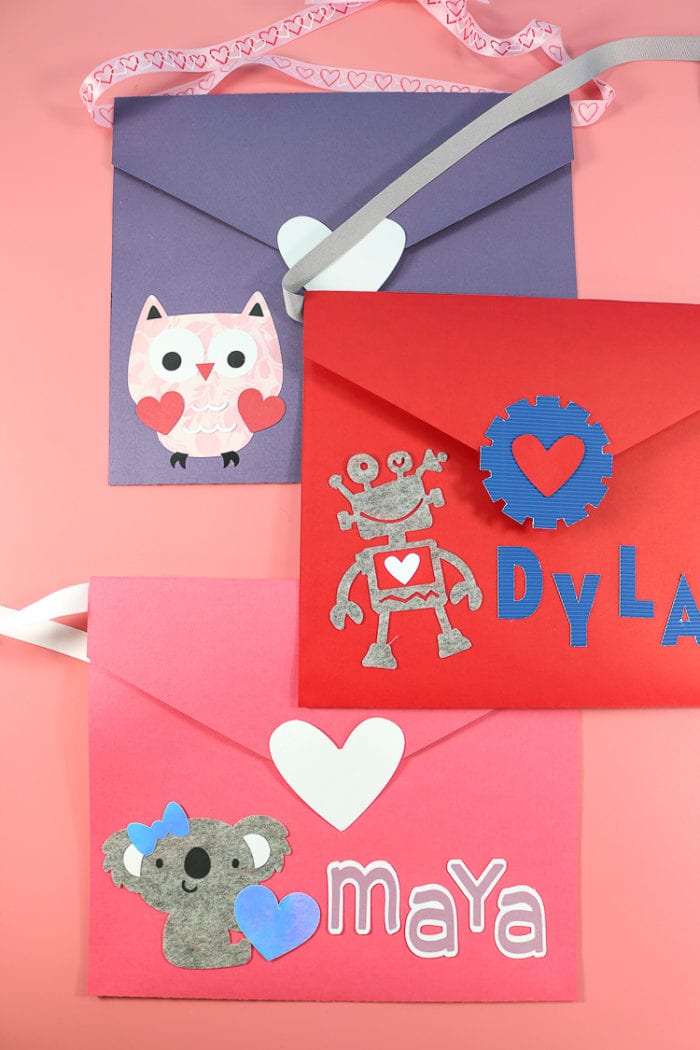
I used my Cricut Maker today to whip up this super cute Envelope Valentine Box. In fact, it was so easy that I made two more!
You can whip one up equally as fast when you use my project in the Cricut Community.
You can find them here: Robot Valentine Envelope, Owl Valentine Envelope, Koala Valentine Envelope. Be sure to click “customize” so you can add your child’s name. Finished size of these is 11.5″ x 10″ so big enough to hold an entire class worth of Valentine Cards!
SUPPLIES FOR ENVELOPE VALENTINE BOX:
- Cricut Maker
- Scoring Wheel
- Cricut Pens
- 12 x 24 LightGrip Mat (Blue)
- 12 x 12 LightGrip Mat (Blue)
- 12 x 24 Cardstock (This is for your envelope outsides)
- 12 x 12 White Cardstock (This is for your envelope liners)
- Cricut Pens
- Velcro squares or dots
- Ribbon (5/8″ width)
- Hot glue gun & glue sticks
- Tape Runner
Additional Valentine Box Embellishment Supplies:
Robot:
- 12 x 12 FabricGrip Mat (Pink – comes with your Maker)
- 12 x 12 Felt, Grey (Robot and Koala)
- Corrugated Cardboard Sampler Pack (Gear & Boy Name)
Koala:
- 12 x 12 FabricGrip Mat (Pink – comes with your Maker)
- 12 x 12 Felt, Grey (Robot and Koala)
- 12 x 12 Standard Mat (green)
- Purple Cardstock
- Holographic Vinyl – Opal
- Transfer Tape
- Black Iron on
- Weeding Hook
- EasyPress 2 in 6 x 7 size with mat
Owl:
I have a Cricut & Craft Deals page where I post up to date deals I find on fun Cricut products! Check that out if you are looking for supplies or a machine!
How to Make Envelope Valentine Boxes:
First, let’s open the file in Design Space. Everything is already sized to utilize the 12 x 24 size of cardstock. Let’s walk through the envelope and then we will discuss the assembly of each of the characters of our Valentine Boxes!
Click Make it in the upper right-hand corner.
You will get a pop up at the top of the screen telling you that your designs are outside of the 12 x 12 size and Design Space will bump up your mat size to the 12 x 24. Click OK because we want the larger size!
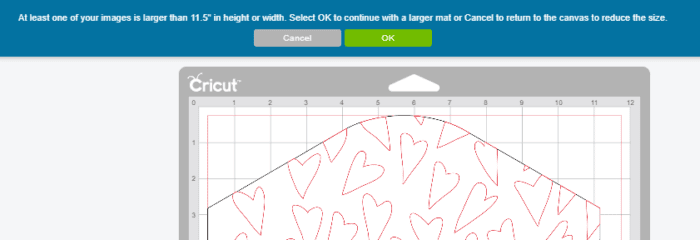
Click continue on the Mat Screen. (Note: if you are using Iron on in any of the embellishments bellow, make sure to Mirror those mats)
The first mat to cut will be the envelope insert. For this piece of our project, we will score, write with the Cricut Pens AND cut the piece of cardstock. Cricut Design Space will have you insert the Pen and the Scoring Wheel first after you connect your machine and select your material.
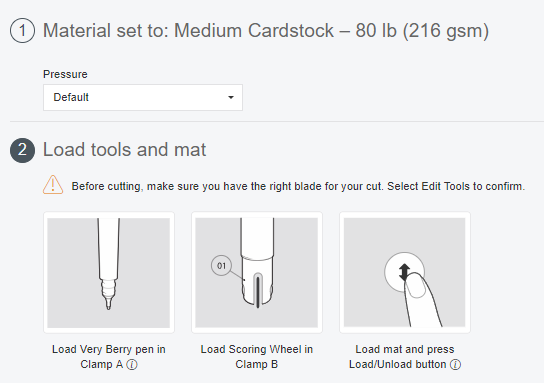
Load your mat and click the Cricut C button!
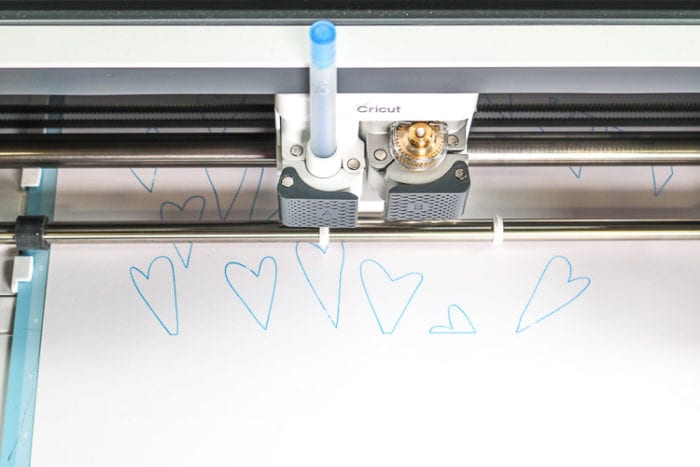
When it’s finished writing and scoring it will have you replace the scoring wheel with the fine tip blade.
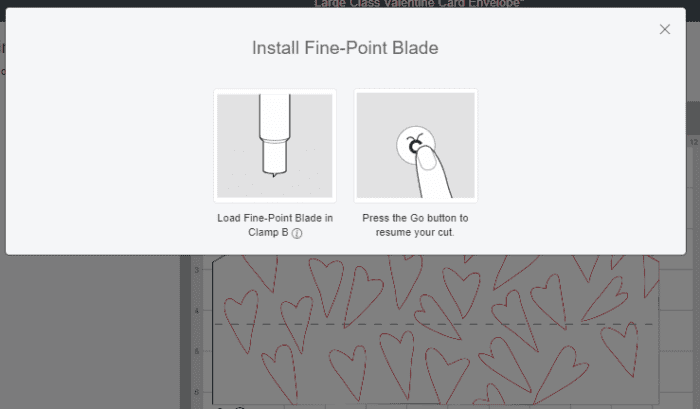
Click the “C” and it will proceed to cut the designed envelope insert out.
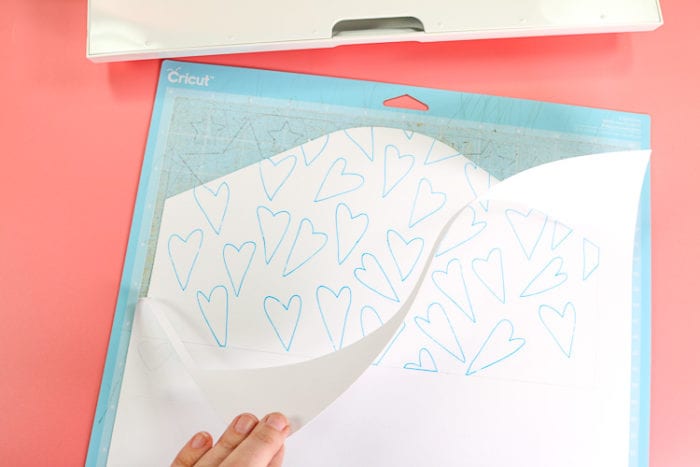
The mat with your envelope body on it will need to be a 12 x 24 mat since we are using the 12 x 24 cardstock. I like the blue mat the best for cardstock. This mat we will also score and cut.
You can find a detailed tutorial on using the scoring wheel here.
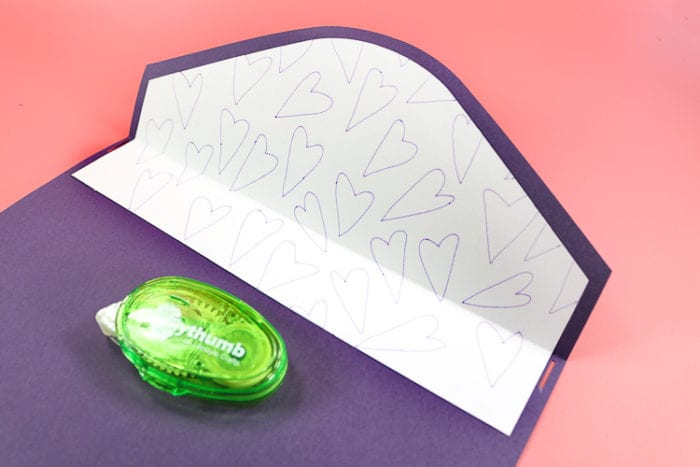
To assemble the envelope we will need both hot glue and a tape runner! Fold the envelope along the score lines as well as the insert. Use a tape runner on the back of the insert and line the fold of the insert up with the fold of the envelope flap and adhere it centered.
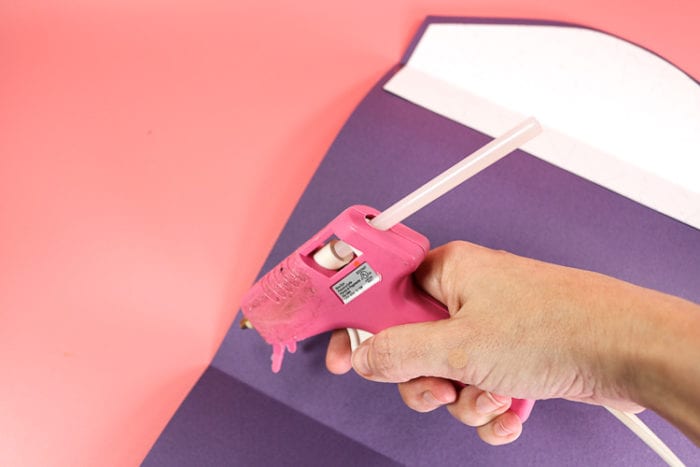
Use hot glue to seal up the sides of the envelope.
Place the decal on the tip of the flap (gear with heart or hearts depending on design) with hot glue and then add a velcro dot to the overhanging part and then to the envelope.
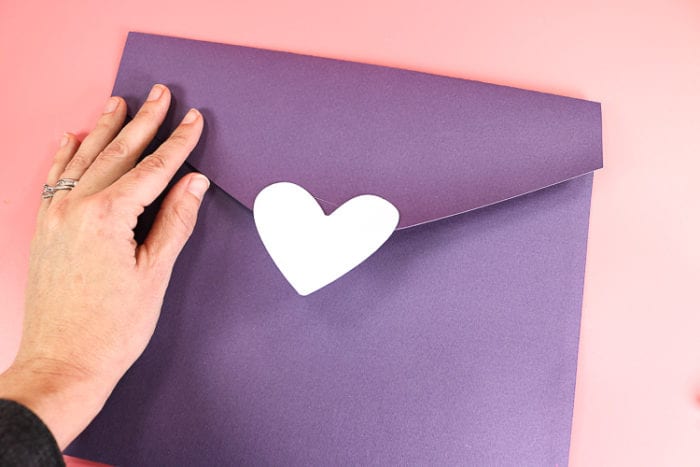
Thread some ribbon through the ribbon slots and then tie a knot or bow! You then have a cute Envelope Valentine Box perfect for all those cute printable Valentine’s day cards!
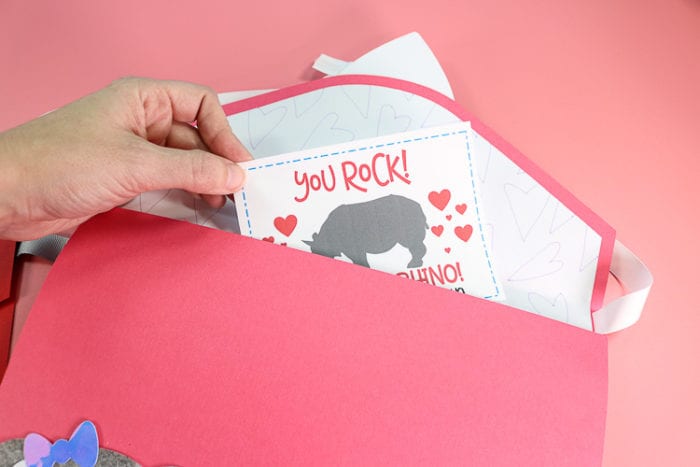
Obviously we need to decorate these all cute and of course personalize them with your child’s name.
How to Cut and Assemble the Characters and Embellishments:
Single layer embellishments I applied using hot glue. Easy as that.
Robot:
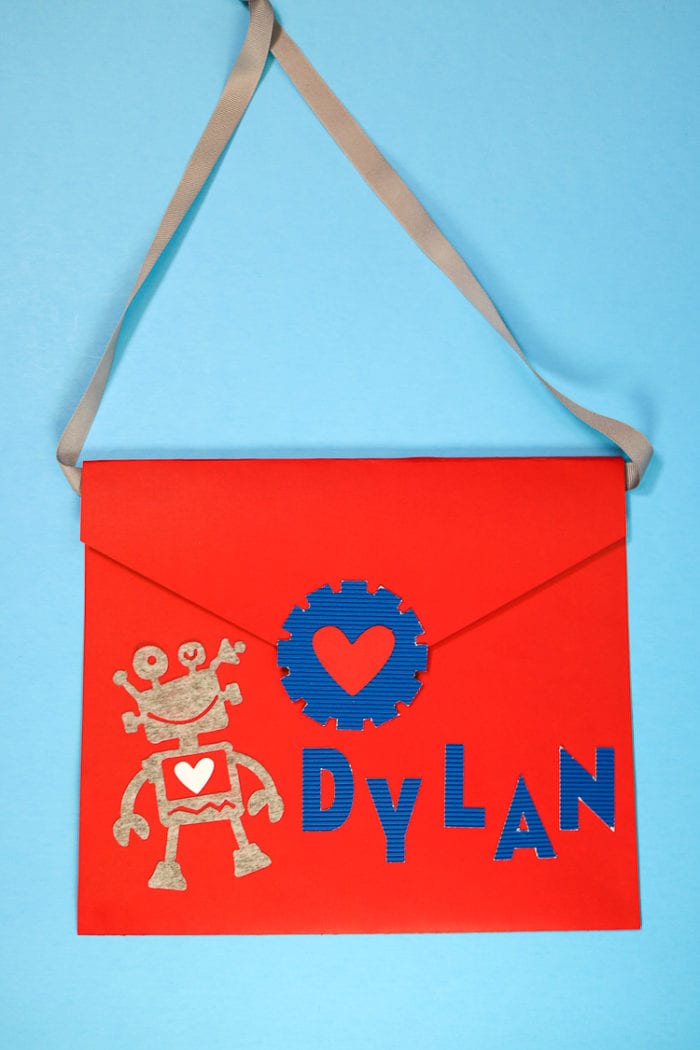
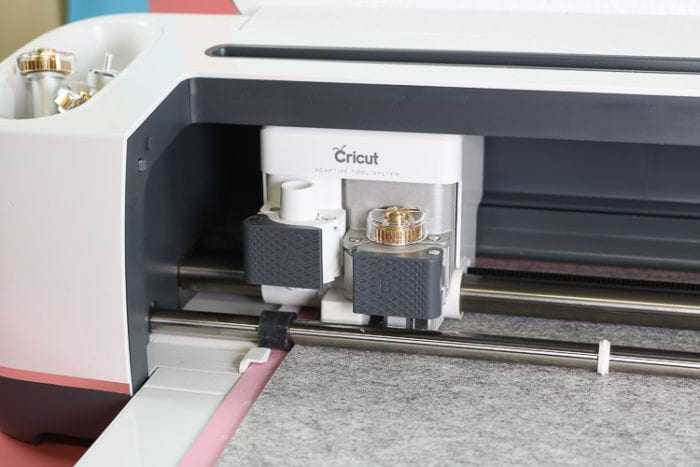
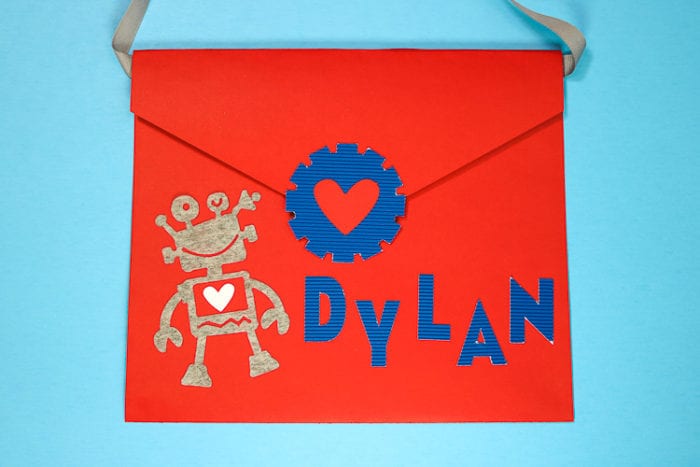
I cut the Robot from gray felt and used the rotary blade and FabricGrip mat. When you select felt as your material, Cricut Design Space will suggest you use the fine point blade. I have found the rotary blade to work much better. You can find a detailed tutorial on using the rotary blade with felt here.
I glued the robot with the white heart right onto the envelope.
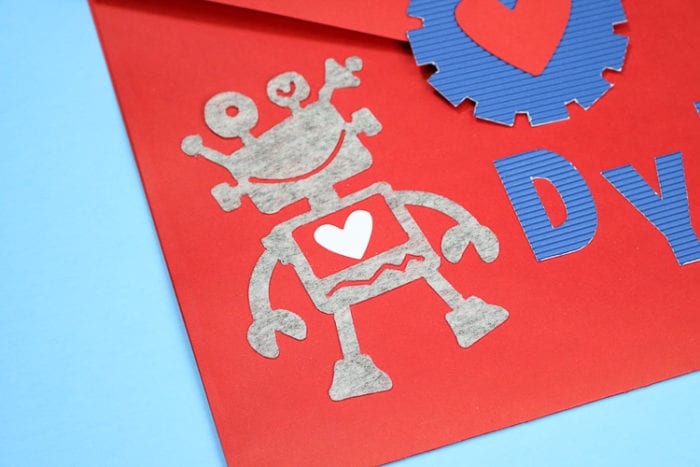
I cut the gear and the name out of Corrugated Cardstock and used the fine point blade. Adhered with hot glue.
Owl:
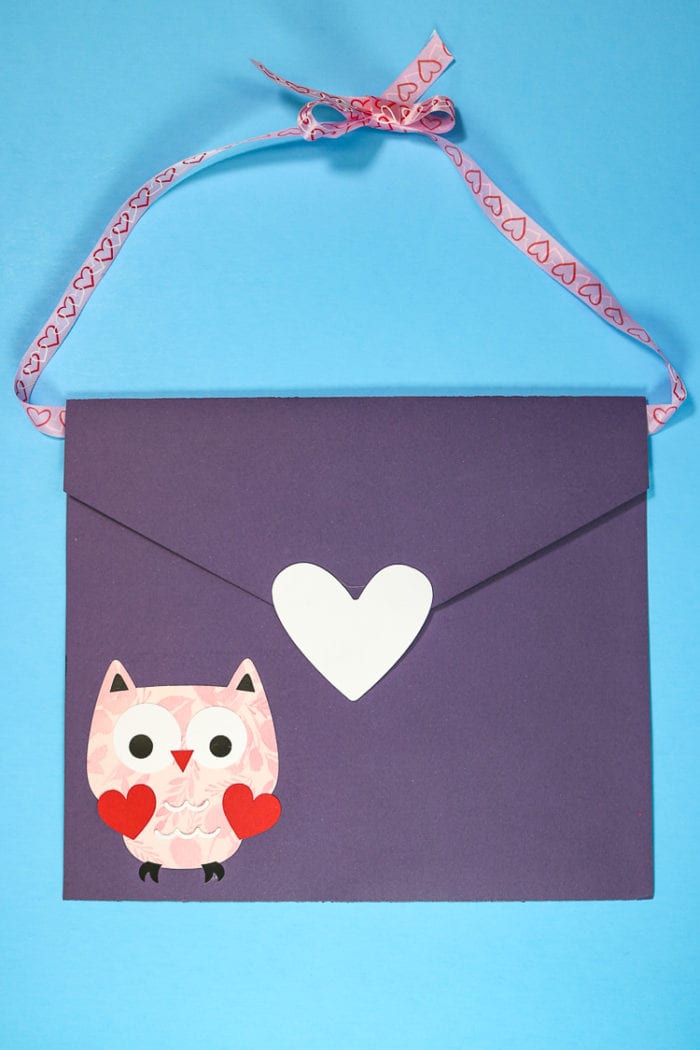
I cut the Owl and back hearts design from patterned iron on and the face from black iron on. Did you know you can use iron on with cardstock? You sure can!
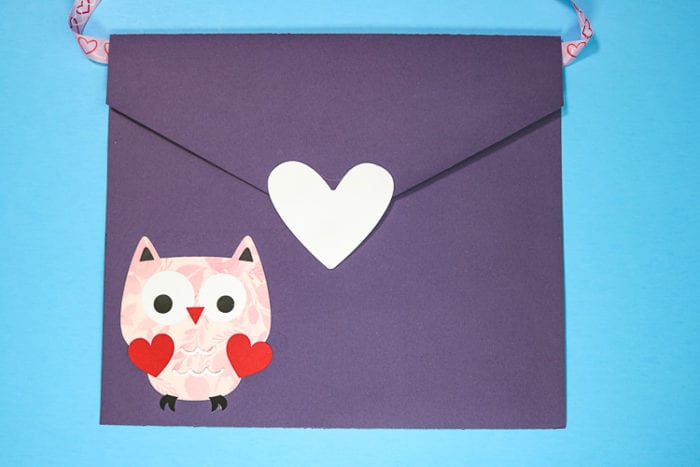
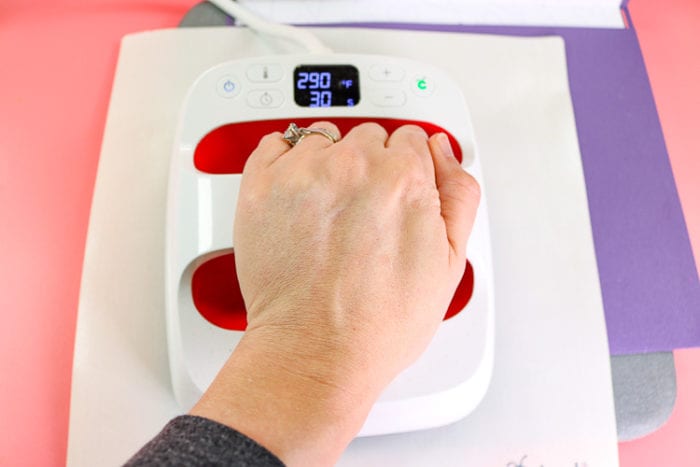
Weed the excess iron on and apply using your EasyPress 2 and mat.
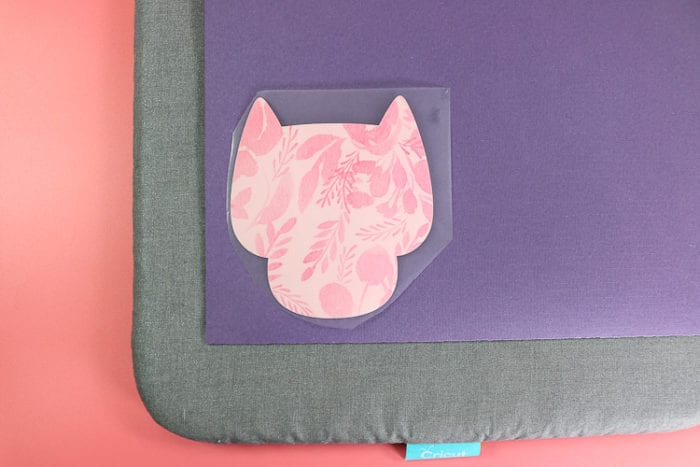
You can find the recommended settings here.
I added the eyes, feathers, and wings and then applied the black face, ears and feet with my EasyPress.
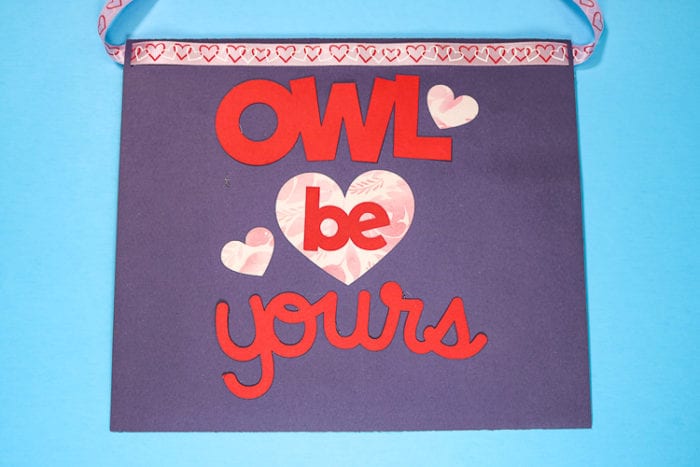
Koala:
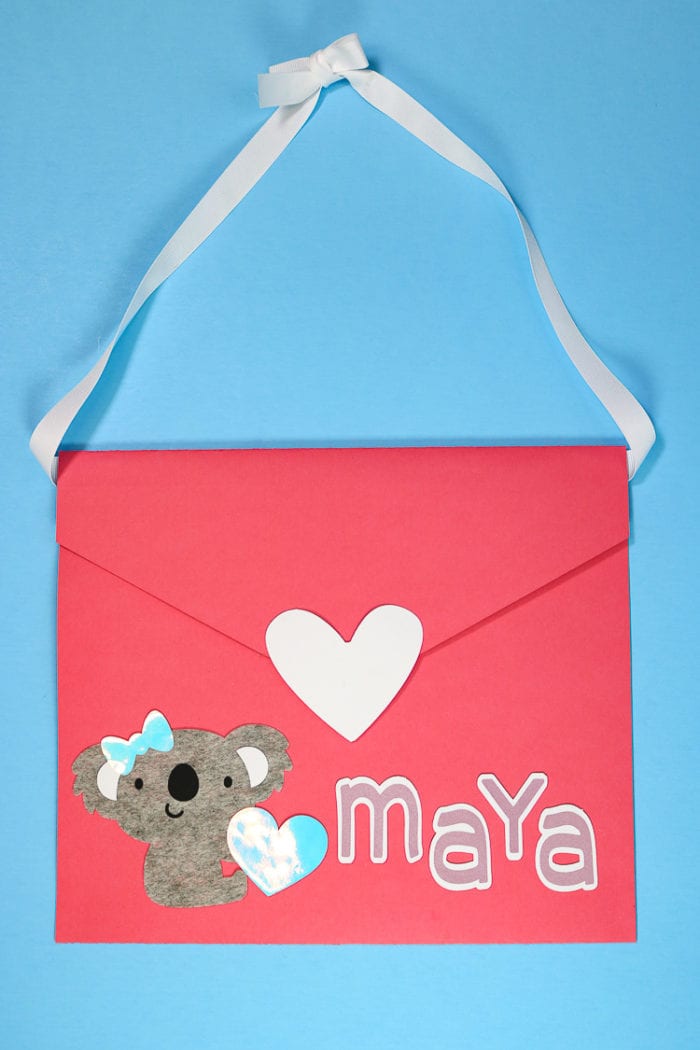
I cut the Koala from gray felt the same method as the robot above. I used black iron on and my EasyPress 6 x 7 size with the mat to adhere the face onto the koala, same as the owl. I then cut the bow and hearts from holographic vinyl. I used transfer tape to apply them to the felt.
You certainly can add vinyl to felt! Especially in this case where we will not be washing this project at all! I had some on hand from these awesome Unicorn Cupcake toppers and I use it any chance I can get (which is not as often as I’d prefer!)
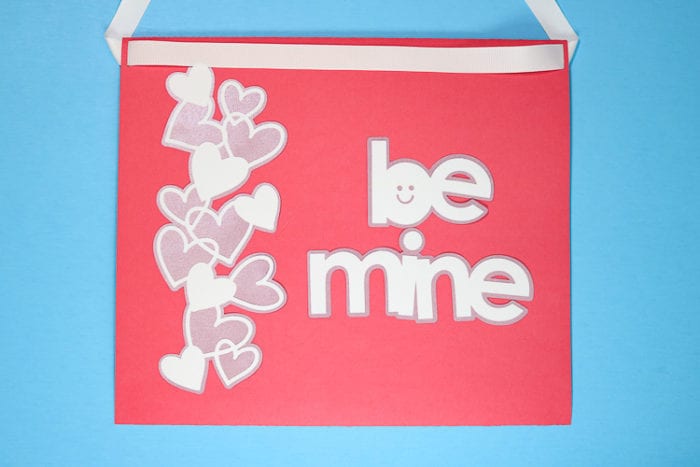
Of course, I added my neighbor’s name as well as fun designs on the back! If you don’t have Cricut Access, I recommend it! Like how cute would a Valentine box be with these bees?!
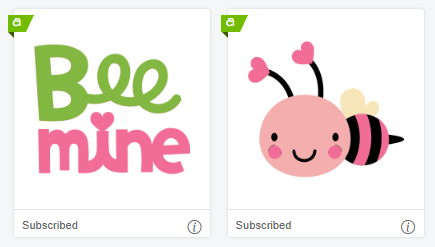
With Cricut Access you get to use anything with those green a’s in the upper left corner! This would be soo cute on one of these DIY Valentine Boxes!
PIN ENVELOPE VALENTINE BOXES


Leave A Reply!