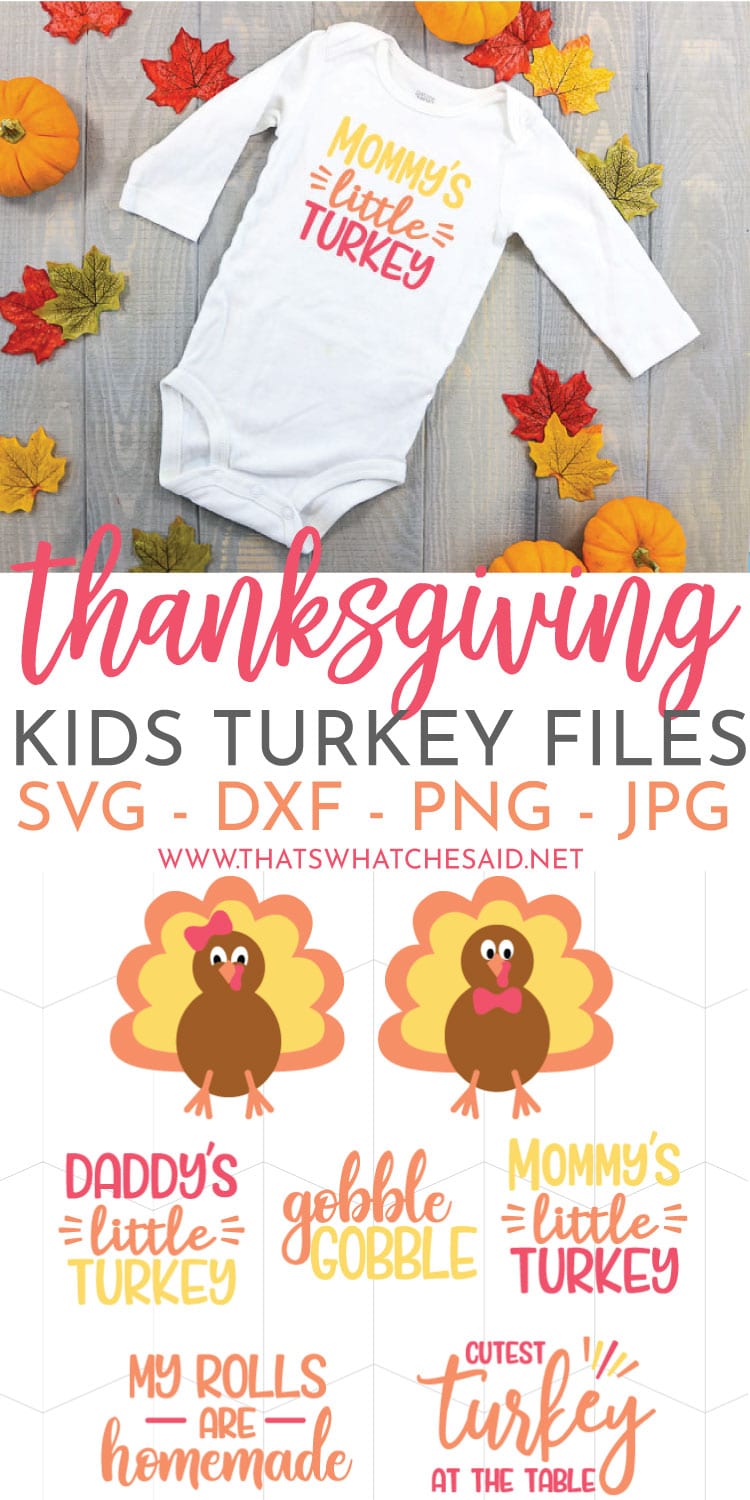
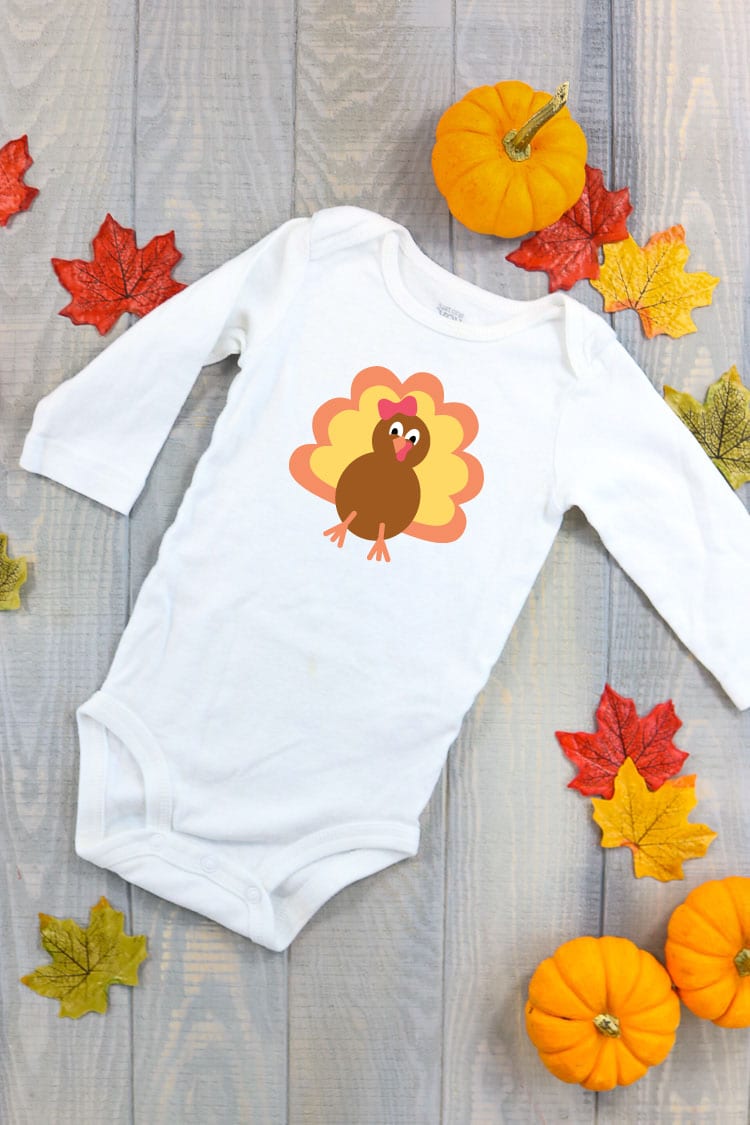
If you have a little turkey at your Thanksgiving Table this year you will want to grab these turkey SVG’s! There is a boy turkey and girl turkey version. Pair them with some cute Thanksgiving baby bodysuit sayings I made to create an adorable Thanksgiving Baby Bodysuit or shirt!
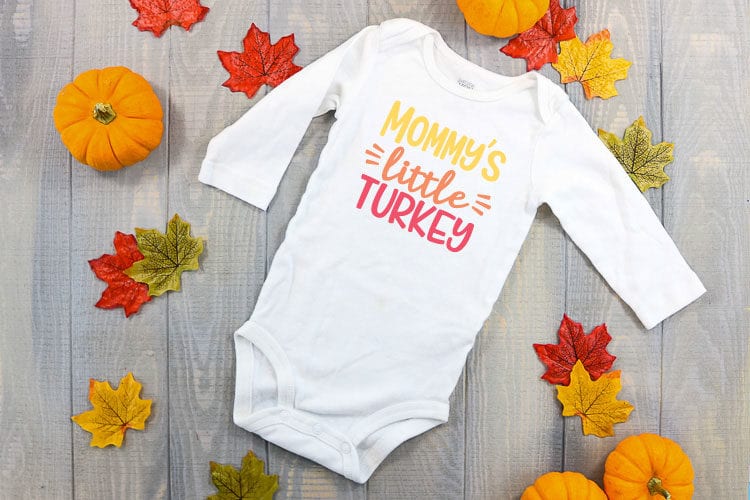
I absolutely love making fun baby bodysuits. It all started with this Freshly Squeezed Bodysuit and then this I’m Cute Bodysuit and then this snarky Birth Bodysuit. I have a Leprechaun Sized file and so many more! It was only a matter of time before I made some Turkey Baby Bodysuits!
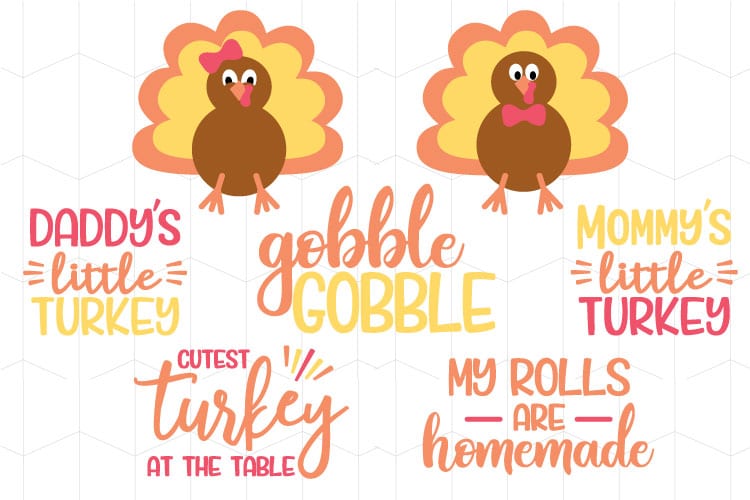
Supplies for Turkey Thanksgiving Baby Bodysuits:
- Cricut Maker
- EasyPress 6×7 Size
- EasyPress Mat 8×10 size
- Iron-on {Cricut | Expressions | Amazon
}
- Blank Baby Bodysuit
If you are new to iron-on these following tutorials may be helpful:
If you are choosing to use Glitter Iron on (which is SUPER cut on the girl turkey) it is not recommended to layer the glitter vinyl. So what do you do? I will show you what to do!
How to use the Slice Tool in Cricut Design Space
First, you will upload your SVG in Cricut Design Space.
Next, be sure to ungroup any layers by selecting your design and then clicking the Ungroup button in the Layers Panel on your Canvas Screen.
TIP: When using the Slice tool, I find it easiest to work from my back layer to the front layer.
When slicing layers you can only work with 2 layers at a time. The slice will make independent shapes from all intersecting lines of those 2 layers. For example, with my turkey, I am going to Slice the orange and yellow layers.
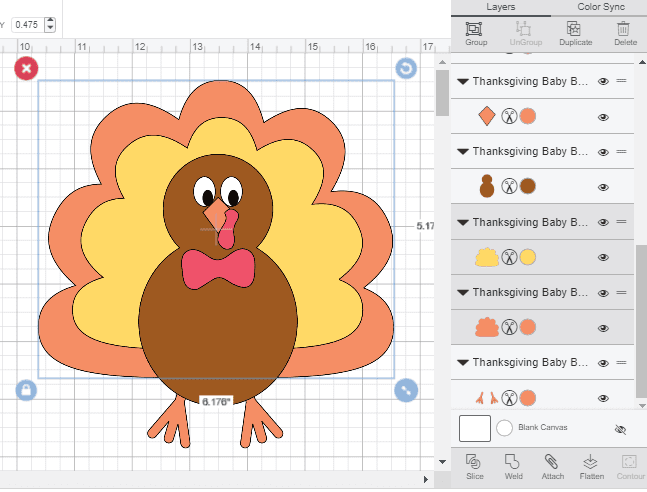
I select the 2 layers and click the slice button. My layers move from the back of my design to the front and now look like this.
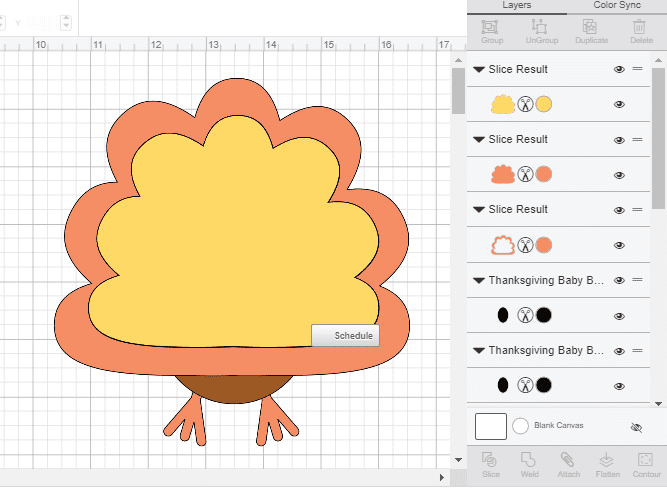
You can see in the layers panel that the 2 layers we selected have now turned into 3 layers and are labeled as Slice Result. We want to delete that orange layer that is behind the yellow layer.
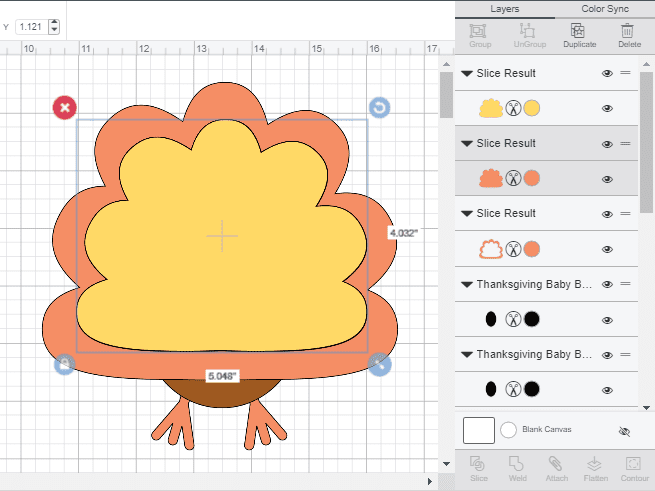
My tip is to work from back to front so focusing on the orange layer, we took care of the yellow layer but now we have to take care of the brown layer that is also on top of the orange layer. We will do the same technique. Select both layers, Slice, delete what is not needed. In this case, we get this:
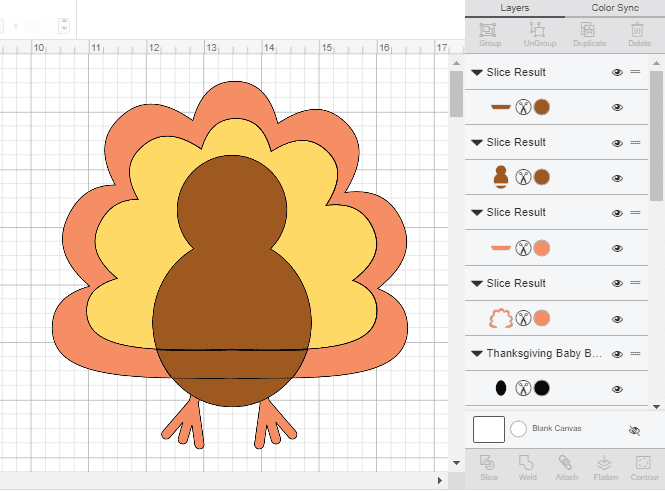
The slice creates layers of each intersecting area so our turkey was just cut into thirds, lol. Don’t worry we have magical powers here in Cricut Land and we can bring him back to life! Simply select the brown layers and click weld and he will be good as new! Also dont’ forget to delete that orange layer that was behind the turkey body!
Repeat this process for each remaining top layer. Both eyes (done separately) Beak, Gaggle, bowtie and feet (will need to reweld the feet also)
NOTE: For the eyes, I only sliced the whites of the eyes because I am using a white bodysuit, I can delete this layer altogether and just use the white fabric as the whites of the eyes.
Now you are left with layers that look like they are layered when put together, but in fact, are each touching the fabric of your blank!
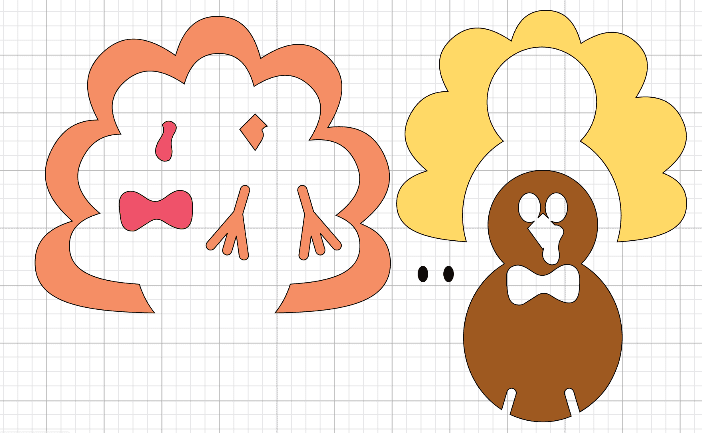
Sneaky right? Doing this will get you the best adhesion of your iron on to your fabric blank!
More Turkey Fun
Get the Turkey SVG Files Here
The duration of this FLASH FREEBIE is over and it is no longer available as a free file.
You may now find it in my shop as an instant download!
Flash Freebies are available for a limited time.
Be sure to sign up for my emails so you never miss another Flash Freebie!
Don’t Miss Out!
Get quick crafts, easy recipes and free printables & cut files straight to your inbox!
PIN TURKEY BABY BODYSUIT BUNDLE



Leave A Reply!