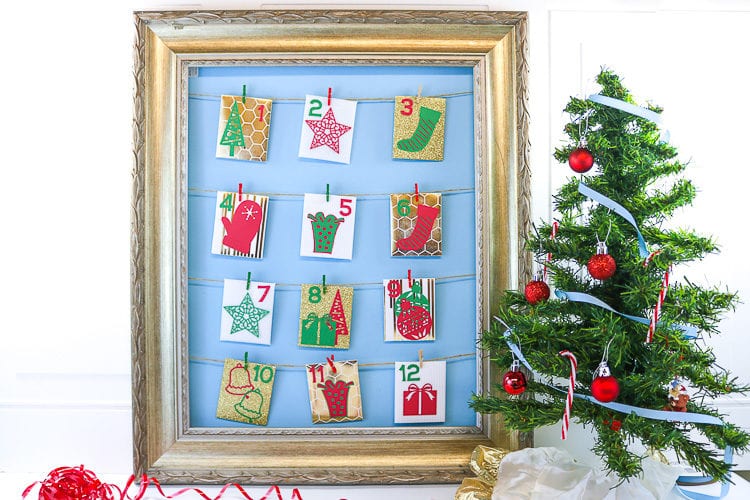
If you are looking to do something special yourself or with your family, this Random Acts of Kindness Advent Calendar is a fun way to spread some cheer this holiday season as well as teach your small people about giving! This whips up quickly with the help of the Cricut Maker and my advent calendar file!
Do you have a Cricut Maker? Do you want one? If not, you will want one after this post :) The Cricut Maker is an awesome electronic cutting machine that includes an adaptive tool suite that makes your creating possibilities endless! I just recently posted all about the Maker and answered any questions you may have if you are trying to decide if you need one or what Cricut machine to add to your holiday nice list!
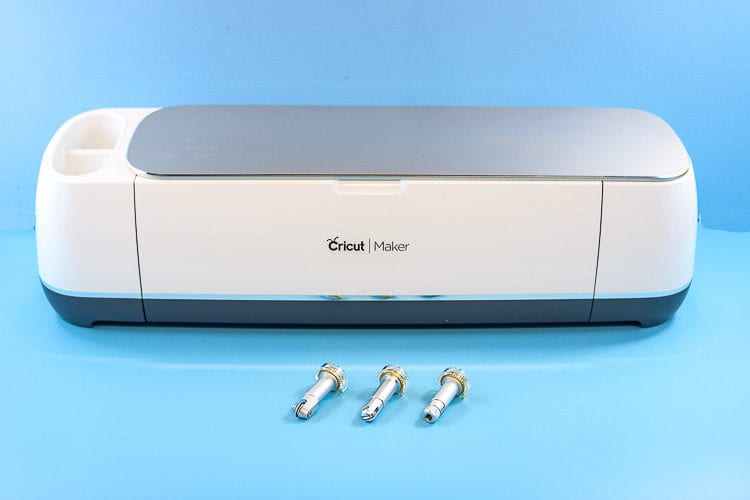
The Cricut Maker has an adaptive tool capability. Not only will it cut vinyl, iron on and cardstock with the fine point blade, but I can replace the fine point blade with a rotary blade and it will effortlessly cut felt, fabric, burlap and more without needing the fabric to be lined with an interface as you do with the previous machines. We will use the rotary tool today to create some fun felt envelopes for the advent calendar!
The scoring wheel can be interchanged to create amazingly crisp scores that will help you fold your projects with ease and crisp edges. We will use the scoring wheel today as well, to cut an array of materials including felt, foil embossed cardboard, corrugated cardboard and cardstock!
The Maker can also use the knife blade to cut chipboard, wood, metal and more! I have used it with my Seasonal Luminary, Halloween Tablescape, and Boxwood Wreath Decorations!
To write our Random Acts of Kindness on the cards for our Advent Calendar we will use the Pen tool! With the dual chamber of the Maker, we can write the card and then cut the card in one swoop!
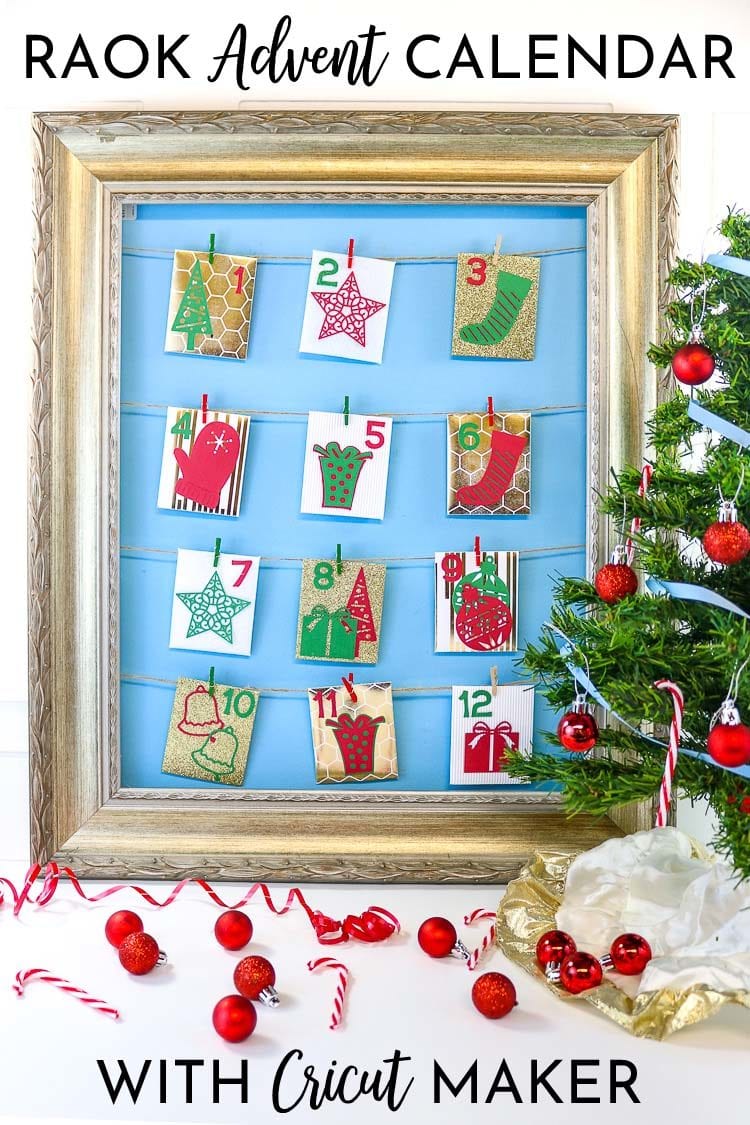
We will make this Random Acts of Kindness Advent Calendar by scoring Felt, Corrugated Cardboard, Foil Embossed Cardboard, and Glitter Cardstock! We will cut those same materials, plus iron on, washi tape, vinyl and regular cardstock and we will use the Glitter pens to write our acts of kindness! All that with ONE machine!
You can find out all things Cricut Here!
Random Acts of Kindness Advent Calendar Supplies:
- Cricut Maker
- Scoring Wheel (01)
- Rotary Blade (comes with Maker)
- Light Grip Mat (blue) (comes with Maker)
- Fabric Mat (Pink)
- Cricut Felt
- Foil Embossed Cardstock
- Corrugated Cardboard
- Glitter Cardstock
- Cardstock I used the Holiday Sampler
- Cricut Pens (Classic, Glitter)
- Vinyl (optional)
- Iron-on (optional)
- EasyPress 2 with mat (6×7 size) (optional)
- Weeding hook (optional)
You may find my Cricut Community File here to use for yourself! If you like it, give it a heart!
All of the fonts and designs I used for this are a part of Cricut Access! Cricut Access is a monthly subscription service that gives you access to an amazing selection of images and fonts to use in your projects! Join here!
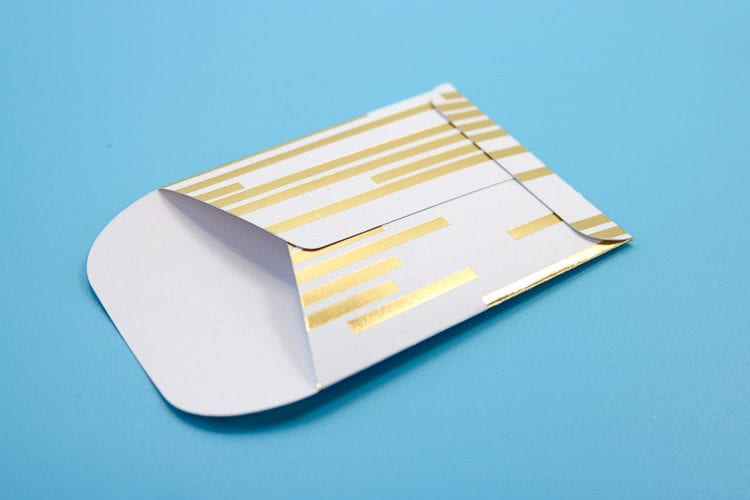
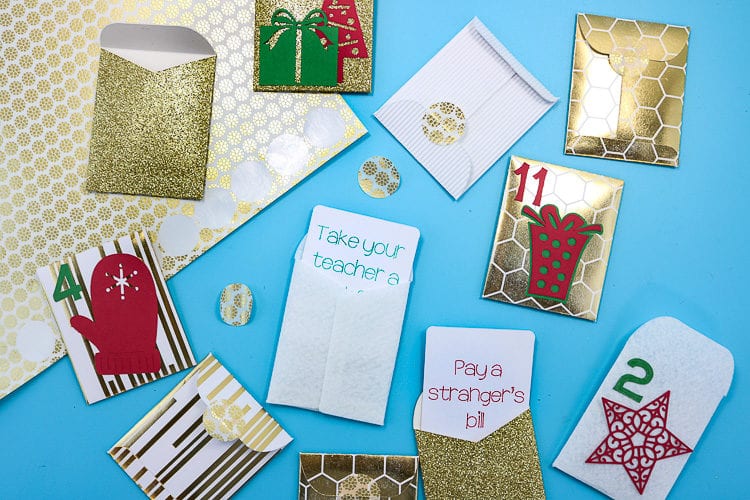
For the RAOK Advent Calendar envelopes, I made them with white felt, white corrugated cardboard, white and gold foil embossed cardboard, and gold glitter cardstock.
Cutting and Scoring Felt with the Cricut Maker:
Did you know you could score felt? You sure can and it worked beautifully to make these awesome little envelopes using the single scoring wheel. Here is what I did to use the scoring wheel AND The rotary blade together!
Open the file in design space and pull up the mat for the envelopes.
On material, select FELT
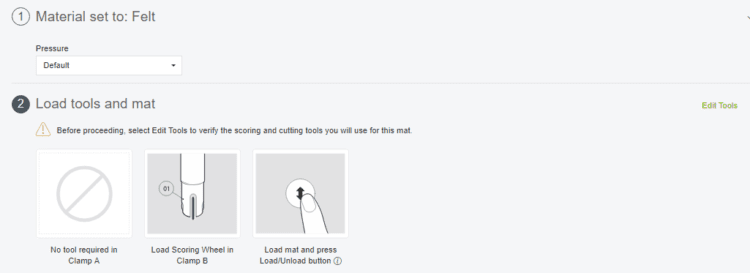
For the tools, Cricut will recommend you use the fine tip blade for felt, however, anyone who has used it will tell you to use the Rotary blade all the way! Cuts that felt like butter! Here is what we need to do to change this!
Click the “Edit Tools” button on the right side of Section 2 and here you can change from fine tip to rotary. You will need to do this first before you start to cut because you cannot edit tools in CDS during the cut.
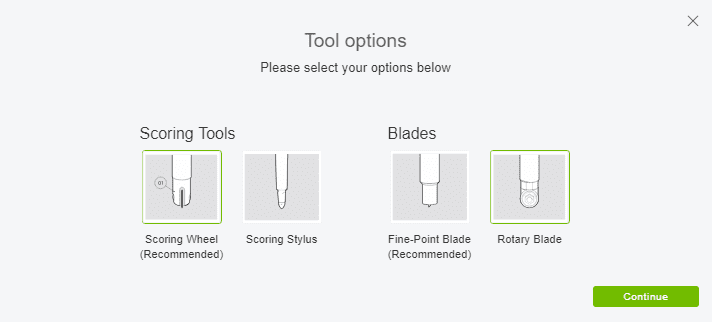
Prepare a fabric mat (pink) with your felt. I like to use the trick I share here with transfer paper to preserve my mat.
Load your mat and open clamp B and replace the fine tip blade with the scoring wheel. It just pops right in! Secure the clamp back into the closed position.
Press the Cricut C on your machine to begin scoring. After the scoring is complete, CDS will tell you to then replace the scoring wheel with the rotary blade. Press the C again to continue to then cut the felt.
You are left with a felt envelope with score lines to make folding the felt a breeze!
(For cutting the cardstock and cardboard above you only need the scoring wheel and fine tip blade. )
TIP: When scoring you want to place the PRETTY side of your material down on your mat so that you may “fold into the score” leaving your pretty side on the outside of your project!
Assembling the Envelopes:
These are easy to assemble. For the cardstock and foil embossed cardboard, I used a tape runner, for the corrugated cardboard and felt I used hot glue.
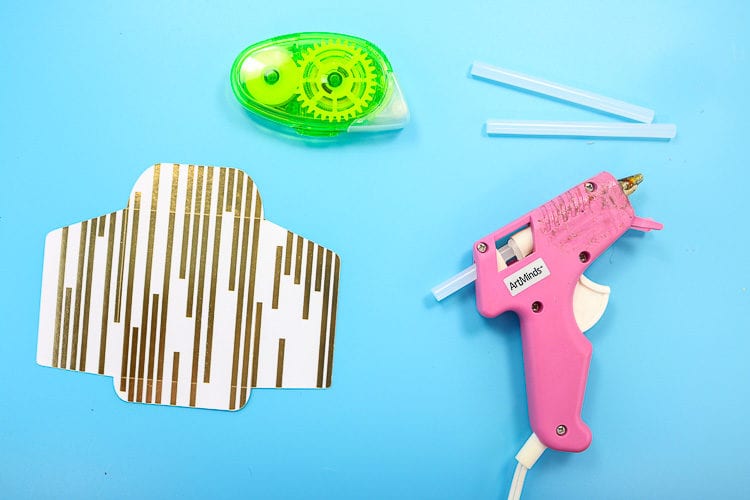
Fold the 4 sides along the scoreline.
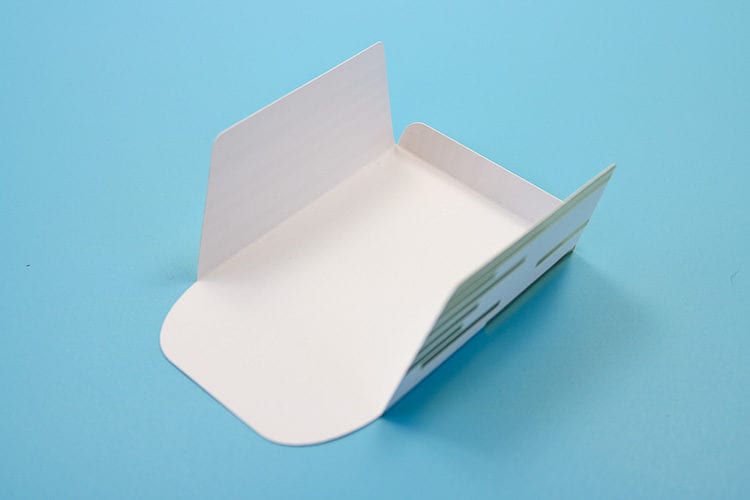
Fold over the two side flaps and secure using your adhesive.
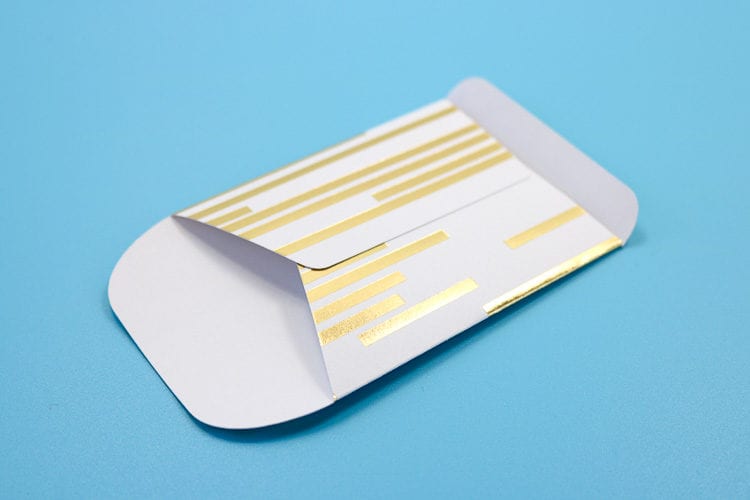
Fold up the bottom and adhere as well. Fold down the top and we will use the Washi stickers we will cut to close the top of the envelope. We need to add the RAOK cards first!
Writing our RAOK on the Cards:
If you have never used Cricut Pens before I urge you to check out my everything you need to know about Cricut Pens post.
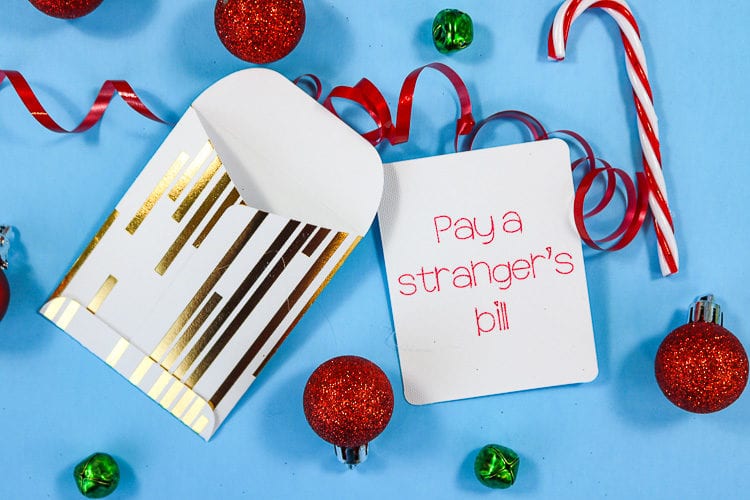
Use the text tool in CDS to add your specific RAOK to the cards. It is important that you select the card and the text and attach before you “make it”
Insert the Pen into Clamp A and the fine point blade in clamp B to have your Maker write the message and then cut the cards to insert in the envelopes.
Decorating our RAOK envelopes:
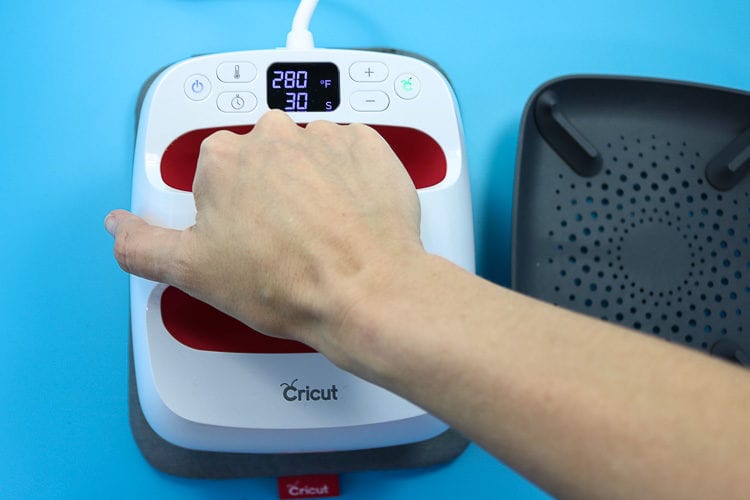
Here is where you can be creative!! For the felt envelopes, I used iron on and my EasyPress 2 (6×7 size) and mat to decorate with the fun adornments I included in my file.
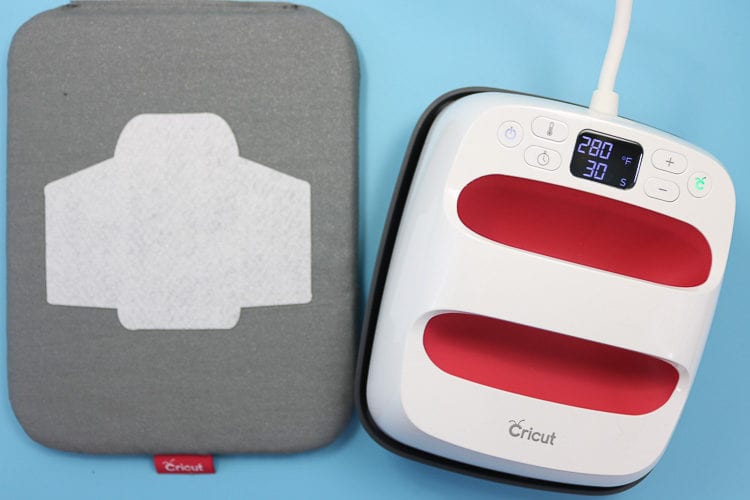
I pressed the decorations before I assembled the envelopes since I thought the EasyPress would melt the hot glue!
I also cut a set of shapes in Red & Green Cardstock as well as Red & Green Vinyl. I mixed and matched applications just as personal preference what I thought could go together and what I liked the best!
Lastly, I cut some “envelope seals” using a Washi Sheet! I forgot how much I love washi tape and the ability to cut a sheet into any shape you want is awesome!
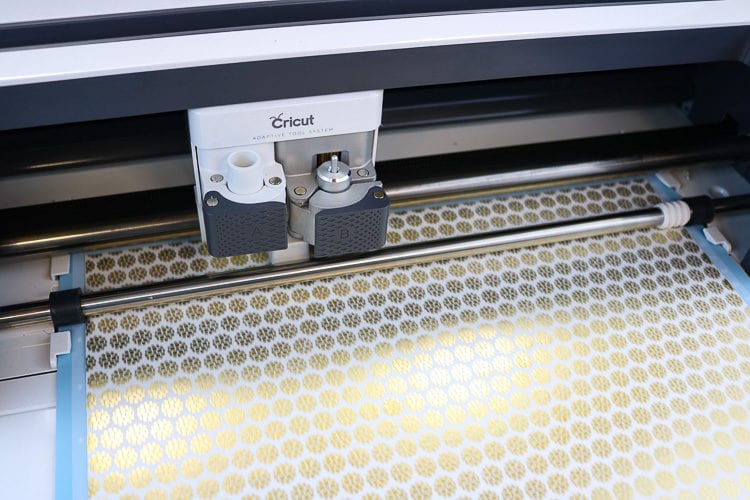
They are the 12 circles that are included in the Cricut Community file! Insert the RAOK card and close the envelope with an envelope seal!
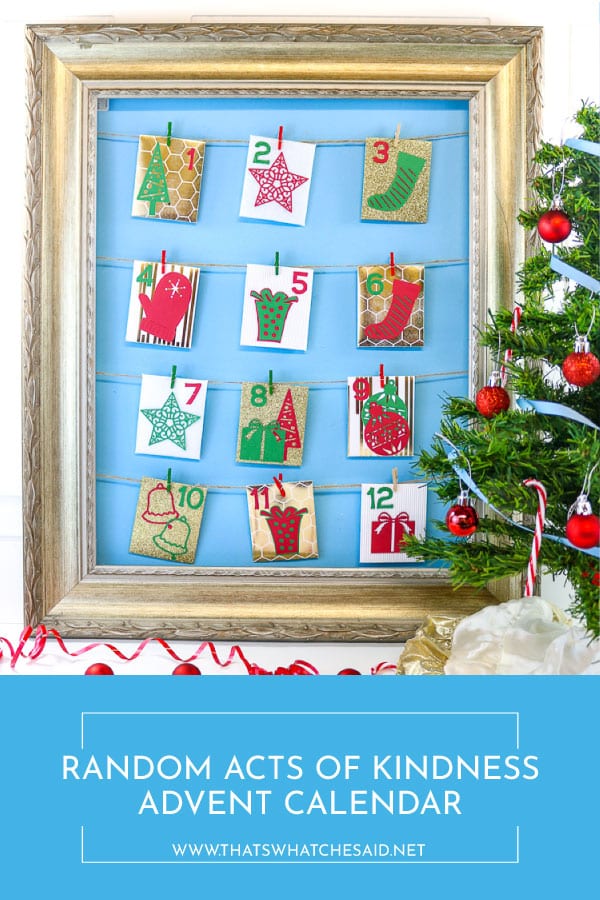
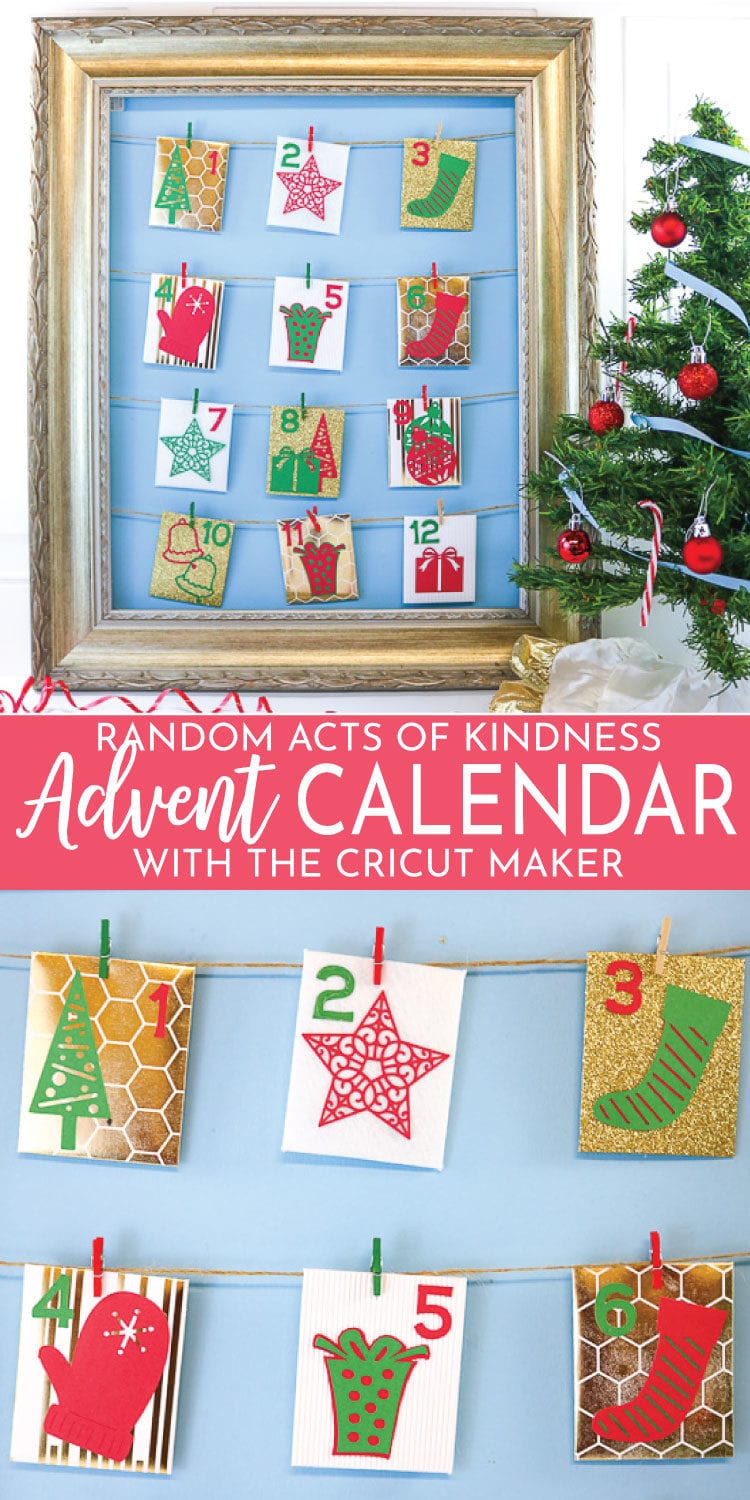
To display the Calendar, I followed this same technique I used here with my Holiday Card Frame. I hot glued some twine to the back of a frame and used tiny clothespins to pin them on.
RANDOM ACTS OF KINDNESS IDEAS:
- 25 Simple Acts of Kindness
- 101 Random Acts of Kindness
- 52 Random Acts of Kindness
- 100 Random Acts of Kindness for Kids
- Random Acts of Kindness Diaper Dash
CHECK OUT ALL CURRENT CRICUT DEALS HERE
More Cricut Projects
More Advent Calendars:
- Vinyl Countdown Advent Calendar
- Free Printable Santa Beard Advent Calendar
- Book A Day Advent Calendar
PIN RANDOM ACTS OF KINDNESS ADVENT CALENDAR

This is a sponsored conversation written by me on behalf of Cricut. The opinions and text are all mine.




Leave A Reply!