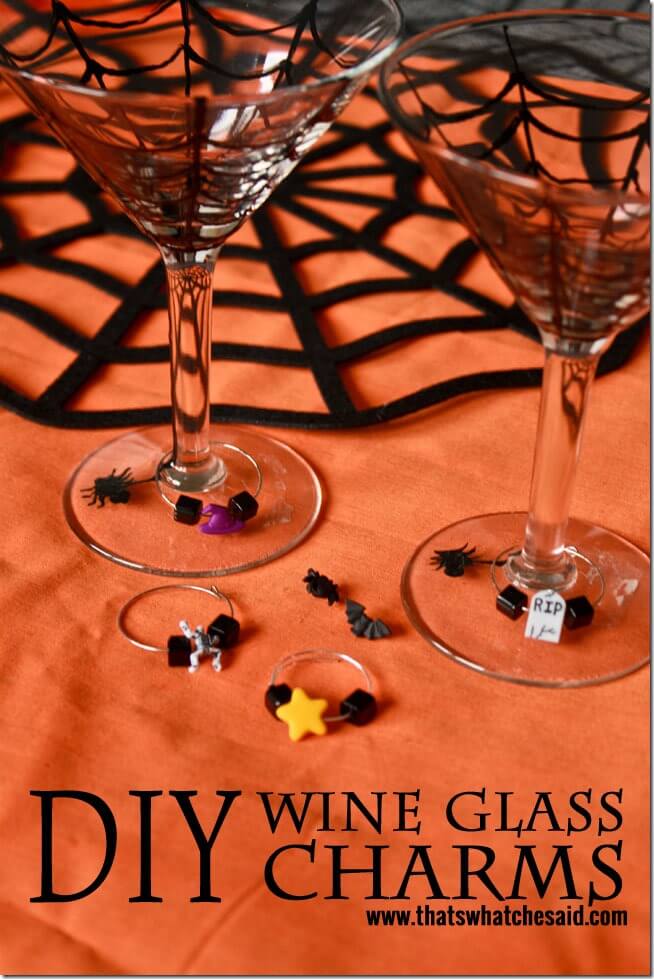
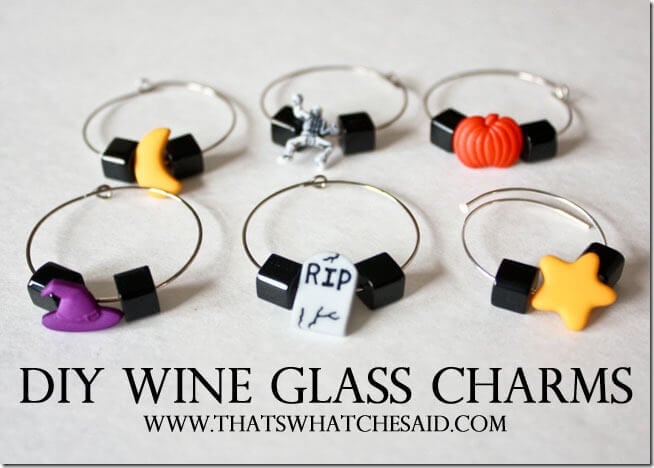
Are you hosting a Halloween party this year? Or having a fun dinner with friends? As part of the Jo-Ann Fabric and Crafts blogger team I am sharing some Shriek to Chic party ideas with you today including these fabulous DIY Wine Glass Charms!
Whether you drink wine or not, chances are you like to use fun glasses for parties! Maybe even these Spider Web Martini Glasses that I made before! The only problem with ditching the solo cup and permanent marker, is that it’s hard to tell who’s drink is who’s when you have more than one person drinking from them! These DIY Wine Glass Charms are so easy to make and you can customize them for whatever occasion you have in store!
Supplies Needed:
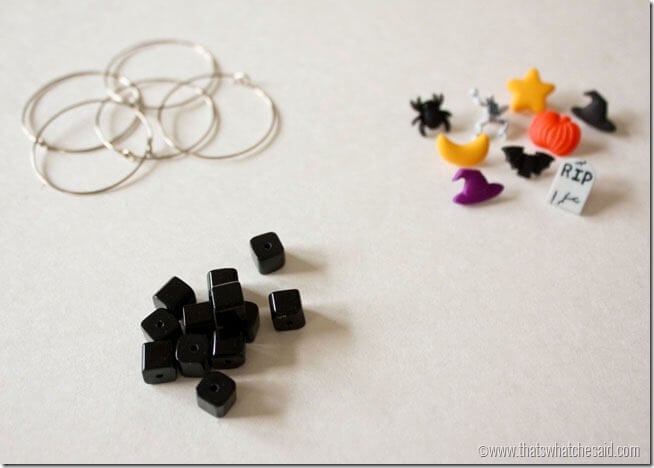
- Wine Glass Charm Rings*
- Beads
- Specialty Button Pack
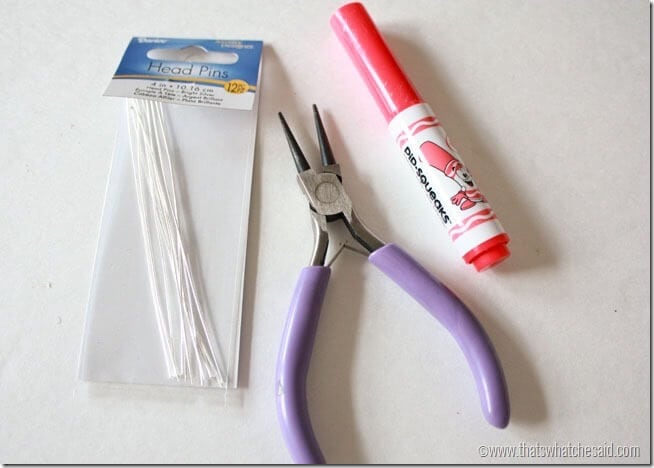
*If you can’t find wine charm rings you can use the supplies below.
- 4 inch Head Pins (found in jewelry section)
- Magic Marker
- Pliers (optional)
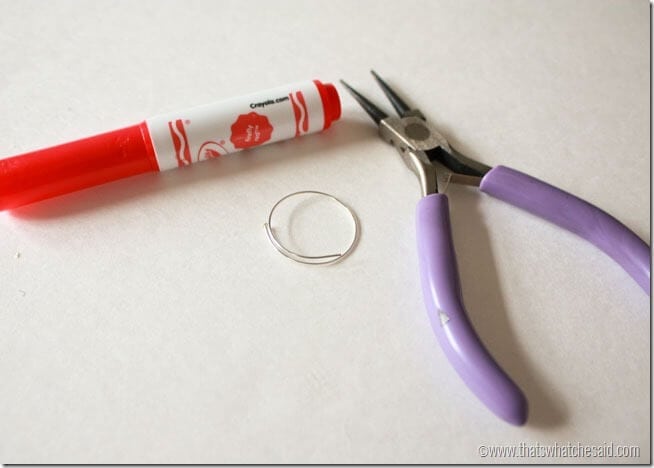
First I will give you a quick step if you cannot find the premade wine charm rings. Simply take your head pins and wrap them around the magic marker. Wrap them tight and in a fluid motion. You can use the pliers if needed, I was able just to use my fingers to hold it tight to the marker. You will be left with this ring where the ends overlap forming the perfect charm for your glasses!
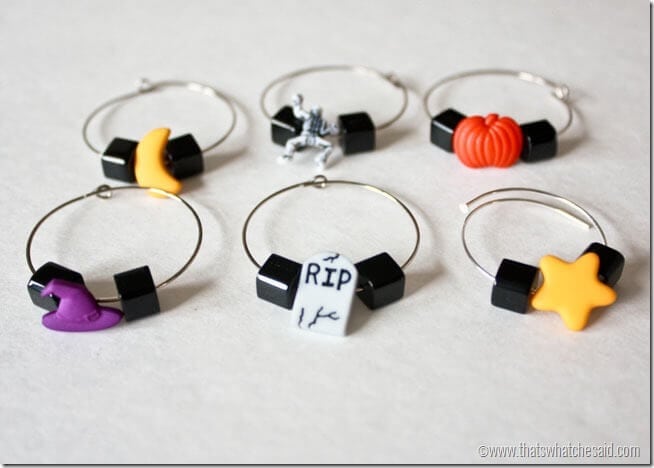
OK now that we have our rings, premade or made ourselves, the process is super simple! I strung on a square black bead, a fun Halloween button, then another bead. And you are done. I told you this was easy! Why buy them when you can so easily make them?
I love the way the the square beads look on the round rings! You can choose any shape or color of beads you like as well as buttons! Jo-Ann has a huge selection of strung beads as well as fun buttons!
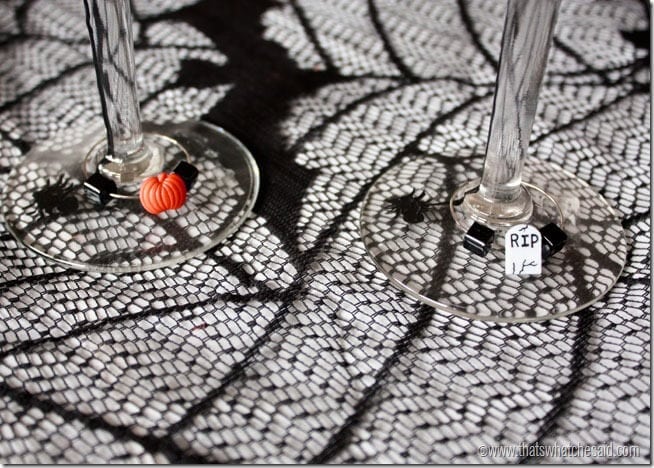
Pop them around the stems of your glasses and each guest can now distinguish which glass is theirs! No germ sharing happening today :)
A few more fun ways to turn your party From Shriek to Chic:
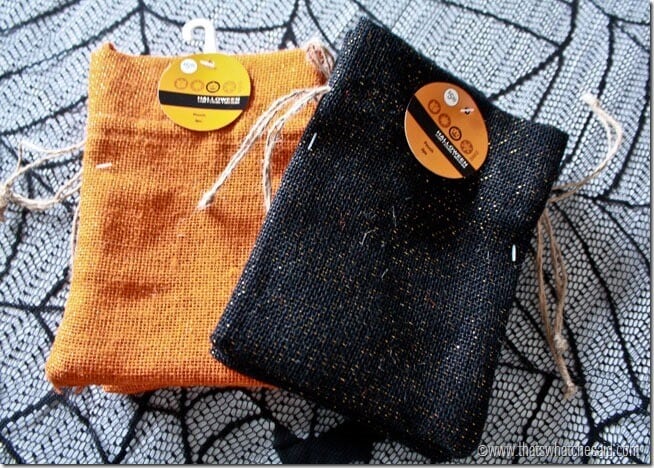
I picked up these cute orange and black burlap bags.
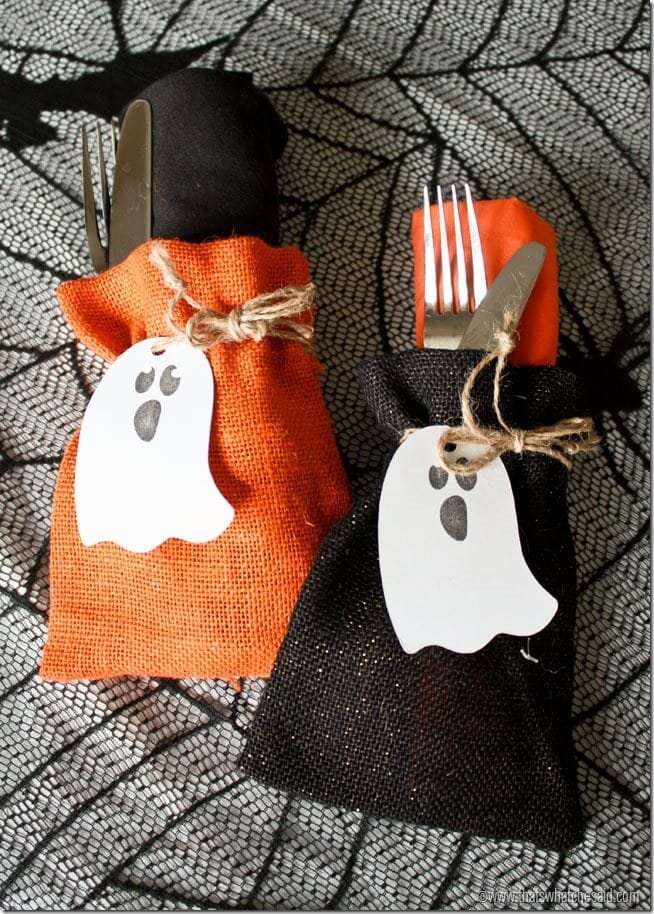
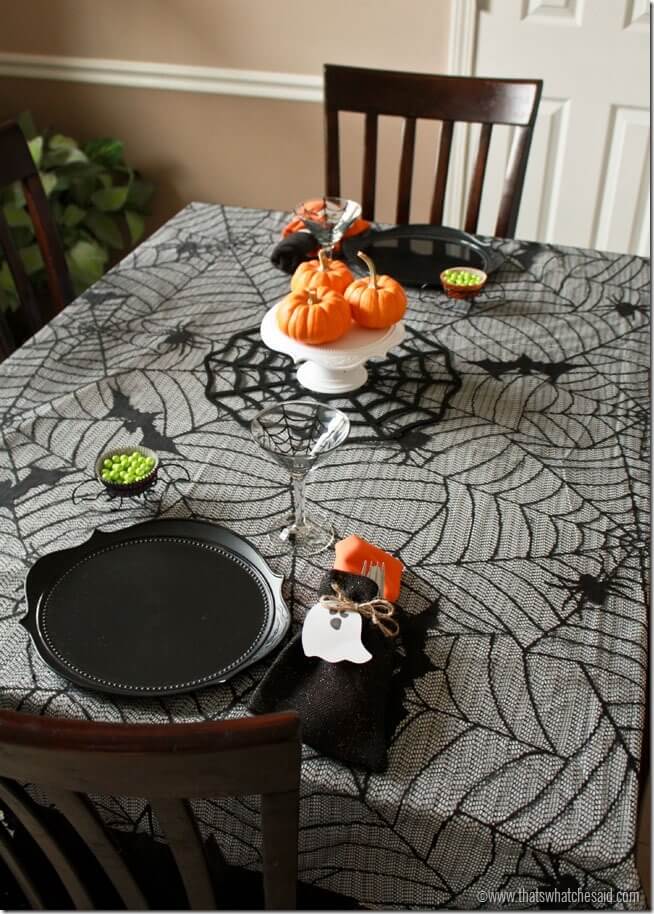
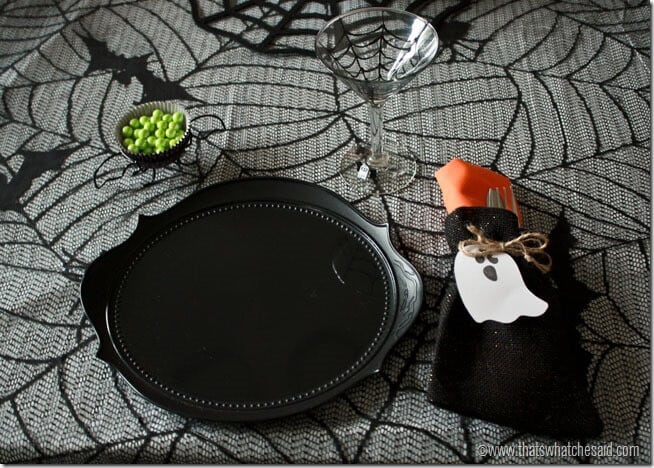
If you read this blog often you will know I LOVE to use bandanas for napkins! They are the perfect size, perfect fabric weight and easily washable and re-foldable. I have used them before for my thanksgiving table, football parties and 4th of July festivities! So for this party I simply filled the cute bags with and opposite colored bandana and silverware and I tied them shut with these cute Stamped Ghost Tags that I made with my Silhouette CAMEO and the Stamp Kit (you can also find both of these, the CAMEO and stamp kit at Jo-Ann)
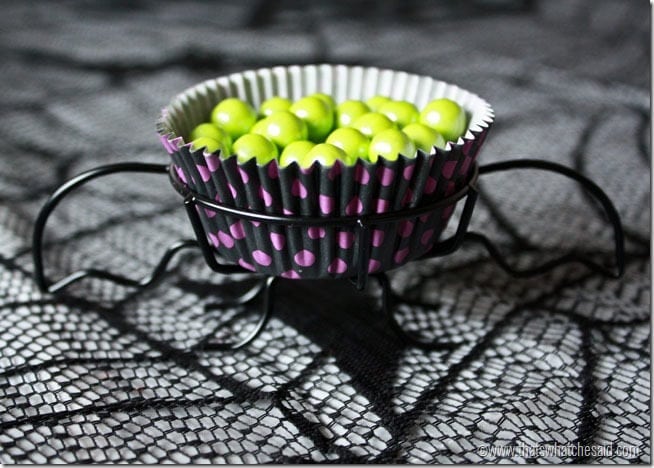
Another fun idea is to use cupcake holders for a different purpose! I picked up these bat metal holders and some fun Halloween cupcake liners in the baking section and instead of cupcakes, I had them hold “Witch’s Warts” (green Sixlets).
To add some fun drama to the table itself, I placed this fun Spider Web Table Cloth that I picked up in the Halloween décor Section at Jo-Ann over a white table cloth! I added some pumpkins to the center and some spooky plates!
Happy Spooking Friends! Do you have some Halloween Projects that you are “DIY-ing” to share?!? {wink} Join us by sharing your projects here and using #DIY4Halloween on social media!
Disclosure: I am a member of the Jo-Ann Crafts Blogger Team and I have either received compensation or product for this post. All projects and opinions are 100% my own. You may read my full disclosure here.



Leave A Reply!