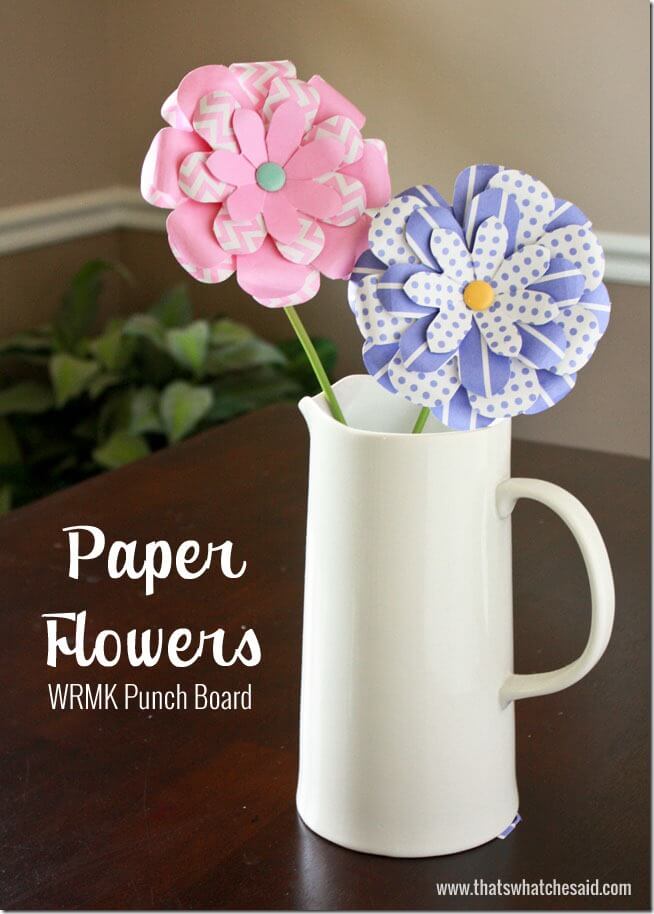
I have a step by step tutorial on how to use the WRMK Flower Punchboard to make Paper Flowers! Paper flowers are perfect for wreaths, decor, cards, bouquets, headbands, wedding showers, baby showers and so much more!
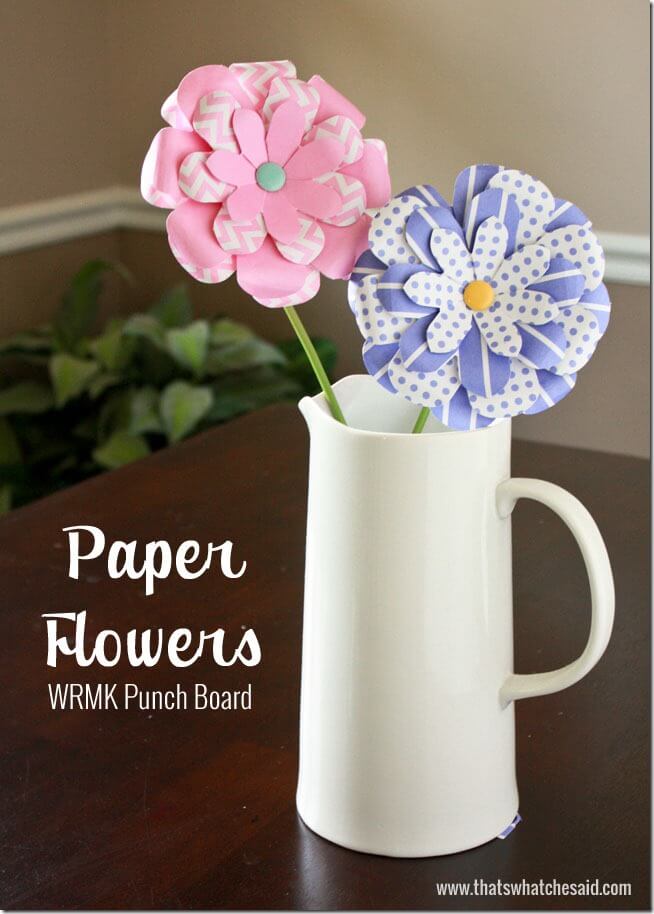
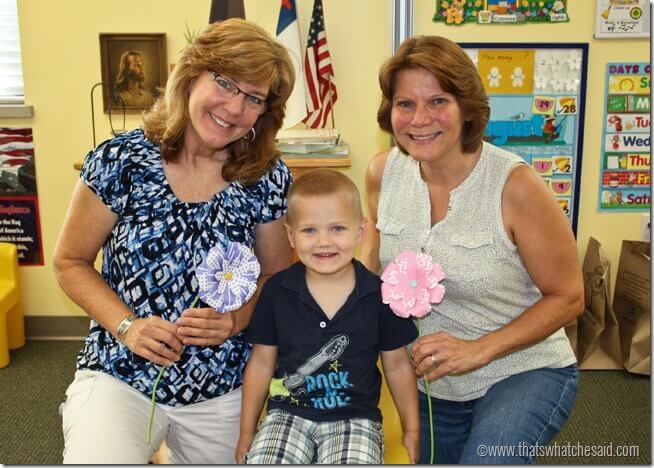
Ryan started his last year of Preschool this past week (Pre-K) and he really wanted to bring his teachers a flower. Well it has been the face of the sun here lately and not much is blooming (or surviving) and real flowers just die so we decided to make his teacher’s some paper flowers!
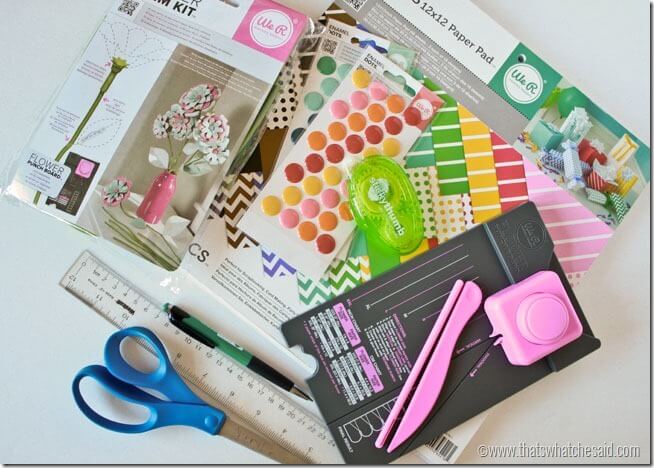
Supplies Needed for Paper Flowers:
- We R Memory Keepers Flower Punch Board
- We R Memory Keepers Basic Paper Pad (12 x 12)
- We R Memory Keepers Flower Stem Kit
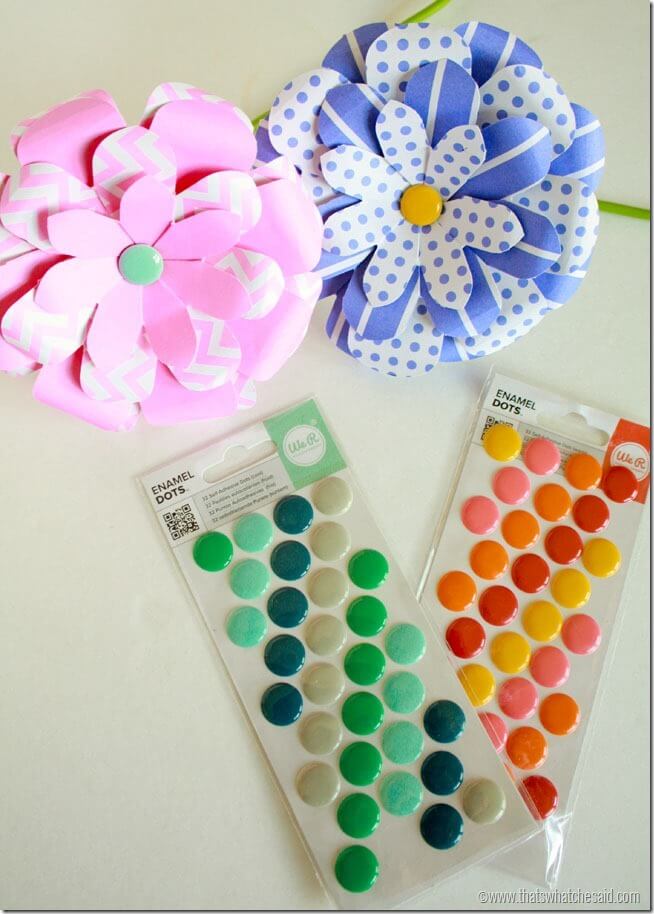
- We R Memory Keepers Enamel Dots
- We R Memory Keepers Sticky Thumb
- Ruler
- Pen
- Scissors
How to use the WRMK Flower Punchboard:
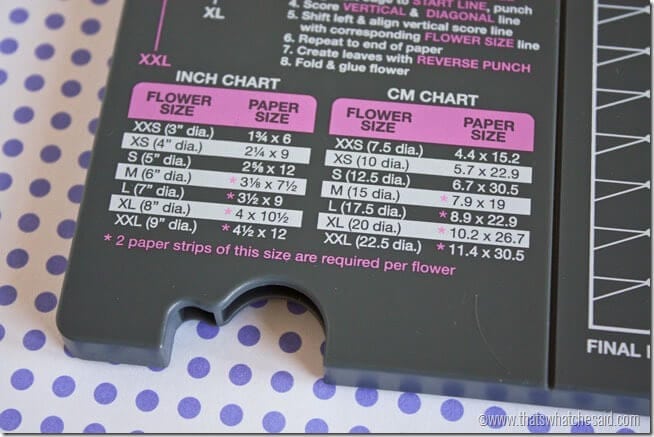
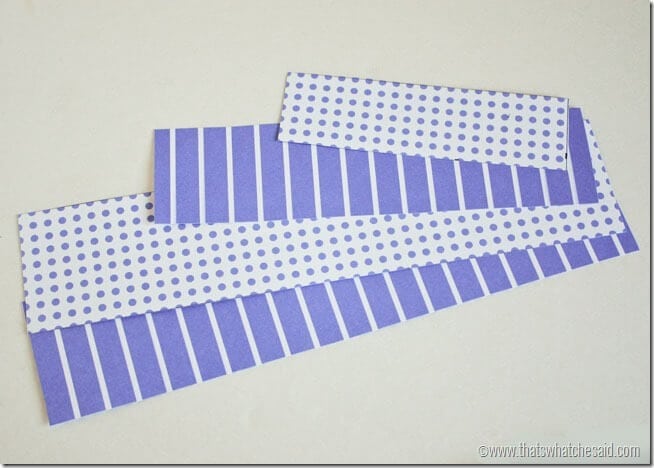
If you look at your punch board, it will give you the exact dimensions that you need to cut your paper depending on the size of flowers you want. I love that it is printed right on the punch board as opposed to a loose piece of paper or packaging that I have to remember to hold on to…or better yet, remember where I put it!
I made 2 Smalls, 1 XS and 1 XXS. I love the Basic Paper Pack because the paper is double sided making my flowers super fun!
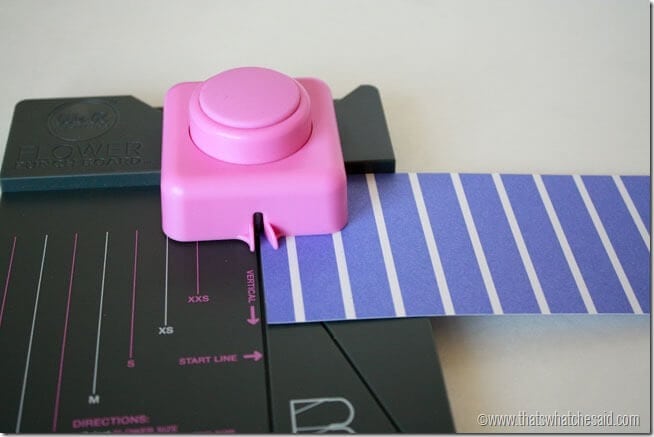
First I lined the edge of the paper up with the line on the board. I punched and then I scored on the diagonal.
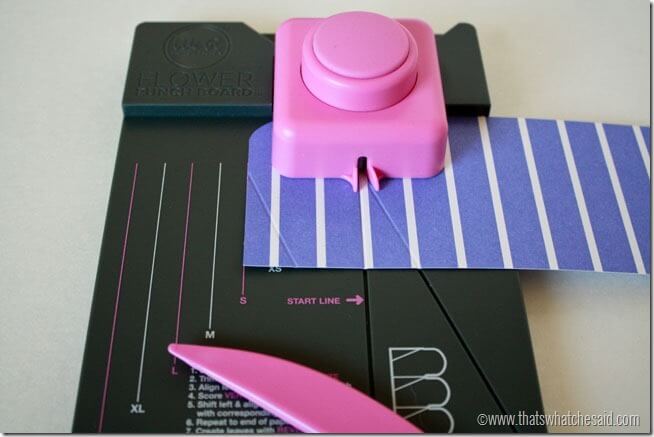
Next I moved my edge over the appropriate line on the board according the sized strip I had. I punched again and then this time scored along the diagonal and the vertical.
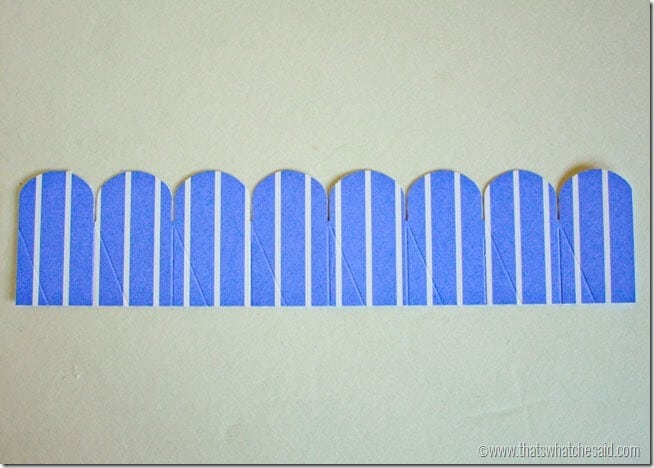
Repeat this last step until your entire strip is punched and scored.
Note: To add dimension, you can trim one or two of your petals from the above picture to give a more 3D affect. I trimmed off 1 petal from one of the two smalls, the XS and the XXS.
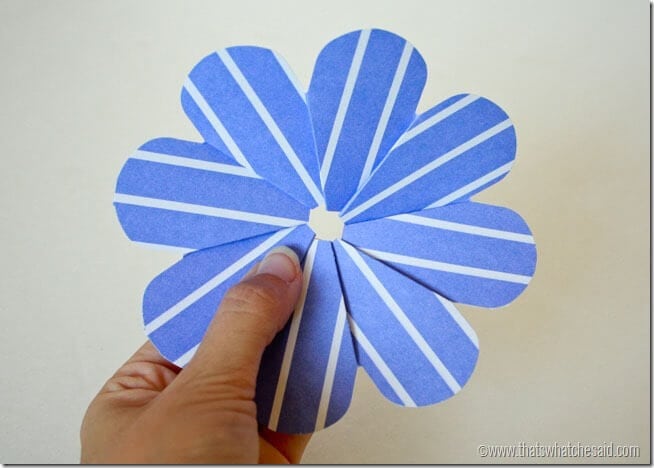
Accordion fold your strip until you have a flower! I used my sticky thumb to secure into a circle! Repeat for all of your layers.
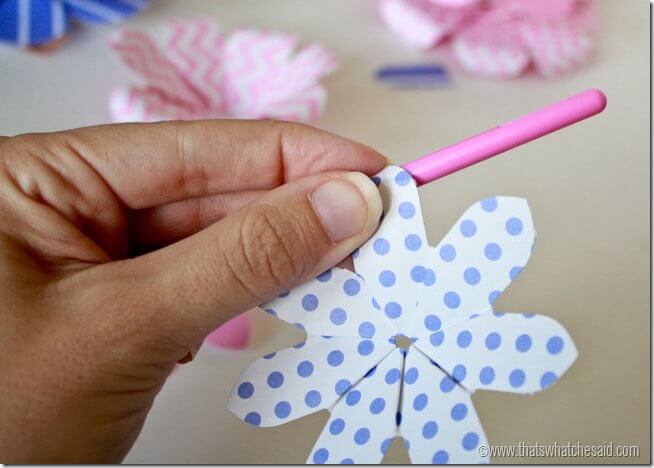
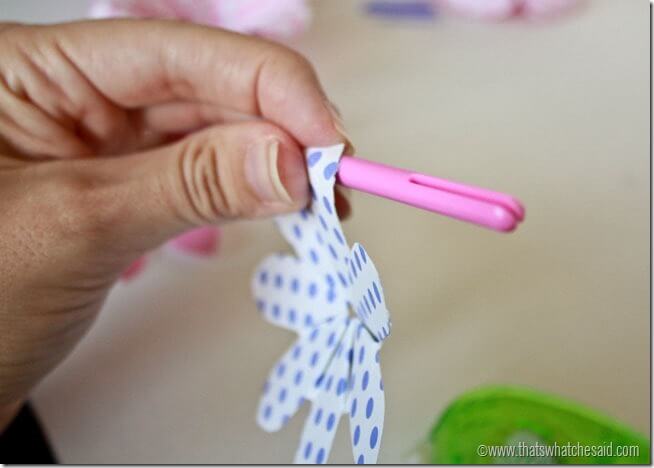
To give your flowers even more 3D effect, use the enclosed stick to curl the petals.
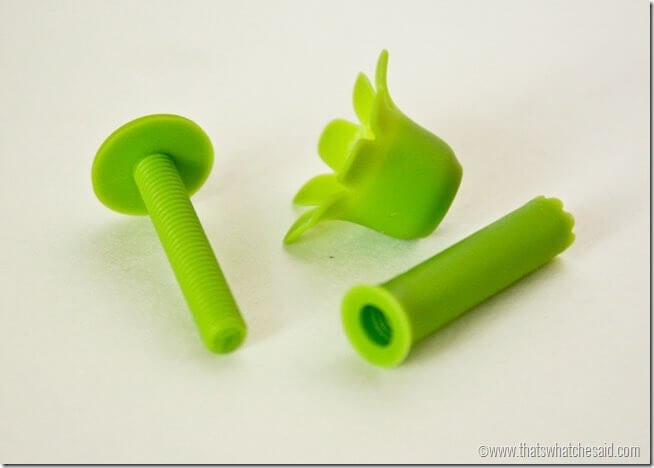
Next to assemble the flower I used the Stem Kit. Find these three pieces, the post, the anchor and the screw.
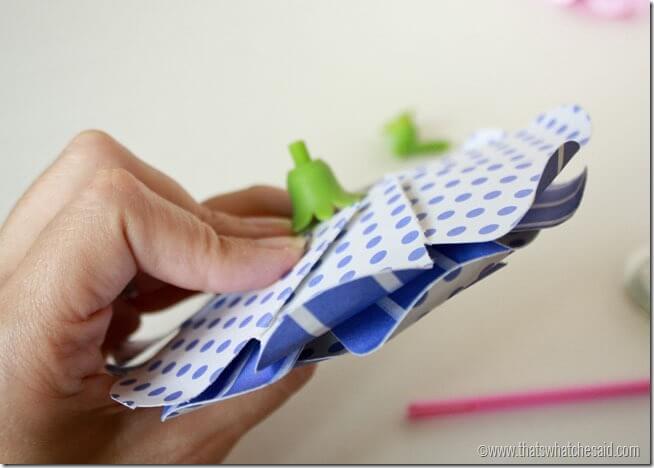
Start by feeding the post through the center of all of your layers.
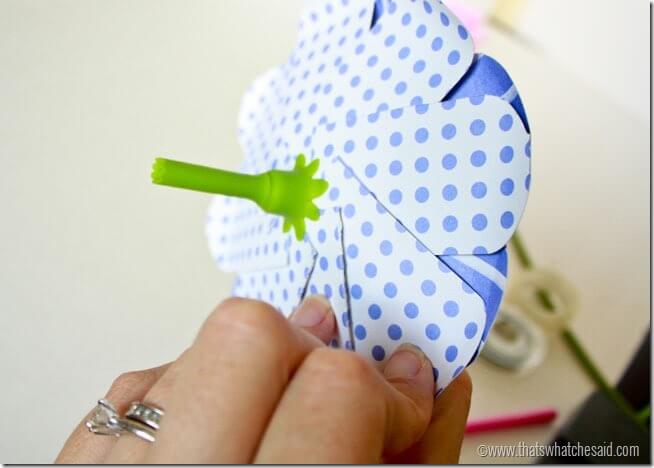
Next secure the anchor on the back onto the post.
To keep in there, screw on the screw.
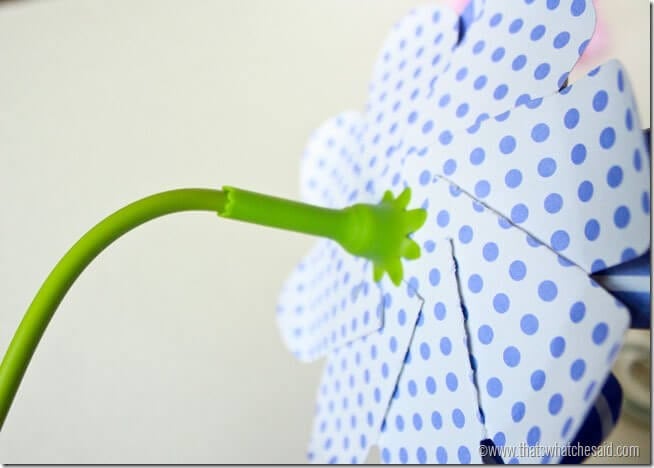
Lastly you can add the stem. It slides right into the open side of the screw.
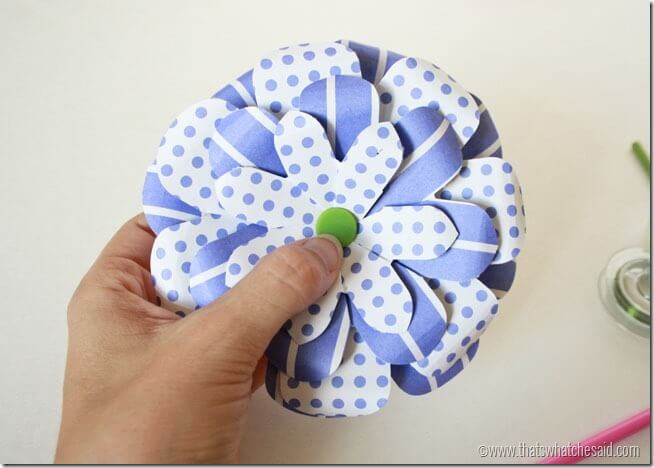
To complete your flower, I covered the post with some enamel dots.
Here are some other great Flower projects:
DIY Flower Planter Boxes
Flower Monogram
How to Make a Fabric Flower (video)
Flower Power T-shirt
As part of the Studio Team I was given product of my choosing free of charge to complete my projects. I only recommend products that I love. You can read my full disclosure here.



Comments & Reviews
Jacqui Odell says
This is such a cute craft!! It sounds a lot simpler than it looks.