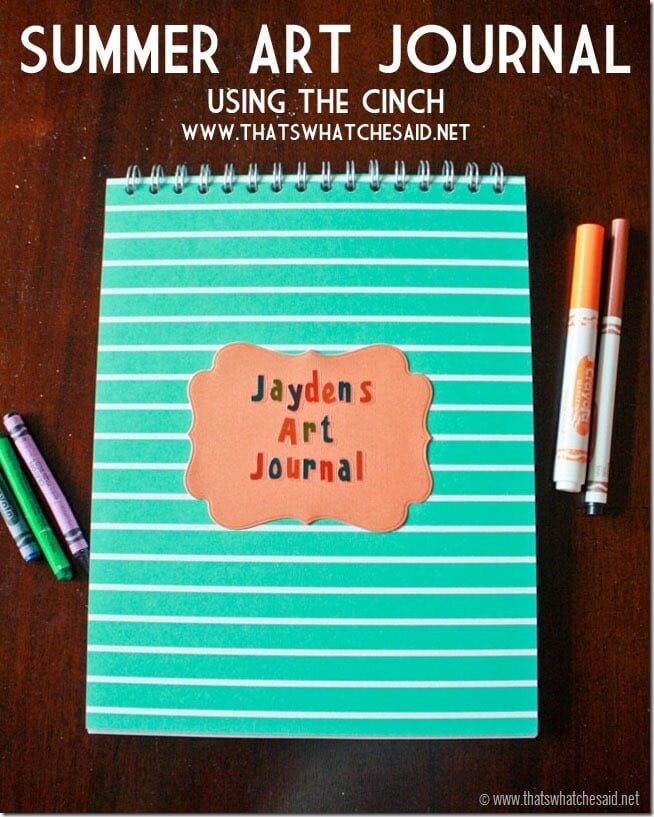
Summer is here! Yay for warm weather, watermelons, barbeques, and fireflies! Boo for hearing “I’m bored” and “I have nothing to do!” This Summer Art Journal is a great way for your child to document their summer festivities and make a fun keepsake!! Thanks to We R Memory Keepers for the supplies for this post. I am a Lifestyle Crafts Studio Team Member and that means I can show you how the awesome products work and offer you fantastic discounts! (see below!)
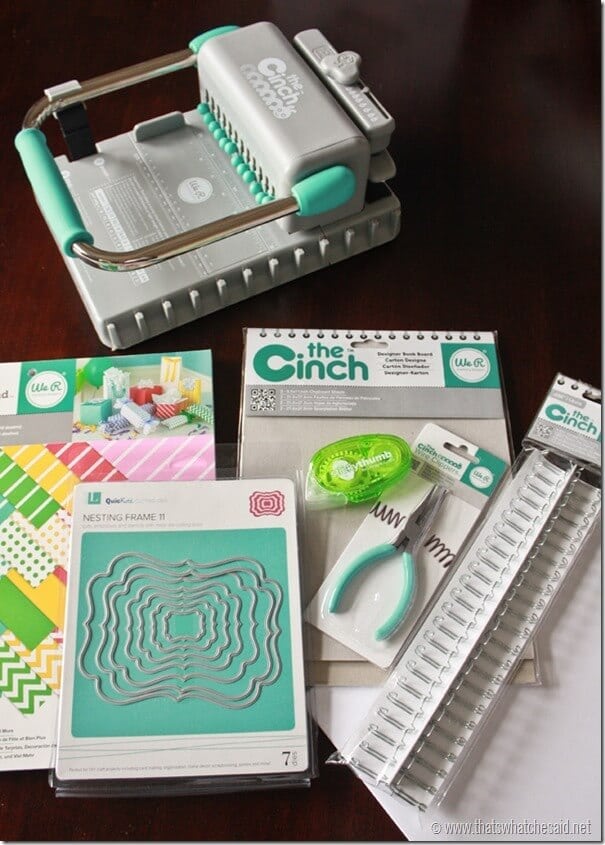
Supplies Needed:
- White Copy Paper (50 sheets or so)
- The Cinch
- Basic Pack Cardstock
- The Cinch 8.5 x 11 Book board
- Sticky Thumb
- The Cinch Wire Snips
- The Cinch 5/8” Binding Wire
- Nesting Frame 11 Dies
- Scissors
- Pencil
- Evolution (not pictured)
- Genius Platform (not pictured)
- scrapbooking alphabet stickers (not pictured)
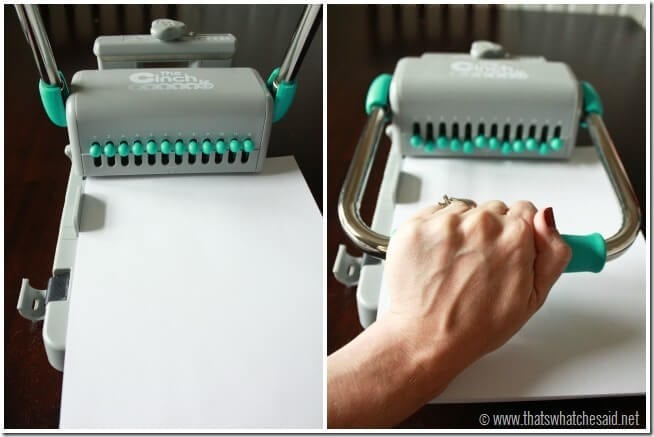
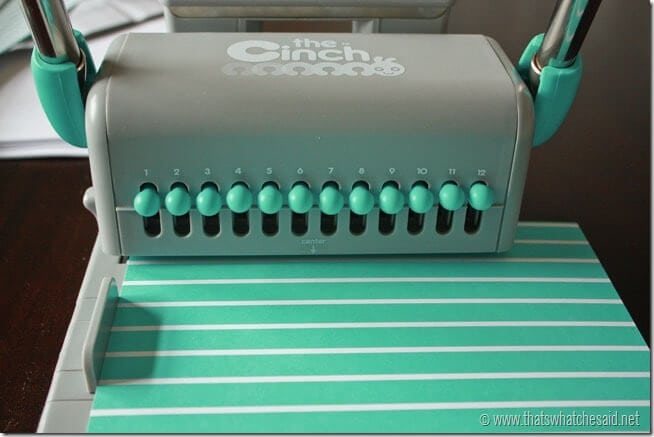
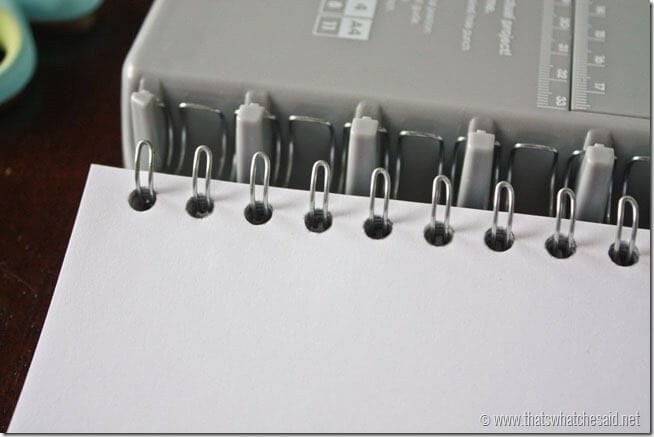
Start off by punching your white paper. To do so you will first punch your paper with the slide in the normal position. Line it up and pull down the handle. I was easily able to do about 15 sheets at a time.
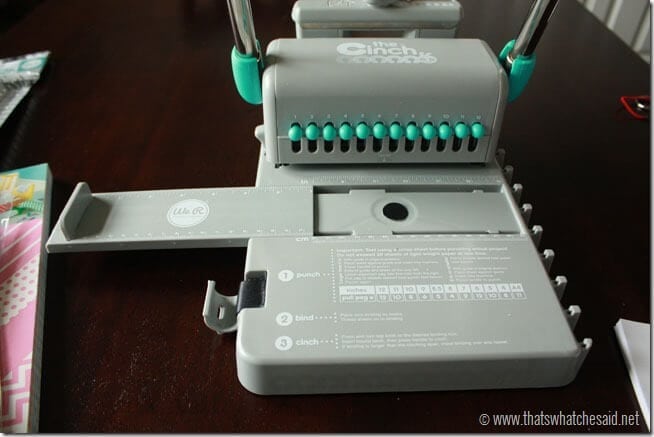
Next you will slide the guide all the way to the left.
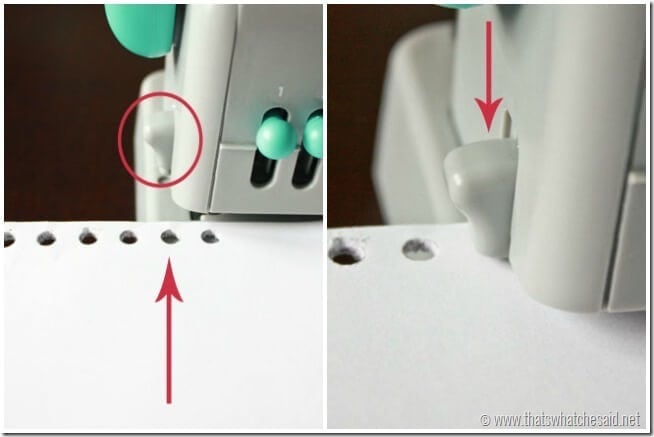
Line up your paper along the left guide and then make sure your 2nd to last hole lines up with with the pin. Push the pin down to secure your stack of papers.
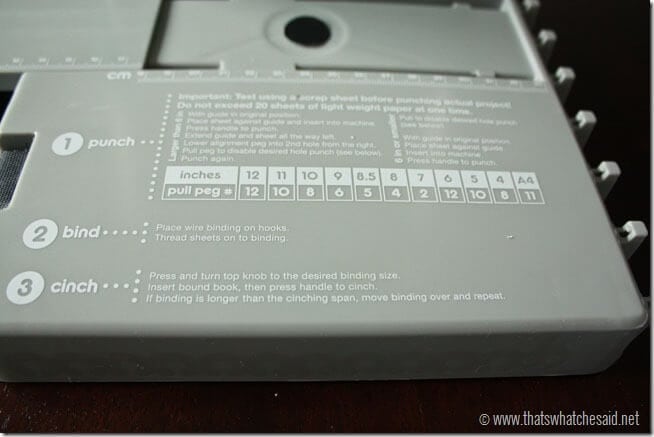
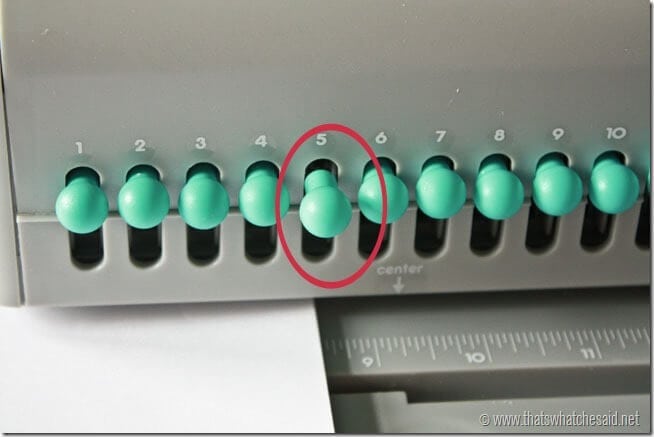
Next you will look on your Cinch base for the pin chart. It is noted which pin you need to pull depending on your paper size. I am punching the 8.5 inch length of the paper so I will pull pin 5.
After I pull Pin 5, I punch again. This makes it so that you don’t have a half hole on the edge of your paper stack. Repeat for all of your paper.
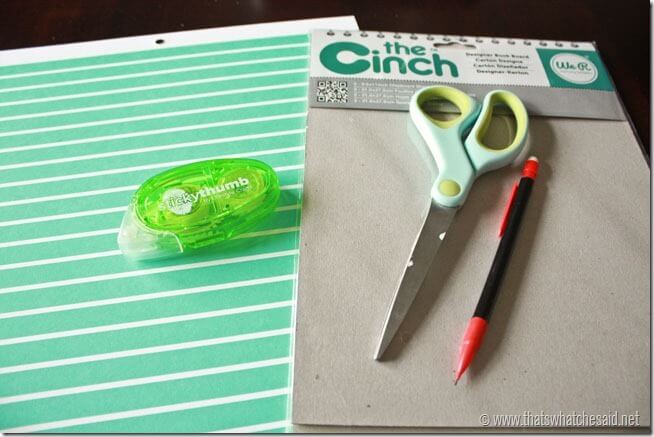
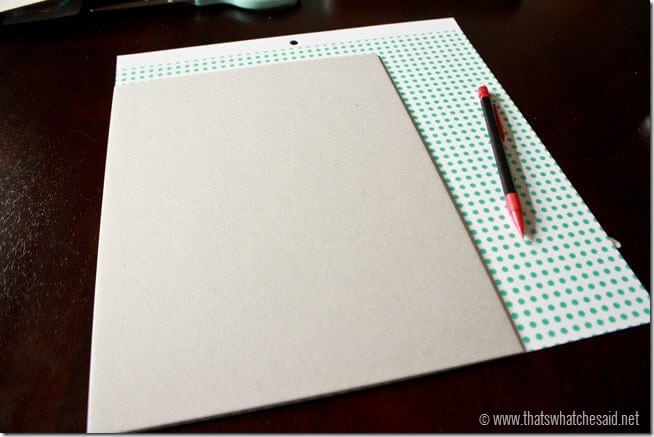
Next we will work on our cover. Grab your paper, chipboard cover, pencil, scissors and sticky thumb.
Mark off the cover on your paper and cut out.
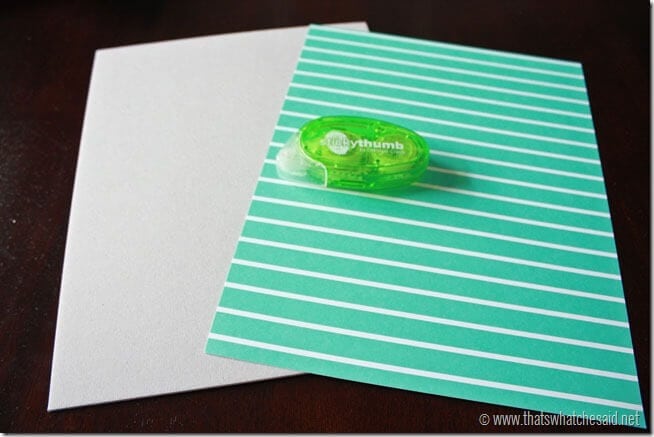
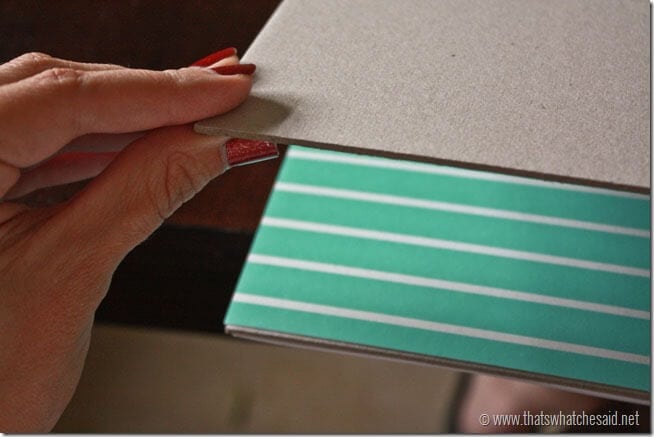
Using your Sticky Thumb, adhere paper to the chipboard.
Now we need to punch both the front cover we just made as well as the back cover. Repeat the exact same steps as you did above for your paper for the covers.
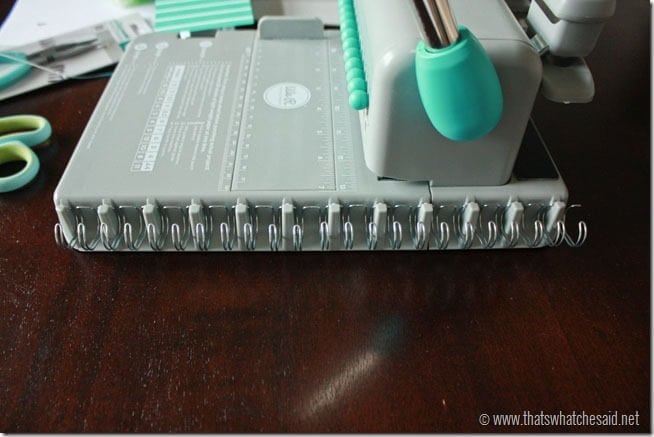
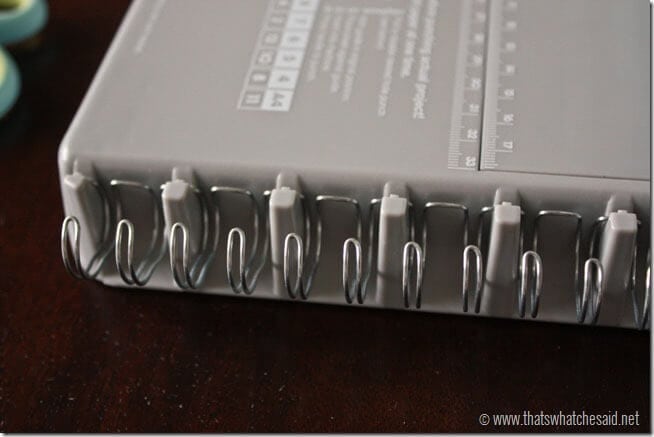
Next we need to assemble. Using the side of The Cinch, place your wire binding coil in the Cinch.
Next place all your paper, then the front cover and then the back cover.
The front and back covers will be facing each other at this point. (if you decorated the back cover) Snip off any excess binding wire with the wire snips.
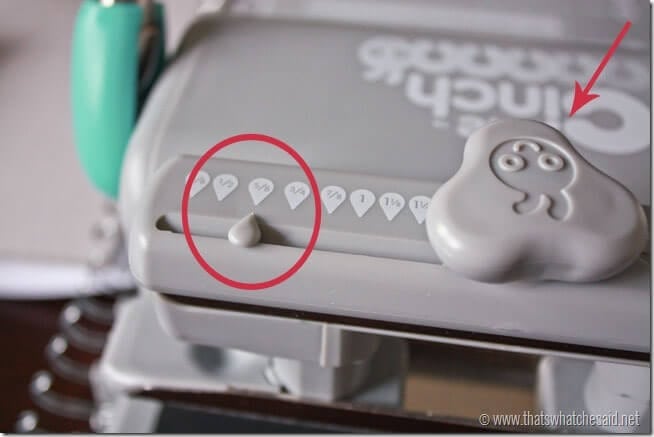
Remove from the cinch and place on the BACK of the Cinch. Using the knob, select the appropriate size of your coil binding. Mine is 5/8”. The opening of the wire coil should butt up with the back of the Cinch. Pull down the handle to close the coil.
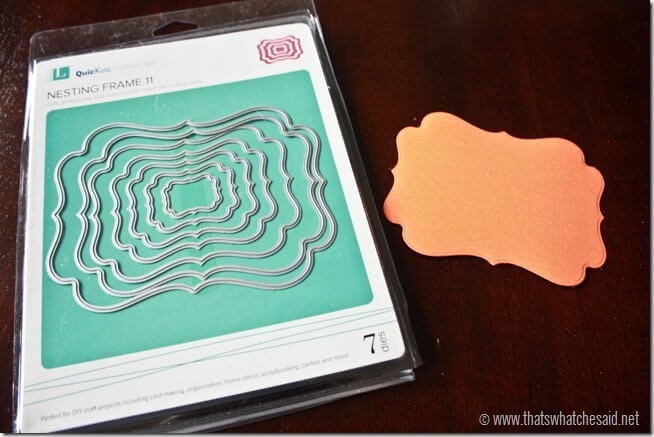
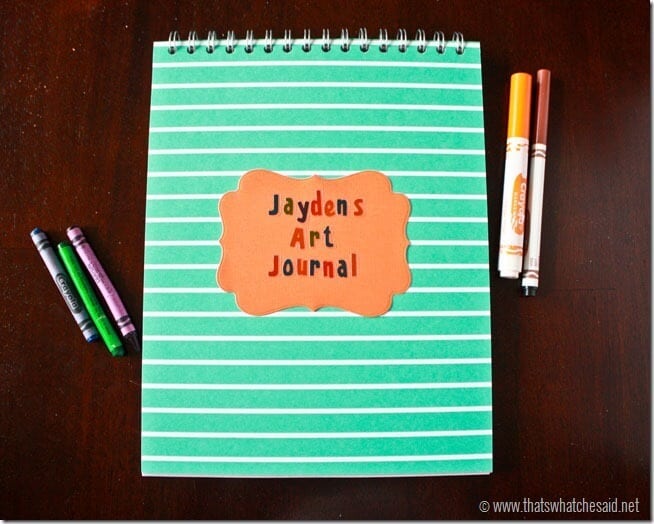
Now to decorate the front, I used one of the Nesting Frames Set 11 Dies and cut that using my Evolution and Genius Platform. You can find a full tutorial on how to die cut with the Evolution here.
I used my sticky thumb to adhere and then we decorated with some scrapbooking stickers.
As always YOU can get 20% off anything on the We R Memory Keepers site (shop: www.shopwer.com) by using code CHESAYS at checkout! To check out any the products that I have used, there are clickable links in the Supply List that will take you directly to the page!




Comments & Reviews
Bethany says
I just got the Heidi Swapp cinch and this will be my first project. Thank you for the inspiration