The small footprint but powerful capabilities allow you to craft anywhere and everywhere with the Cricut Joy and the matless cutting means you are not hauling extra tools around with you when you create! Let’s look at 3 easy Cricut joy projects that are fun for the whole family!
A common crafting dilemma I often encounter, which you may relate to is that my dedicated craft room is in the basement, away from my main living area.
I can’t leave my 3 boys to their own means, lol! I will be paying for that threefold!
Also, what if you don’t have a dedicated craft space? Or do you live in a smaller apartment or condo? These are all common dilemmas I hear when talking about wanting to own a Cricut machine.
This post may contain links to Amazon Associate and other affiliates.
As an Amazon affiliate, I earn a small commission from these links at no additional cost to you.
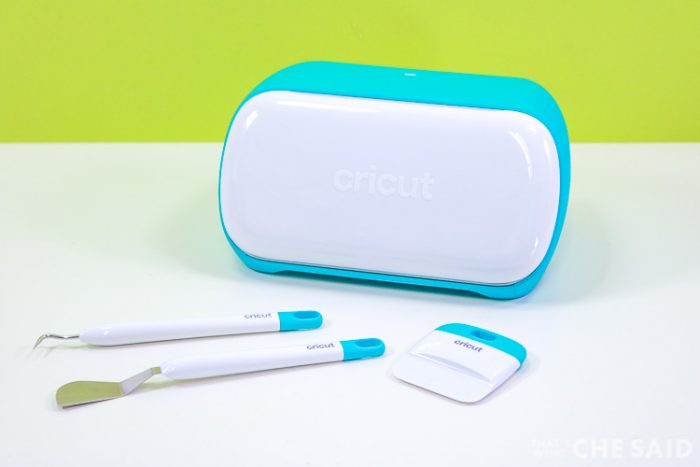
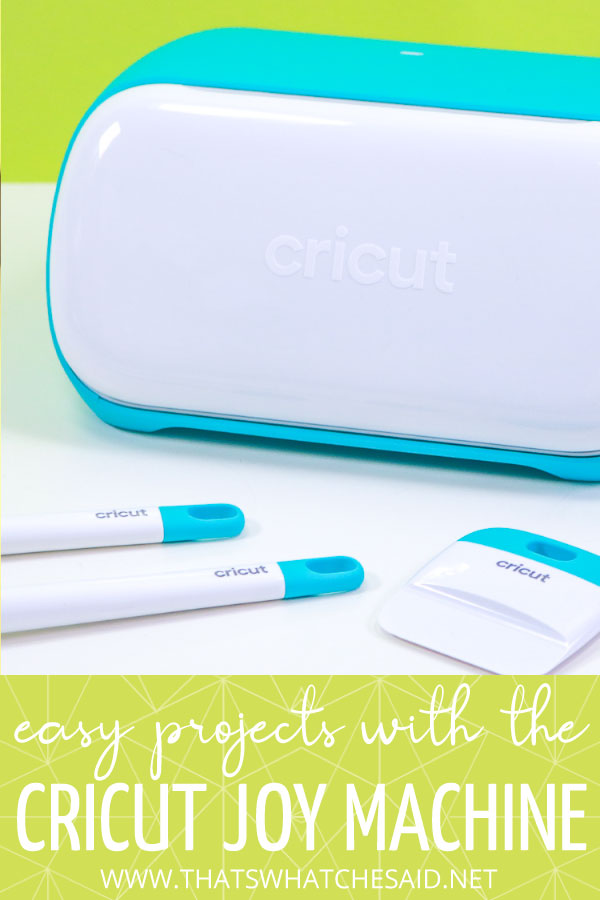
Cricut Joy‘s small size allows you to easily craft with it in any room of the house! No more hauling your big machines around or worrying about a machine taking up too much room
Let’s look at these 3 easy Cricut Joy projects that I made, all NOT in my craft room!
Organization Labels
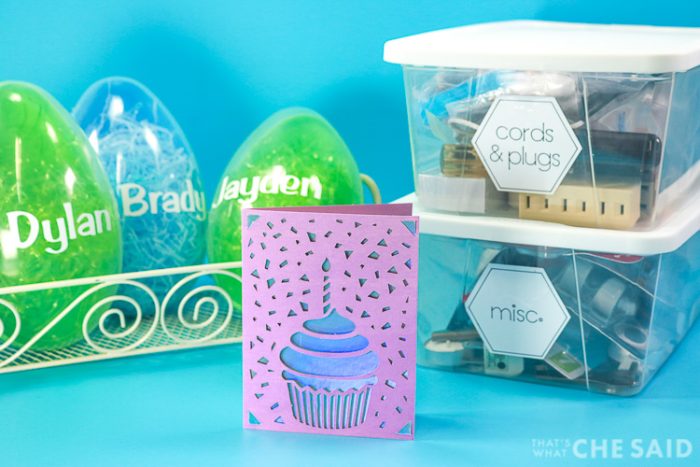
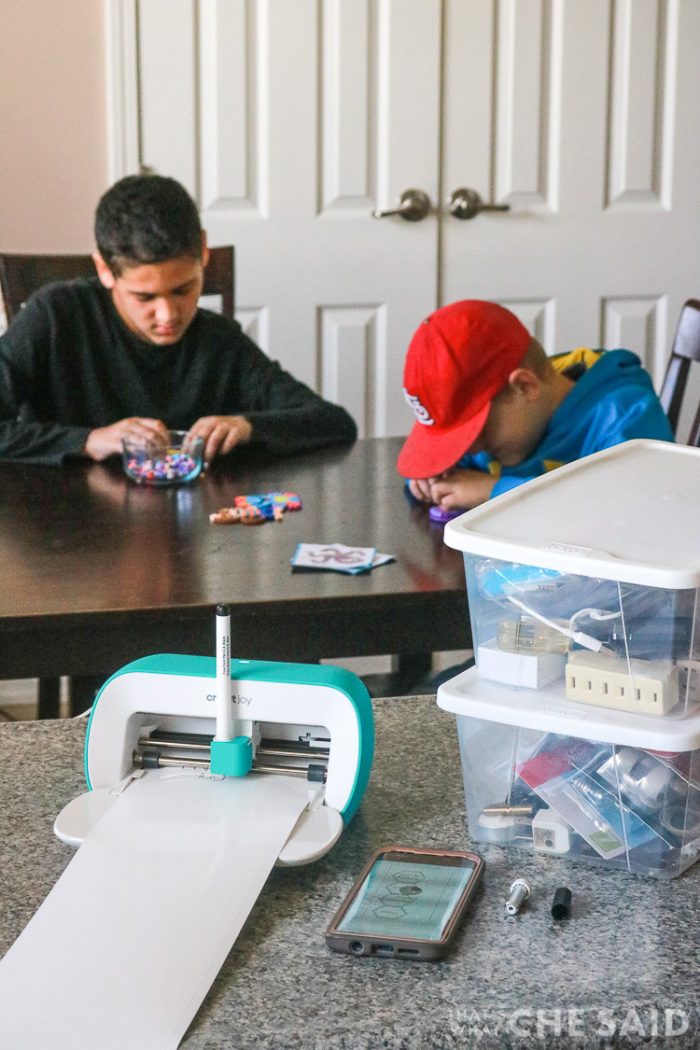
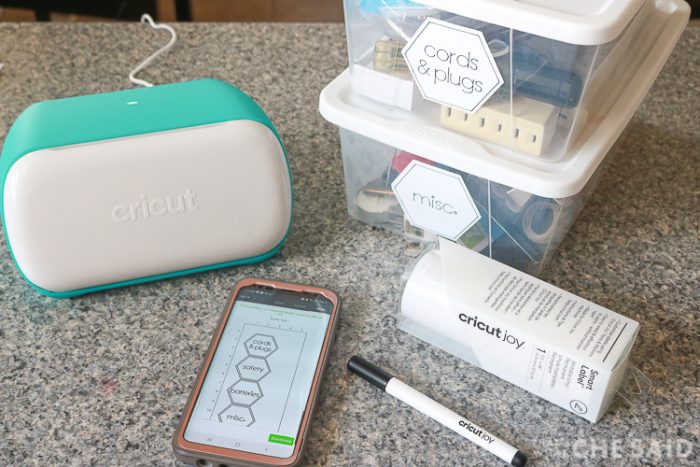
Organization is always on a to-do list, am I right? Now that we are spending more time at home, I was easily able to organize and label my entire hall closet (catch-all closet) while my kids were busy working on a Perler bead project.
Right from the comfort of my kitchen counter. I had lunch going on the other end and I was organizing and they were crafting and I was able to do it all in no time!
SUPPLIES FOR THIS PROJECT:
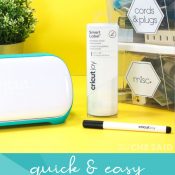
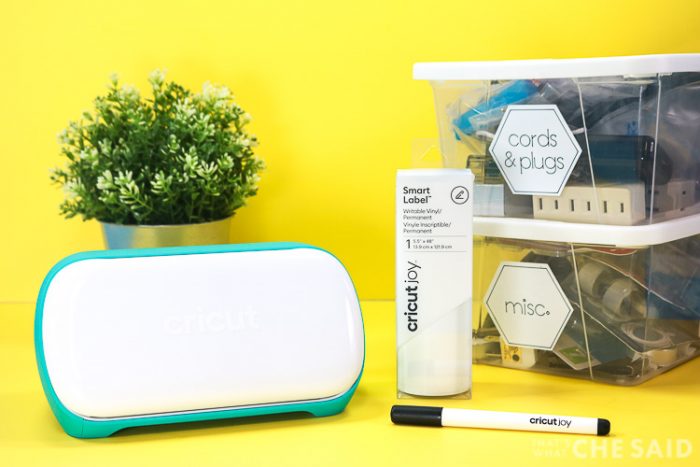
- Cricut Joy
- Cricut Smart Label Vinyl
- Cricut Pen (comes with Joy)
Scroll down below to get step by step instructions on how to use the Smart Label Vinyl with the Cricut Joy and Cricut Joy Pen.
Easy Birthday Card
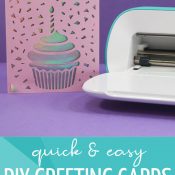
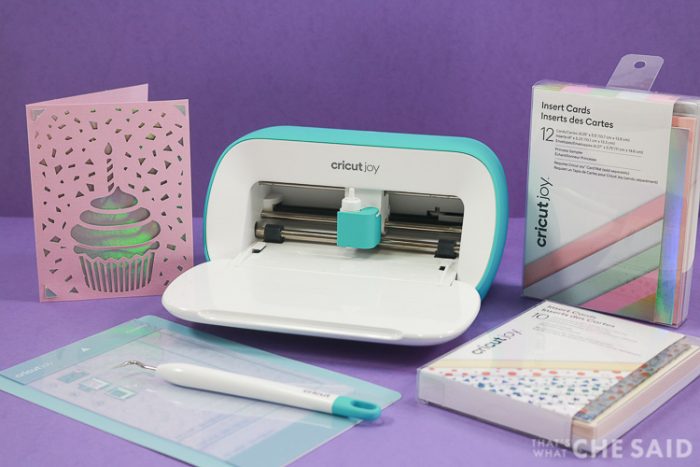
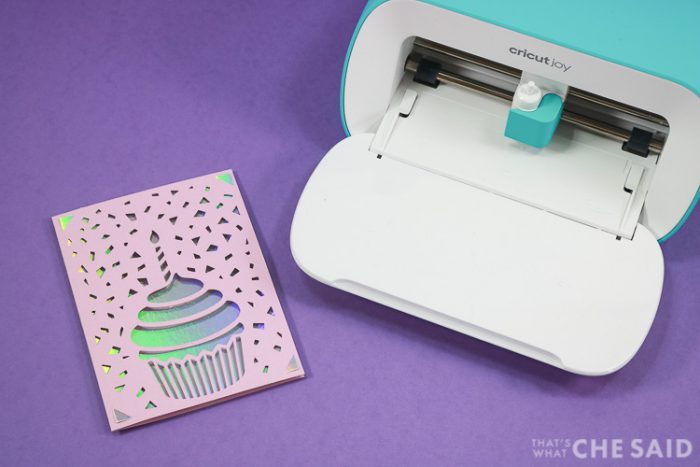
It never fails you get the gift but you forget the card! Anyone else? Happens to me almost every time. It is no longer a problem with the AMAZING card mat and card kits that accompany the Cricut Joy.
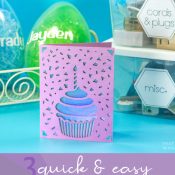
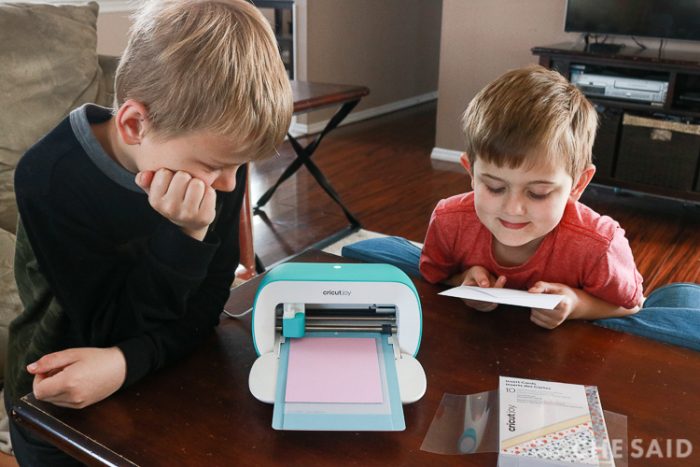
While we are hunkering down at home we thought it would be a good time to send some cheerful cards to some of our favorite people! It was so easy to make cards in minutes right on my coffee table with my small people! (who both got haircuts later this day, lol)
Cricut Joy has a Bluetooth connection so I didn’t even need my laptop! My boys picked their favorite card designs from the “Joy Section” in Cricut Design Space right from my phone!
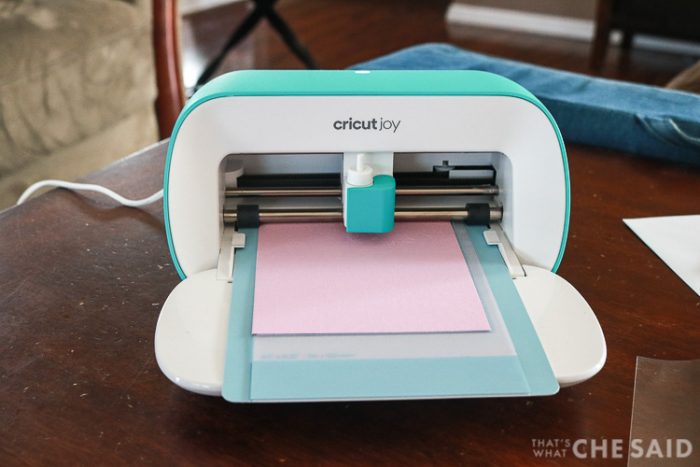
We picked our colors of cards and inserts, loaded the awesome card mat, and got to cutting! Right there on my coffee table!
My kids were then able to add the inserts themselves, add their love to the inside of the cards, and stuff them in an envelope! Best thing? The envelopes come right in the pack with the cards and inserts! We addressed, stamped, and sent them in no time at all!
SUPPLIES FOR THIS PROJECT:
Personalized Easter Eggs
I am kind of the queen of waiting until the last minute when it comes to all these great ideas I have in my head. Also now that we are all together, all the time, the Cricut Joy has been my savior!
I am able to set it right on my nightstand, close my door and tell the kids I am napping! When they wake me up, we will clean. Ha, they leave me alone then!
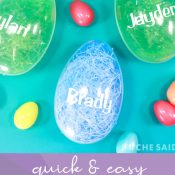
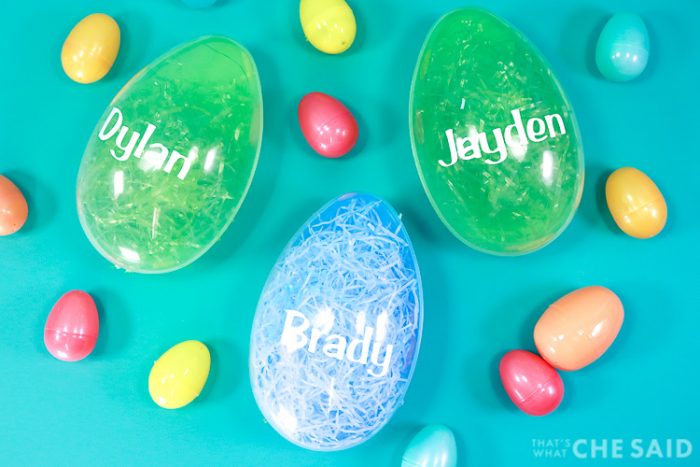
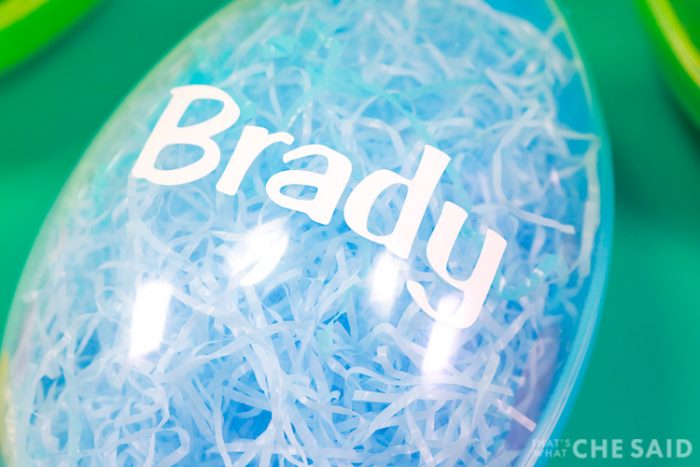
I was able to personalize these fun large plastic Easter Eggs I picked up and have them ready to fill with goodies! Moving my Cricut Joy in my room was easy and no hassle!
SUPPLIES FOR THIS PROJECT:
Key Features of the Cricut Joy
- Small footprint
- Easily to move and transport
- Matless cutting with Smart Materials
- Bluetooth capability
- Writing capability with Joy Pen & Joy Infusbile Ink Pens
- Cuts Cardstock, Vinyl, Iron-on, and Infusible Ink
- Has mats to use with Cricut materials you already have
- Has machine-specific materials like the label vinyl!
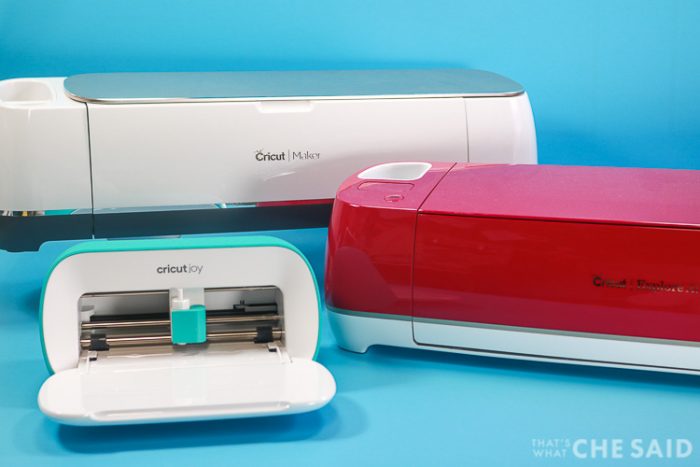
I have 3 other Cricut Machines. A Cricut Explore Air, Explore Air 2 and Maker. I cannot imagine not having the Joy. The Joy is the perfect companion to my other machines!
How to Make Organization Labels with the Cricut Joy
Time needed: 10 minutes
- Set Up Labels in Cricut Design Space
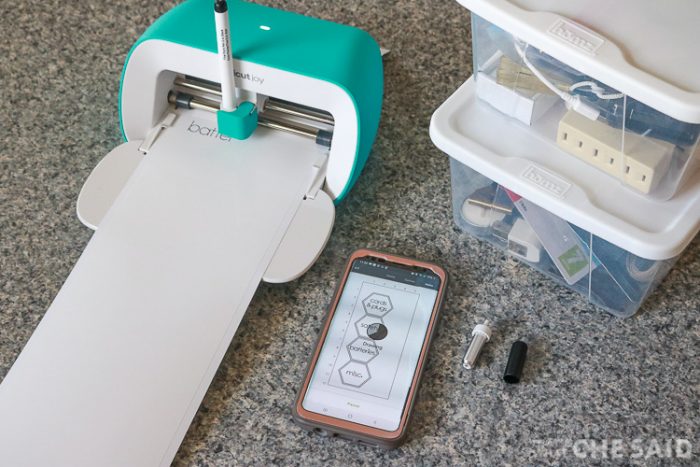
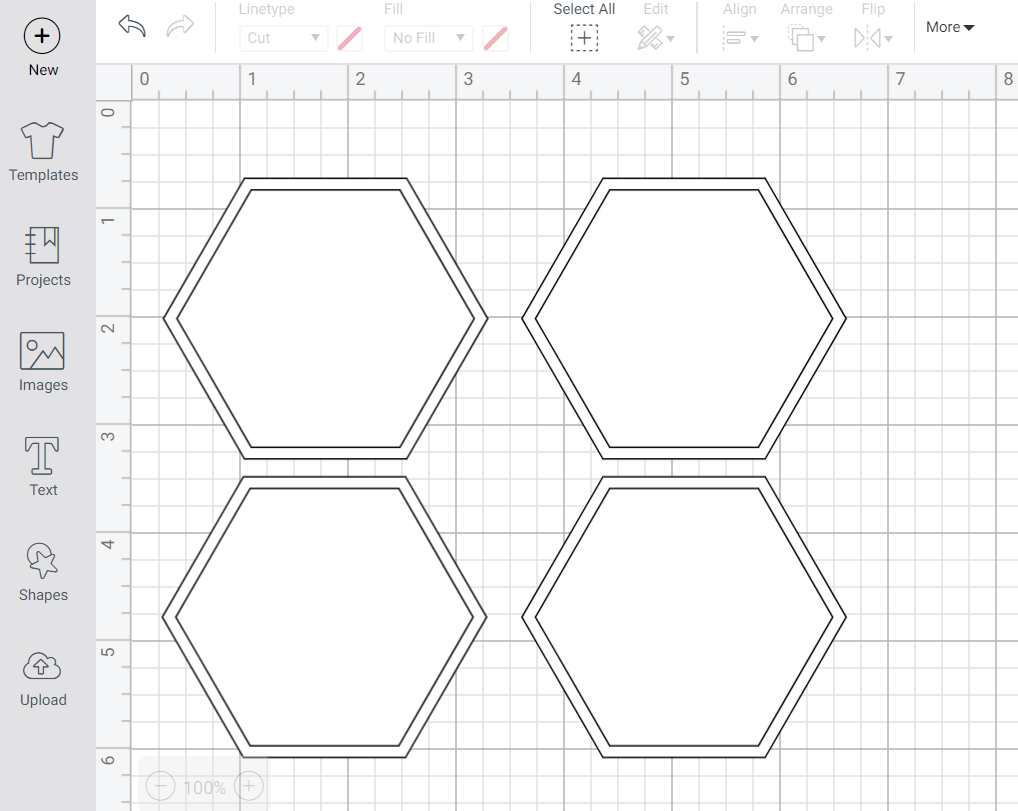
You can use pre-designed labels or make your own! I made these with the hexagon shape, duplicated it and reduced the size by 1/4″ on one of the shapes, I changed that to a draw line and then centered both.
- Add Specific Organization Items to Labels
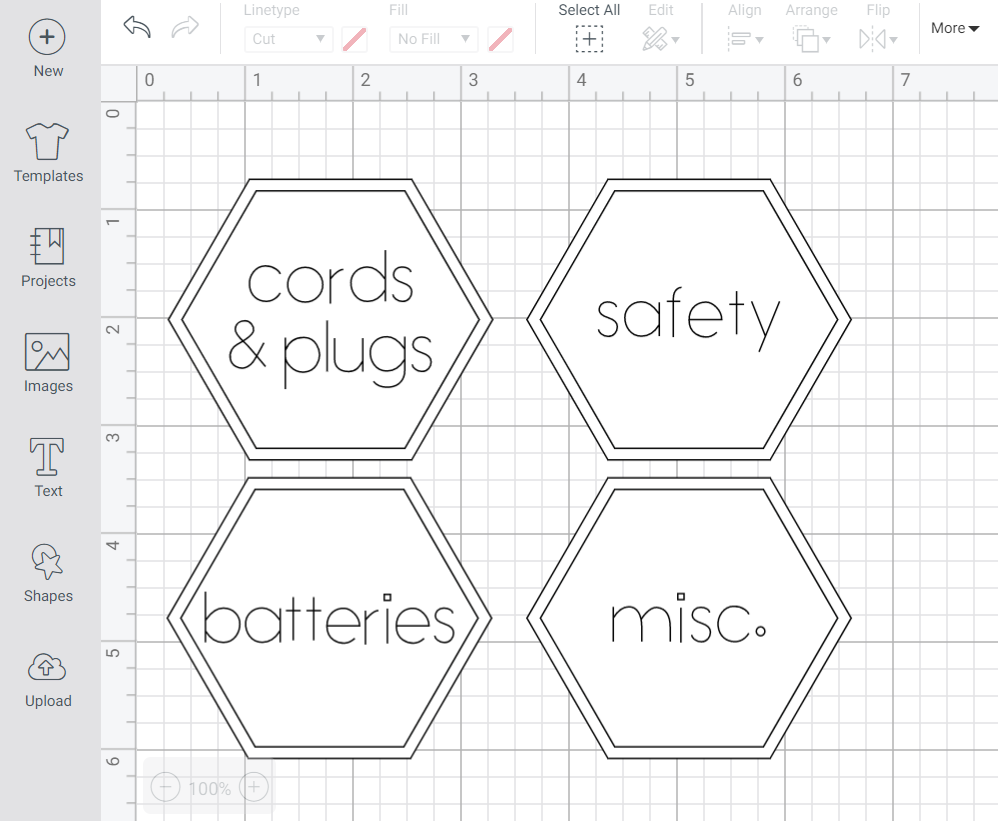
Using a writing font, I added specific labels for my bins. After I sized them appropriately, I selected all three layers (Cut line hex, draw link hex, and label name) and clicked the attach button. Repeat for all other labels needed.
- Make it
Click Make it, select JOY Machine, and select material. The machine will blink and you press load on CDS to load in the smart label vinyl. No mat is needed.
- Insert the Cricut Joy Pen & Write
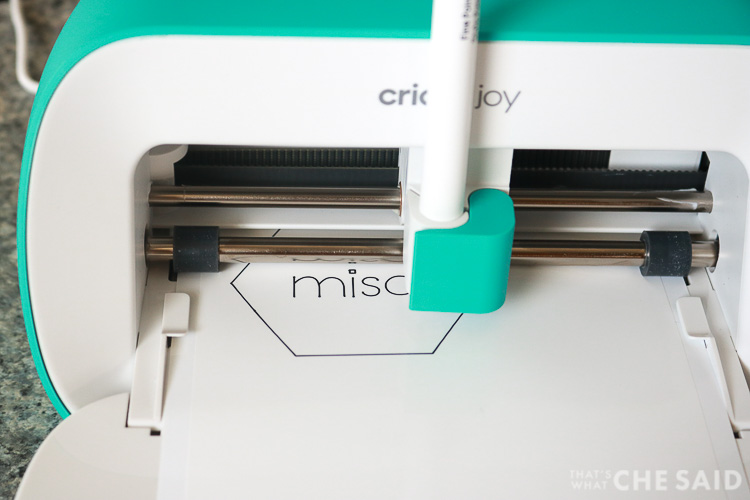
I used the pen that came in my Cricut Joy box. Open the clamp, drop in the pen and close the clamp. Now your machine will draw the hexagon borders and the label names.
- Switch Pen out for Blade
Same method as above, open clamp, remove pen, insert blade and close clamp. Press Go on CDS and your machine will now go cut the outer hexagon layer
- Click Unload and Finish
Click Unload on CDS and your smart label vinyl will unload from the machine. Click Finish and you are ready to label!
- Add Labels
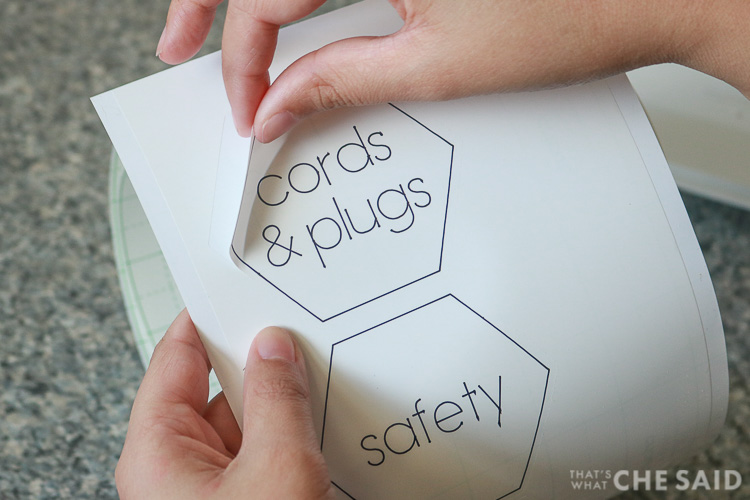
The Smart Label Vinyl does not need transfer tape. You can just peel and stick like regular labels!


Leave A Reply!