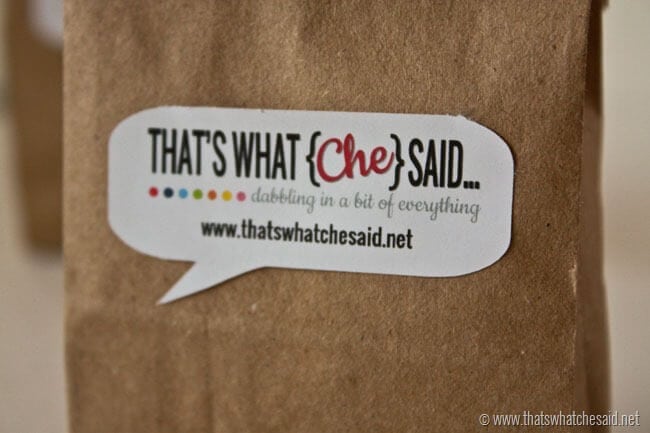
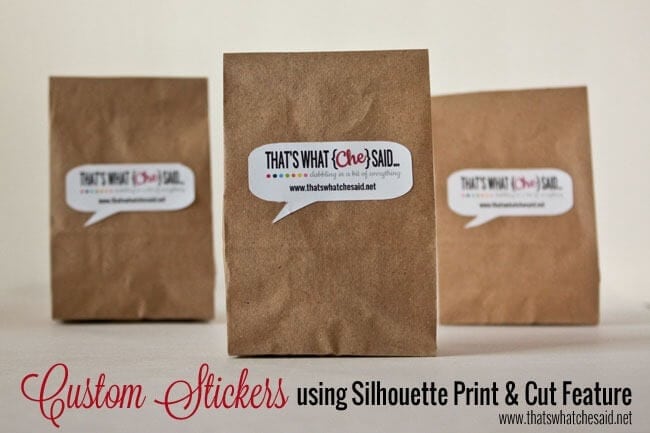
I created these custom stickers using my Silhouette machine! Learn How to Use the Print & Cut Feature in Silhouette Studio to make a custom project perfect for your needs! So many fun media’s to choose from and an easy photo step by step tutorial to follow!
How to use the Print & Cut Feature on Silhouette Studio
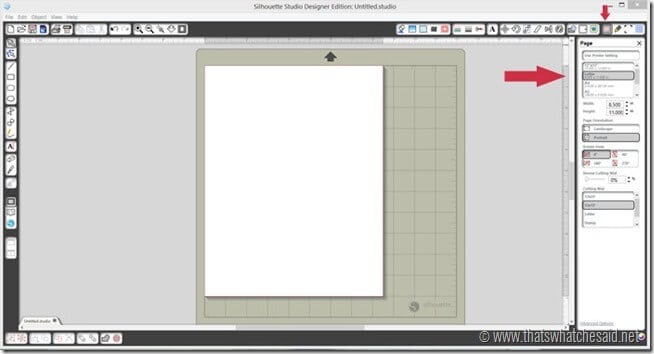
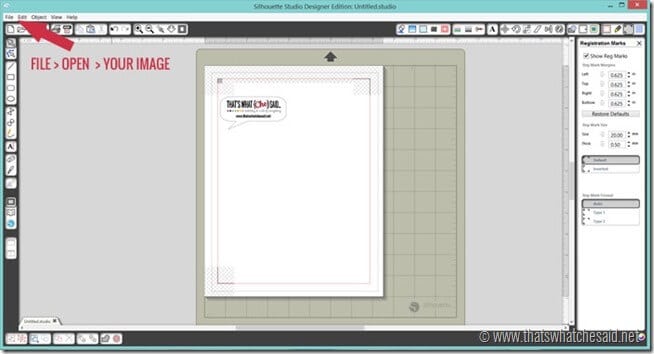
1. Open your Silhouette software. If you do not already have the software you can download the free version here. If you would like to see all the upgrade options, you may check those out here. Go to your page set up and select 8.5”x11.
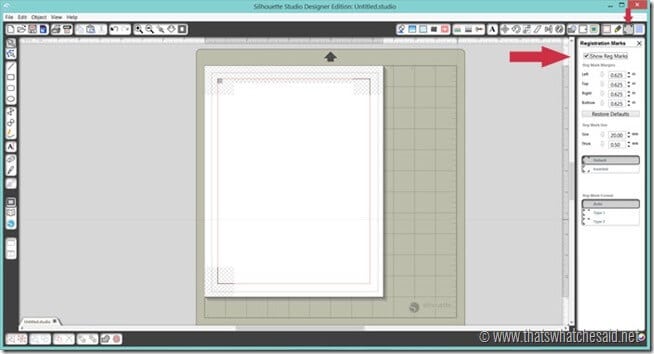
2. Go to the Registration Marks Menu and Select “Show Registration Marks”
3. Next you will go to FILE > OPEN and open your file that you’d like to print & cut.
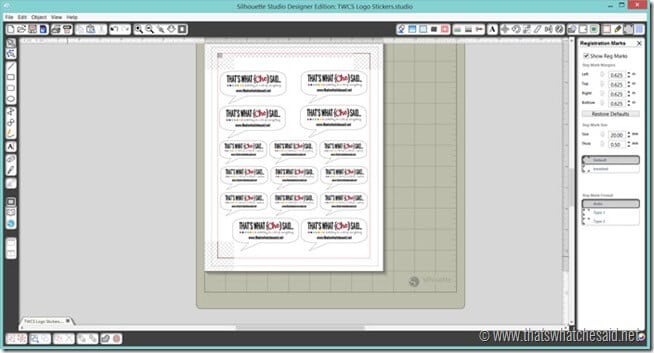
4. Then I resized my logo to fit my goodie bags and then duplicated. I am going to make a whole sheet of them at one time so I made a few other sizes too! SAVE your project and then go to FILE > PRINT and print your sticker paper from your home printer.
I use the HP Envy 5540 Wireless All-In-One Printer and signed up for HP Instant Ink. I highly recommend this! Never run out of ink at 11 pm when you have to print out your kids report, or when you want to make a custom project like this one!
NOTE: Make sure you have fed your paper correctly into your printer so that it prints on the correct side. I had to peel back a small portion of the corner of the sticker paper to figure out which side is the good side!
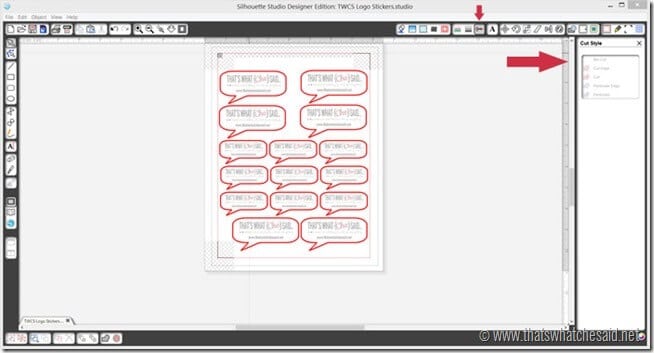
5. Place your printed project sheet on your cutting mat and feed into your machine. In the Silhouette software, go to the CUT STYLE menu and make sure that only the outside edge is going to be cut. You will know what is being cut by the red lines.
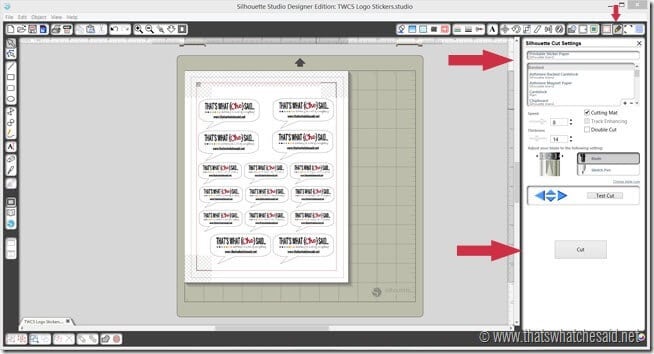
6. Finally head to your CUT SETTINGS menu and select your specialty media (I chose printable sticker paper), adjust your blade accordingly and then click “CUT”
It’s really that simple to create custom stickers, labels, tattoos, magnets and more from your Print & Cut Feature!
Silhouette offers a wide selection of specialty media that can be used with the print and cut feature!
- Magnet Paper
- Tattoo paper
- Kraft Paper
- Gold & Silver Foil
- Printable cotton canvas
- Sticker paper
- Vellum and so much more!
I imagine I will make some birthday tattoos for my boy’s birthday parties!! You can find all my Silhouette Projects and Tutorials in one place!


Comments & Reviews
Debi K Erbes says
I have tried recently to make my own print and cut. Once my design, with words, is created….it doesn’t print. I am not sure what step I am missing.
Cheryl Spangenberg says
Hi Debi, you will want to make sure any layers you want to print are marked “no cut” under the Send Tab. Only the outside of your design should be marked cut and show up as a red bold line. Then back on the Design Tab, you will click the Page Set Up Panel (the first button on the right side, looks like a piece of paper) and set your paper size (8.5×11) and click the 3rd icon which is the registration marks. Move your design within those marks. Then go to File > Print and select your home printer and print as normal. Add that sheet to your mat and your cameo will read the registration marks and cut your border.