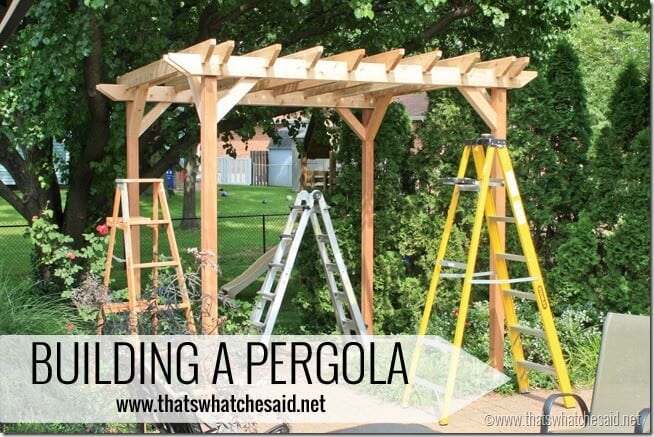
Have you ever wanted a pergola in your backyard? I am walking you through the steps of building a pergola yourself over the course of a weekend! This is the third post in my series!

It’s PERGOLA BUILD DAY! Yay! I’m so excited to share with you the steps we took in building a pergola! If you missed my previous posts be sure out 5 tips for Planning the Perfect Pergola and check out my Printable Supply List for a Pergola Build! Let’s get building, shall we?
How to Build a Pergola
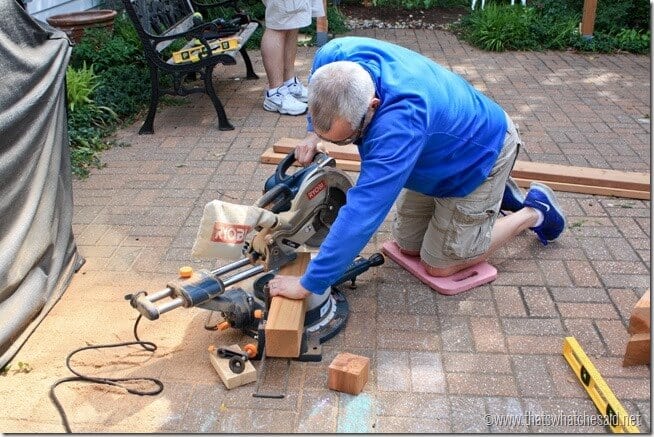
First, I cut all the decorative edges on my cross beams using my Ryobi Compound Miter Saw. We used 2 x 6 boards and wanted an angled edge. We placed the board horizontally and measured down 1 inch from the top and made a mark, then measured 6 inches from the edge towards the center and made the 2nd mark. Connect the two marks with a straight diagonal line. That will be our cut line.
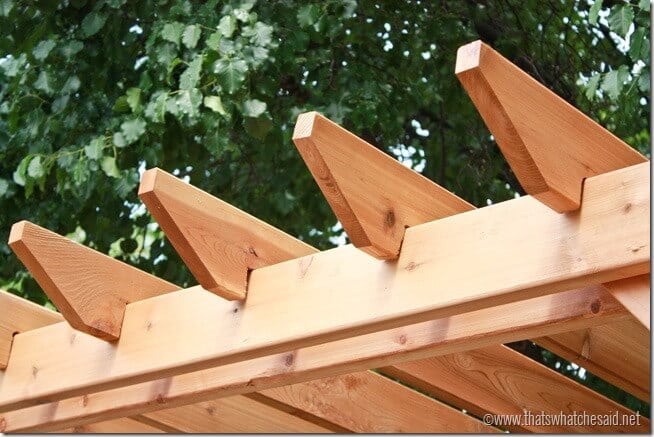
Of course, we are difficult and we chose an angle that is larger than a 45 degree so we had to cut our boards perpendicular to the compound miter saw. You can watch my video below on a trick to make multiple cuts over and over without measuring each board. Remember we had 14 boards to cut and a cut on each end. So 28 of the same cuts and it was awesome to only have to measure once.
Tips to Make Multiple Cuts Using a Compound Mitre Saw
Follow me on YouTube for more Cricut & Craft videos!
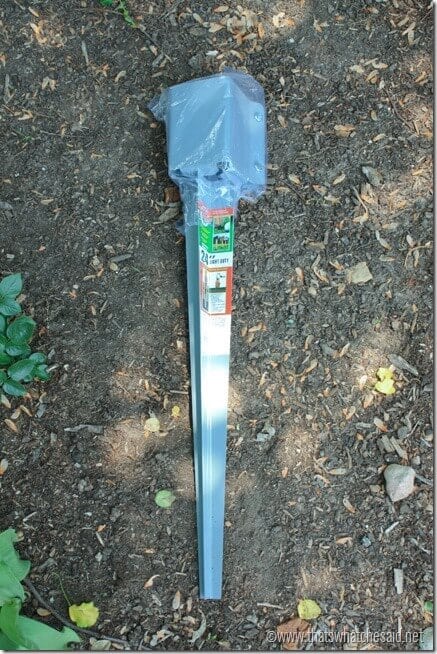
If you are digging holes and burying your posts in cement, cutting your boards is a good idea while your concrete is setting. If you remember from my post here, we decided to use these post stakes at the recommendation of my favorite Home Depot employee!
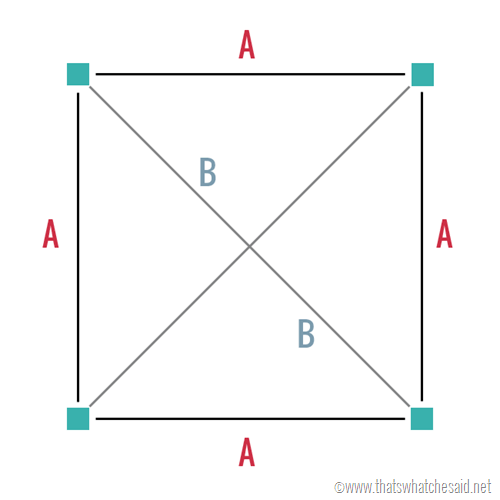
First off we set our post stakes in the ground. You need to make sure these are spaced and square in placement on the ground. Best way is to measure in between them all and make sure the measurements match so your distances are equal. To make sure it’s square, measure the diagonals and you should have the same dimension on both diagonals.
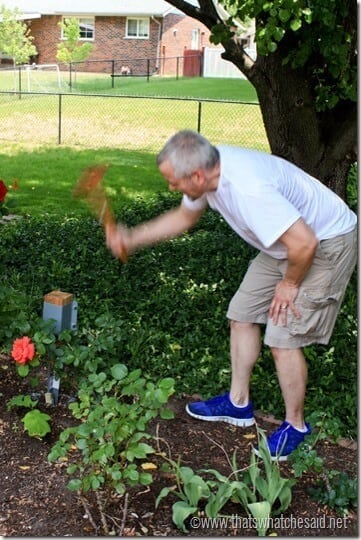
Place a scrap 4 x 4 piece into the post holder to keep it level while pounding it into the ground with a sledgehammer. Measure often so that you can adjust your stakes as needed as you are hammering.
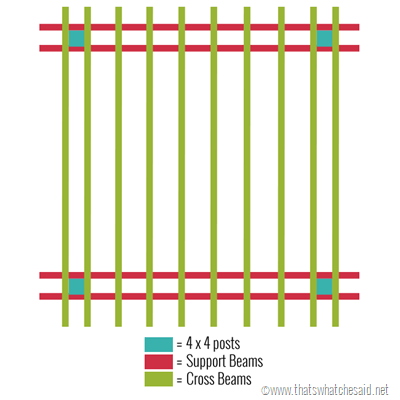
Since we will talk about a lot of different boards. Here is a new diagram (a step up from the hand drawn one!)
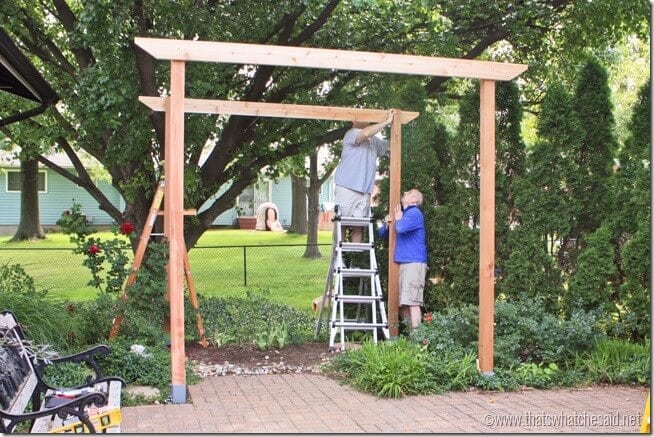
Next set two of your 4 x 4 posts in the holders but do not tighten the post stake bolts yet. Here is where you will need extra hands and your post level and regular levels. We will now add one of our support beams. Keep these things in mind: Make sure your board is centered so you have equal amounts of overhang on each side and make sure your board is level on your posts and that your posts are straight up and down (this all happens at the same time that’s why it’s great to have extra hands) Screw the cross support beam to the outside of your 4 x 4’s. Repeat on the opposite side like this:
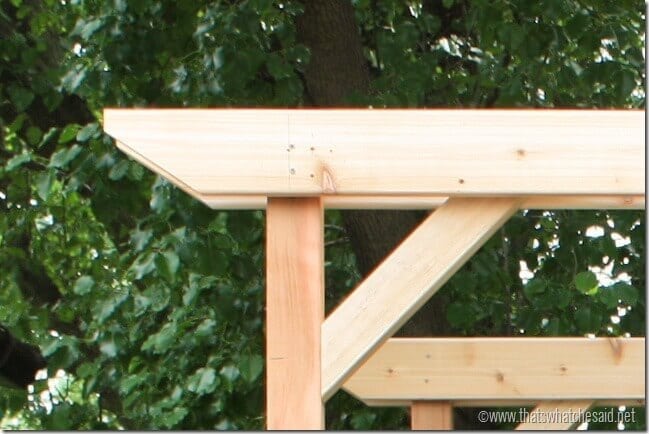
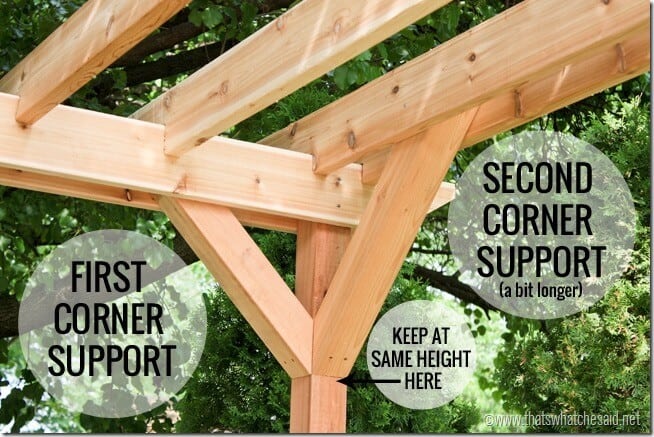
Next we added the corner support beams that we cut at a 45 degree angle on both ends using our Ryobi Compound Miter Saw. Position and screw into place on both 4 x 4’s. {Only cut 4 lengths at this time. Your remaining four supports will be a different length.} You can set your corner support at any height you like.
Now add your second support beam to the other side of the sets of posts, sandwiching the 4 x 4 corner support in between. Make sure this board lines up perfectly with the first support beam and make sure everything is square and level before you screw these last boards into place.
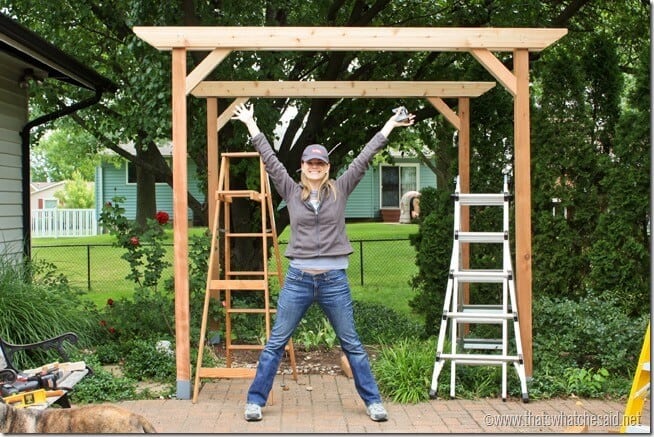
Now we have two sets of support beams! As you can see I am happy about this!
Next, it’s time to connect the two sets of support beams together (to make a square). You will use the same principle as the first two sets except for this time we will need to make a few more measurements and cuts. Place the cross beam perpendicular to your sets of supports (on the inside of the 4 x 4 post), so that one end of each crossbeam is on each set of support beams, make sure it’s center. Mark on the board where the four support beams are located on your cross beam. You will need to notch out this area so that the board fits over the support beams. Take your board down and using your marks as guides draw a rectangle where the notch is to be. We used a 2-inch depth.
To notch the boards, you will need a jigsaw and a power drill with a drill bit as large or larger than the width of your jigsaw blade. Drill a hole in the corner of your notch rectangle. Use the jigsaw to cut two straight lines and then use the drilled hole to place your jigsaw blade and cut the top of the notch out. Repeat this for the remaining 3 notches on the same board.
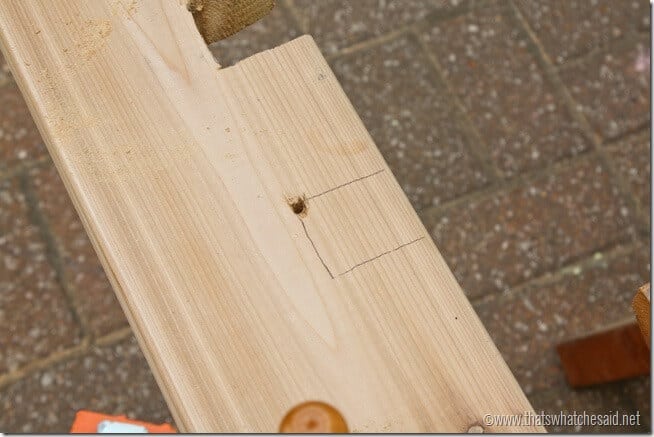
Fit the board back on the pergola supports and make any adjustments needed to insure a good level fit. Take the board down and use as a template to draw the notches on a second cross beam BEFORE you screw it in place!! (for the outside cross beam on this same set) You will repeat this for the other edge of the square as well.
Screw the cross beam in place on the INSIDE of the 4 x 4 posts where the board connects between the existing two support beams. Do this for the inside beam on the opposite side as well. Before you screw the second one in, check for squared level posts.
Next, we will need to add our corner support 4 x 4’s. You will need to remember to re-measure your length here. Keep the supports at the same level as your existing ones (on the 4 x 4) but since the cross beam is 3 inches higher you will need to account for that. (because the crossbeam is sitting on TOP of the support beams) Screw these in now.
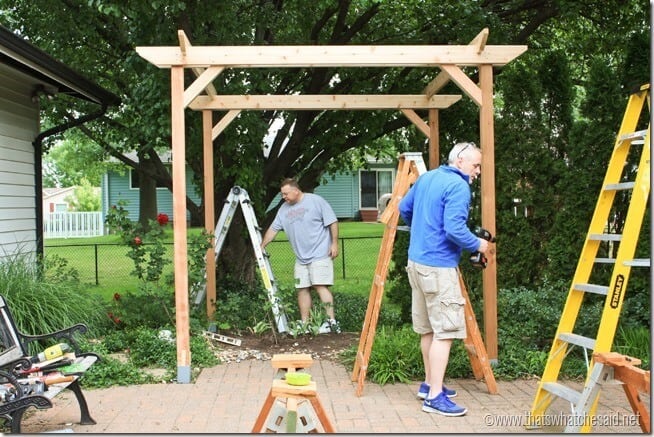
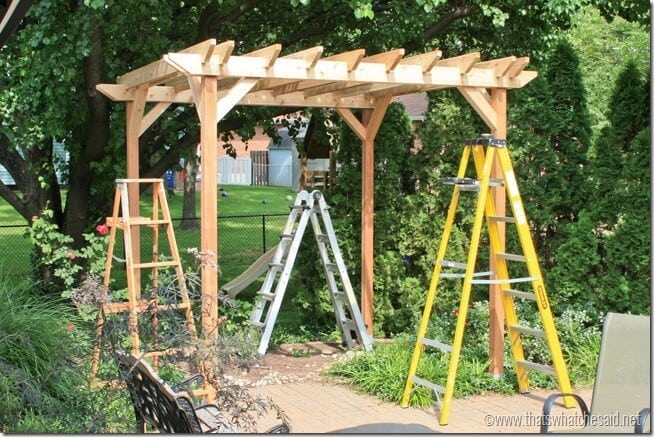
Cut your outside cross beam from the pattern of the first and as before, sandwich your 4 x 4 corner support, lining this crossbeam up with the first and screwed into place. Repeat these last steps for your second set of posts. Now you have your support system for the pergola!
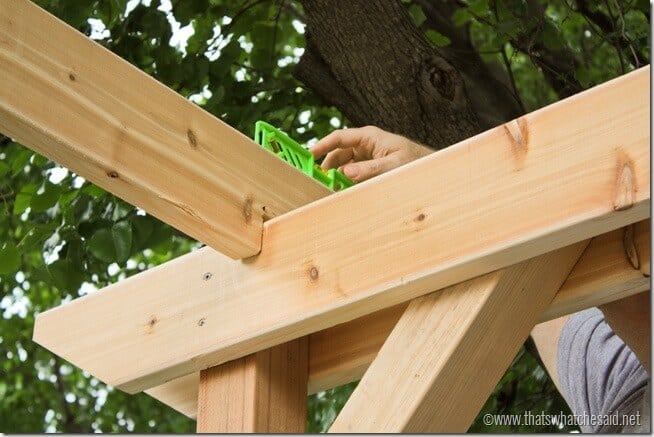
For the remaining cross beams, we will use the same technique. Put your board up on the supports, measure where they intersect the support beams, notch, fit, make any adjustments if needed, then use as a template for the next. Repeat until all your boards are cut and placed. (We spaced ours roughly 12 3/4” apart from each other). The boards are not perfect so sometimes within that 12” of spacing your measurements can be off a bit from board to board. That’s why it’s important to not use the first board as your template for all. Move forward and use the previous board as your guide and you will be more accurate.
Note: I would stain these cross beam boards after you have them all notched (the 6 inner cross beams) BEFORE you nail into place! As in take them all down (keeping them in the right order) and stain on the ground.
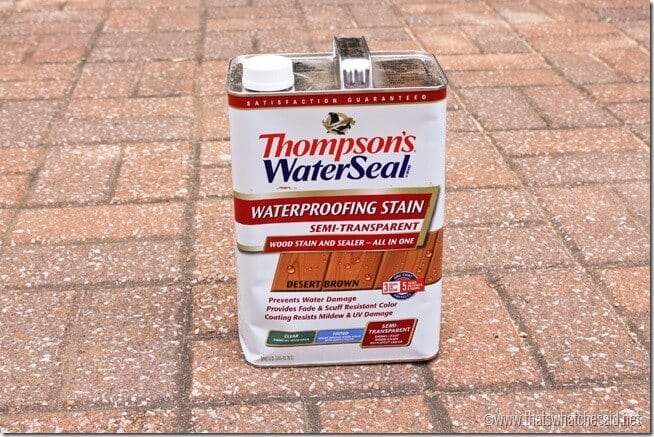
I wished I would have stained the frame boards before we built…there’s a lot of nooks and cranny’s to stain in. Speaking of stain…now is the time to do that! I used Thompson’s WaterSeal in Desert Brown. I absolutely loved it. Not too dark, not too light, and it is tint and sealer in ONE! You all know how much I love multi-tasking products.
Staining will have it’s own post so stay tuned for that! It makes the pergola go from “wood” to “something meant to be there”!
After you have your pieces stained, using 2 inch nails in my Ryobi Air Strike Nail Gun, we toenailed the cross beams to the support beams in a few places. They are pretty stable from the notches but you still want to be safe and nail them in. {Toenailing is driving a nail at an angle through a board. In this case we will drive it in the crossbeam but make it end up in the support beam)
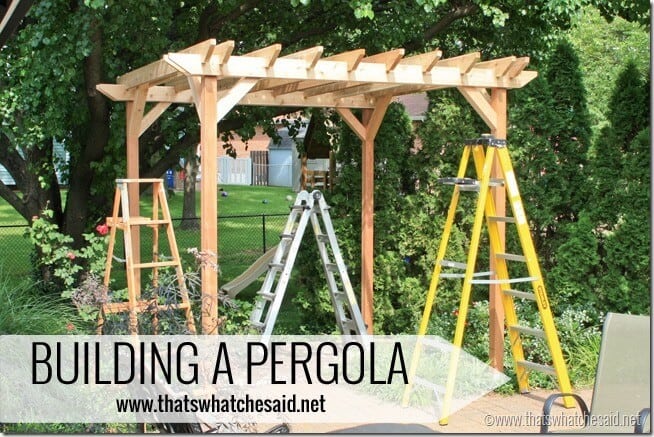
Next, I will share all the finishing touches on my perfect pergola! So make sure to check back to see it finished and beautiful and without any ladders in the photographs!
UPDATE: Hop over here to see my finished pergola stained and see what I have in store for future plans!!
Wanting to build a pergola one day? Be sure to pin this post so you have it when you are ready to #DigIn.
FIND ALL MY PERGOLA POSTS HERE INCLUDING THE FINISHED PROJECT!


Comments & Reviews
Marilyn L MacFarland says
Ive been looking for a plan I could use to add pergola to my deck. This is perfect with a few brace modifications. Cant wait to get started this weekend. Thanks for posting.
Cheryl Spangenberg says
That’s so great to hear Marilyn! Please share a picture with me when you are through! Happy Building!