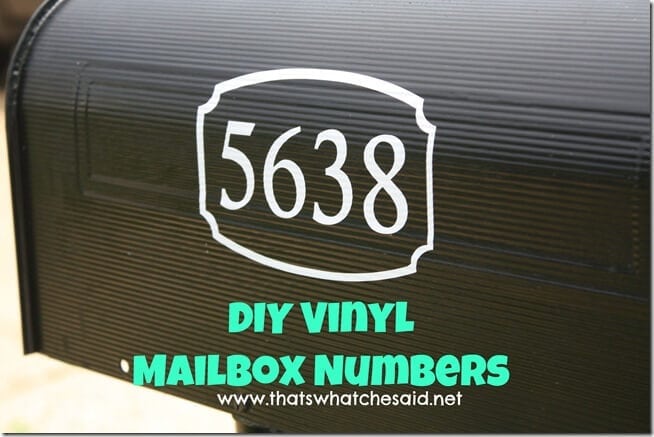
Ditch the hardware-store house number stickers and add stylish and customizable mailbox numbers to instantly up your curb appeal! These numbers decals can be made in any font style and with any border. These mailbox numbers have an easy install resulting in a quick project with a big impact.
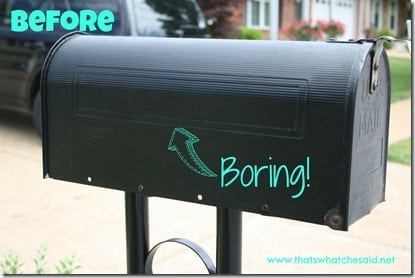
When we moved into our last home, the mailbox had seen better days. I wasn’t ready to fully replace it, so a quick coat of spray paint and I was ready to add some custom mailbox numbers!
My mailbox also did not have front numbers and these are requested by mail carriers. We will add some of those as well!
Supplies for Custom Mailbox Numbers
This post may contain links to Amazon Associate and other affiliates.
As an Amazon affiliate, I earn a small commission from these links at no additional cost to you.
- Cricut or Silhouette cutting machine
- Permanant Adhesive Vinyl or Reflective Vinyl if you prefer
- Transfer Tape
- Weeding tool
- Scraper Tool
- Cleaner/Paper towels
I made my house numbers using my Silhouette Cameo and Silhouette Studio design software. A Cricut cutting machine along with Cricut Design Space would work perfectly as well.
When I originally made these mailbox numbers, I used permanent craft vinyl and when we sold this house 10 years later, the DIY house numbers were still perfect! Just be sure your permanent vinyl is rated for outdoor use as it has increased durability for the elements.
Since the original post, I have found reflective adhesive vinyl that would also work great at dusk or if you are not in a high visibility area! It is important for visitors and emergency personnel to be able to locate your home. Yay for advancements!
Don’t Miss Out!
Get quick crafts, easy recipes and free printables & cut files straight to your inbox!
How to Make DIY Address Numbers
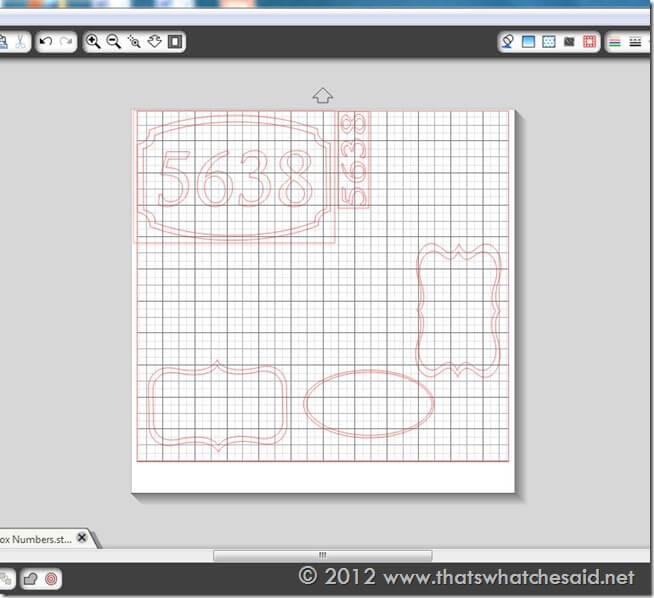
Start in your respective design software, as you can see from the below image, I played around with several different borders before I settled on one.
To make the mailbox number borders I just used a tag outline I liked and duplicated it and resized one of the images slightly smaller.
Next, I added the numbers in the center. I like to also put rectangle cut boxes around my shapes. I find it is easier to weed the extra vinyl and also it seems to make it easier to use the remaining vinyl on my sheet and not waste it!
Cut and weed the vinyl. Here are detailed tutorials on vinyl and how to cut vinyl for both machines:
- Vinyl 101
- How to cut Vinyl on a Cricut
- Cut Vinyl on a Silhouette
- How to Apply Vinyl
- Layer Vinyl the Easy Way
- Working with Multiple Colors of Vinyl
Find more tutorials and Vinyl Projects on my Vinyl Page
You can also find my favorite Vinyl Supplies on my Amazon Storefront! Take advantage of that 2-day shipping!
When I cut my adhesive vinyl for these address numbers I changed the extra borders to no cut in the Silhouette Studio software. If using Cricut Design Space just turn off the layers with the eye icon.
Next up, I cleaned the surface of the mailbox to get rid of any dirt (and bird poop) so that the vinyl mailbox numbers would adhere well. A clean surface is very important for the longevity of your number decals. Only apply you have dry surfaces.
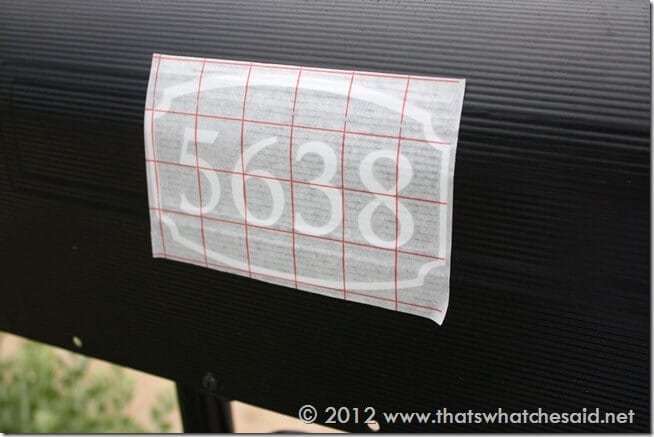
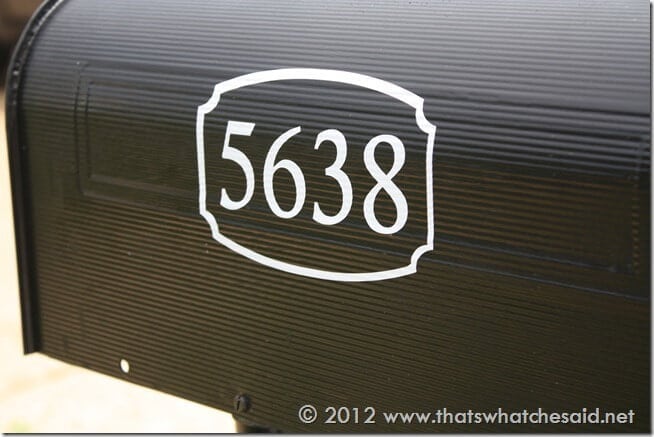
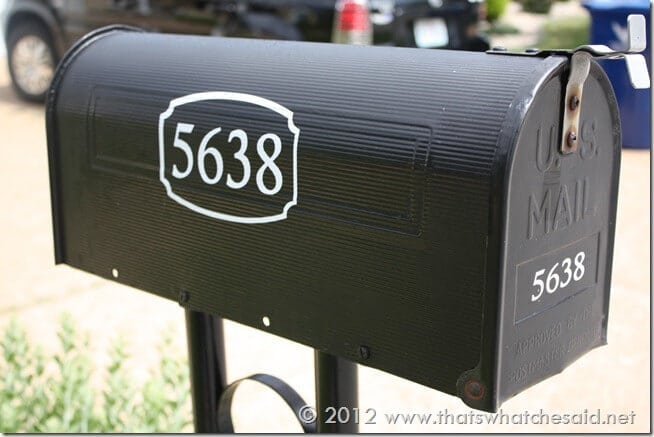
Using transfer paper, I placed the pretty border numbers on the side of my mailbox without the flag. They measure roughly 4 x 6 inches. I was sure to rub them down really well, especially on the larger one because my mailbox has a ridged vs smooth surface. You can use the scraper tool for this or just your fingers!
I repeated for the numbers on the front of the mailbox as well and then carefully removed the transfer paper leaving the sets of numbers and border behind on the mailbox.
The front adhesive mailbox numbers measure roughly 1.25 x 3 inches.
The old outdated mailbox is brightened up a bit! Now guests coming to our house can find it easily! I have to say these look so much better than those giant block-like reflective numbers you get from the Home Depot!
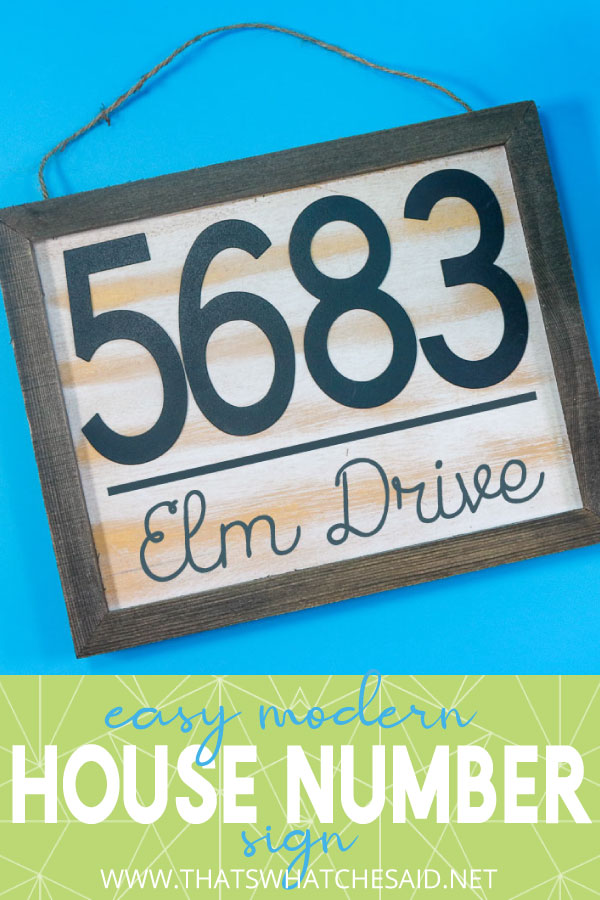
YOU MIGHT ALSO LIKE THIS HOUSE NUMBER PLAQUE
No mailbox at the curb? No problem, this modern house number plaque is perfect to hang by your front door so guests and emergency personnel can easily locate your home.
Selling Adhesive House Numbers
I used to sell these adhesive house numbers through my shop but no longer do so. If you found me from an old shop pin, I apologize.
If you are looking for a great item to add to your shop, I do recommend these! The vinyl decals sold well and can easily be delivered through regular USPS mail. I was surprised at how popular they were and there are few sellers out there for this item.


Comments & Reviews
Melissa @ No.2 Pencil says
Yes! I love it. I have a silhouette too and I am always finding new ways to use the vinyl! Looks great!
Cookie17 says
Those look good,Have you saw any weird mailboxes ? Saw one other day & it was a golf ball,,,Have good one
Cheryl says
I saw one that was a giant bass fish and the mouth was the opening on the mailbox…that one kind of freaked me out! I have also spotted the golf ball one too! I was lost one time, in southern Illinois and I came across a mailbox, where the post of the mailbox was stuck inside the bowl of a toilet! They had flowers in there so I am assuming it was purposeful! Crazy!
Danyelle Franciosa says
How amazing it looks! I would love to try this at home. I appreciate it very much.
HEATHER WOODBURY says
Cheryl, how long did/do these last? I have made laminated paper #s, but water finds its way in.
Cheryl Spangenberg says
Hi Heather! We are going on 4+ years now! We live in St. Louis so have all four season including rain and sweltering heat and ours is still going strong! I have them in my shop as well!
Sharon says
Thank you for the information, which brand of vinyl di you use for the mailbox?
Cheryl Spangenberg says
Hi Sharon, I used Oracle Permanant Vinyl. Oracle 651.