Well I told you a few days back when I had to explain my orange picture issue that I had a tutorial coming to make a Halloween Table Runner! Well here it is!
To be honest, I am using the term “runner” loosely. I, in fact, have a runner in my house. He is 15 months old and sits about 2 inches shy of eye level to any table top we have. Which means that anything hanging over or off a table gets pulled down. So mine is sort of like a “Table Placemat”! You can make yours a true runner, and not the 15 month old type! :)
Items Needed:
- Burlap
- Cheap fabric for backing
- Matching Thread (to Burlap)
- Contact Paper
- Exacto Knife
- Spray Paint
- Sewing Machine
- Straight Pins
I started off by figuring out what size I want my runner to be and then cutting the burlap about 2″ longer for both height and with. So I wanted mine to be 15” x 38” so I cut my burlap 17” x 40”. I cut the backing fabric closer to size, adding about 1″ of allowance on both height and width.
I am not a seamstress. I am not a fluent operator of a sewing machine and I don’t claim to KNOW how to sew. I just know how I want it to look and figure out a way to make that happen. So if you are a seamstress, fluent in operating a sewing machine or do indeed KNOW how to sew, then you can use correct form and terms and all that stuff. For the rest of us, here is how I slapped this guy together!
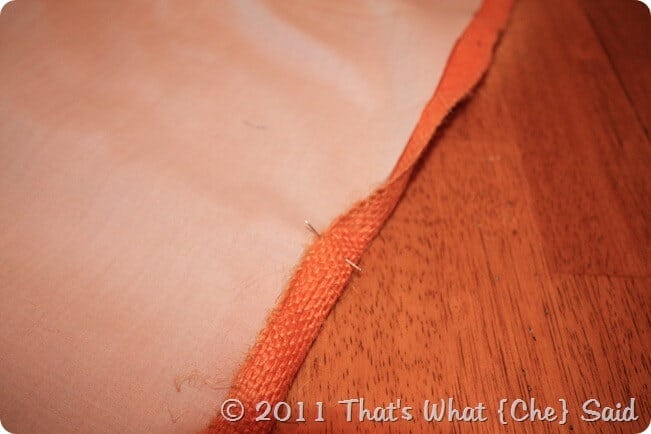
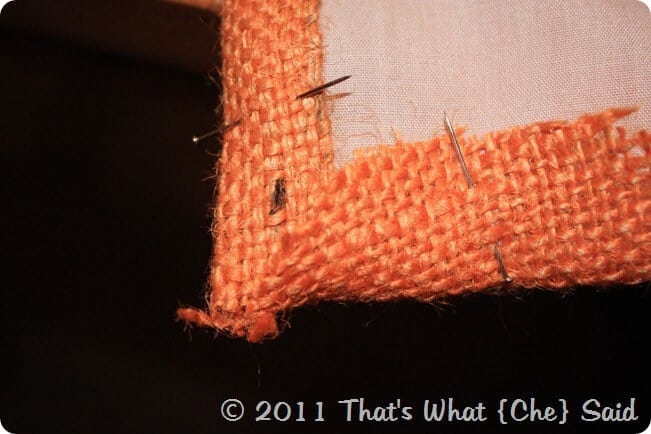
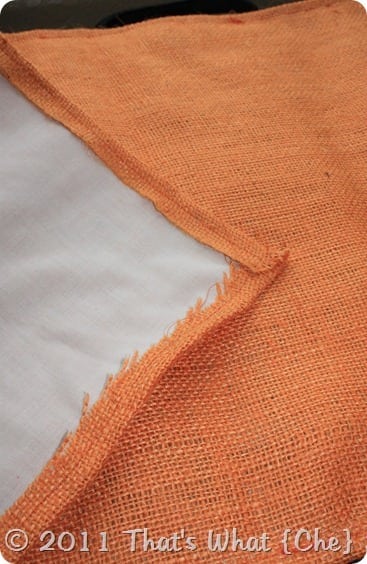
I placed the burlap with the side I liked best facing DOWN. I then centered the backing fabric with the side I liked best facing UP. I then folded the excess burlap over the backing and pinned into place using straight pins.
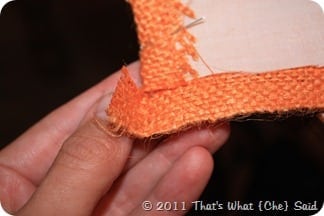
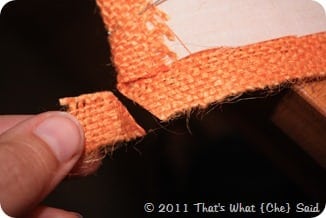
When I got to the corners I just cut a notch out so they were not so bulky. I know that’s not how you should probably do that but 1. It’s burlap and 2. It’s me! So that’s how I made it work!
Then I sewed all four sides! You can use a bit of Fray Stop if you need to on the edges. I just trimmed mine and it was fine. It’s the back anyway!
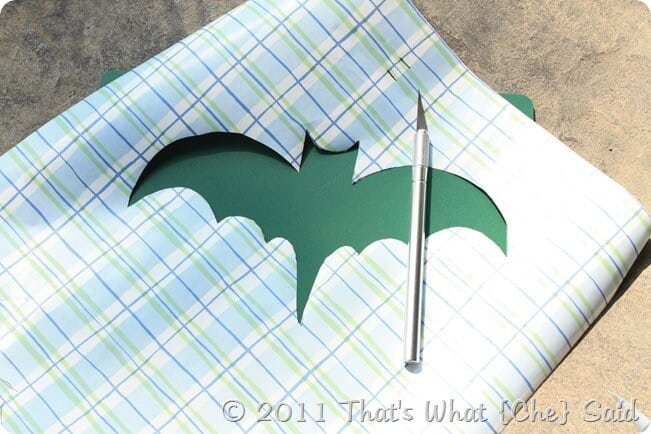
I couldn’t find a stencil I liked for a bat in the stores. I wanted one that wasn’t too cartoon-ish but also one that wasn’t screaming “Batman”! (I was not previously aware of my strong bat design feelings!) I had a whole roll of contact paper left over so decided to make my own stencil. I drew a bat on some scratch paper and traced the design on the contact paper. I repeated this for both ends of the runner. I then used an Exacto knife and cut out the bats shape from the contact paper.
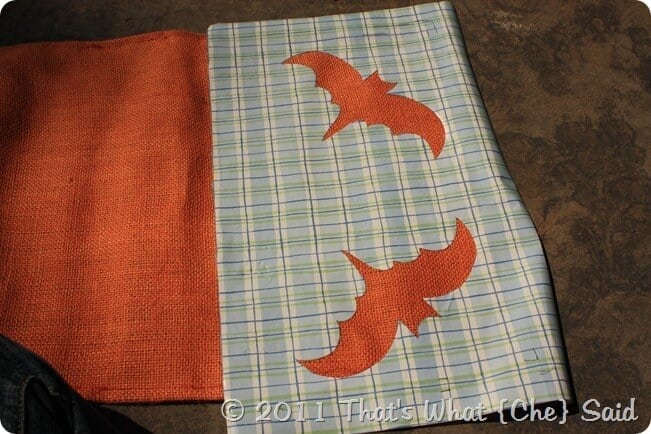
I removed the backing and positioned the contact paper on the runner.
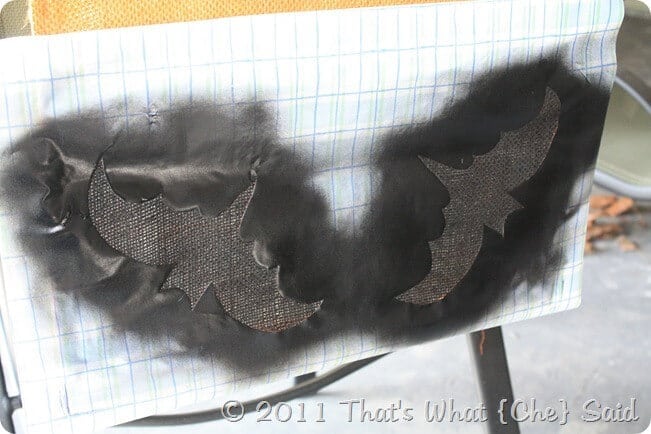
I sprayed one end of the runner at a time. I folded all the extra runner under the confines of the contact paper before I sprayed.
Using black spray paint, I gave the bats about 3 even light coats of spray paint. When this side dried, I removed the contact paper and repeated with the opposite side of the runner.
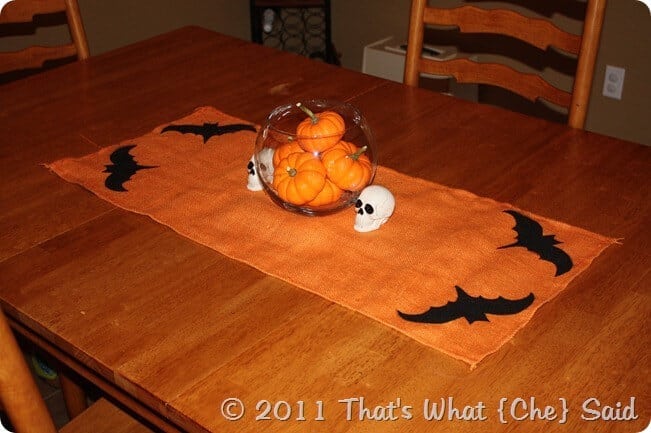
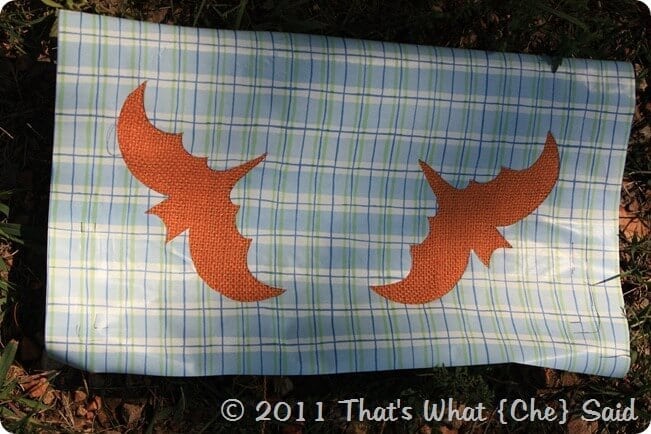
Here’s what I ended up with! I am really, really happy with it.
It fits nicely on my table with enough room around it for our dinner plates and coloring books and play-doh. Halloween and Fall are the perfect holidays for “rough around the edges” types of projects! I also fell totally in love with Burlap on this project!
*Again, I apologize for the not so stellar photos


Comments & Reviews
Mary says
CUTE! I wish I would have read this prior to posting my Halloween themed Monday Pinning post.
Cheryl says
I was going to write something really sassy here but forgot that people don’t know that you are my BFF and would think i am crazy! So I will just say thanks and I am happy you liked it! :) Love you!
Christina says
Great project, Cheryl! Thanks for linking it up to my Bewitching Craft party over at I Gotta Create! {And for sporting my party button on your party page.} I hope you have a fabulous Halloween! http://igottacreate.blogspot.com
Cheryl says
Thanks for hosting a great Halloween Party!
Bethany @ A Fish Who Likes Flowers says
This turned out great!!! To be honest, I probably would have made it the same way, although like you, I don’t claim to know how to sew, although I am learning.
Thanks for linking this up to my Monster Mash Bash!!!
TigerEyes2001 says
Such a great idea! Hi! New follower from the October hop on Bloggy Moms! I hope you’ll stop by and follow back! Thanks! :) Through the Eyes of a Tiger
Kaysi @ Keeping It Simple says
That is so cute and so simple, I love it!
Cheryl says
Thanks Kaysi! Simple goes best in my life!
Brittany says
I love this table runner! I didn’t even know that they made orange burlap. And, the bats are adorable! I found you through Polka Dots on Parade. Thanks for sharing!
Tonia @ The Gunny Sack says
I didn’t realize there were different colors of burlap! I love this table runner! Thanks for sharing this at my What’s In The Gunny Sack? link party!
Whitney Ulrich says
I love love love this. I have got to make one for next year. Thank you so much sharing and for linking up to our party Show and Share this week! Come on back this Wednesday to link up your current projects.
A mommy’s life…with a touch of YELLOW
tyandwhitneyulrich.blogspot.com
Heidi @ Decor & More says
Great project! I love using burlap this time of year– awesome texture to capture the season!
Visiting from HOH. :)
Cheryl says
Heidi, I couldn’t agree more! Thanks for stopping by! I hope to see you again!
CrochetHappy says
Hi! I’d like to invite you to join our Halloween Link Drive!
http://www.crochethappy.com/halloween-link-drive-2012.html
Candie says
Cute! You should enter your photos from this project into Craftbaby’s Halloween Decor Challenge! :) http://www.craftbaby.com/contests/32/halloween-decor