COLOR Outside the Lines…
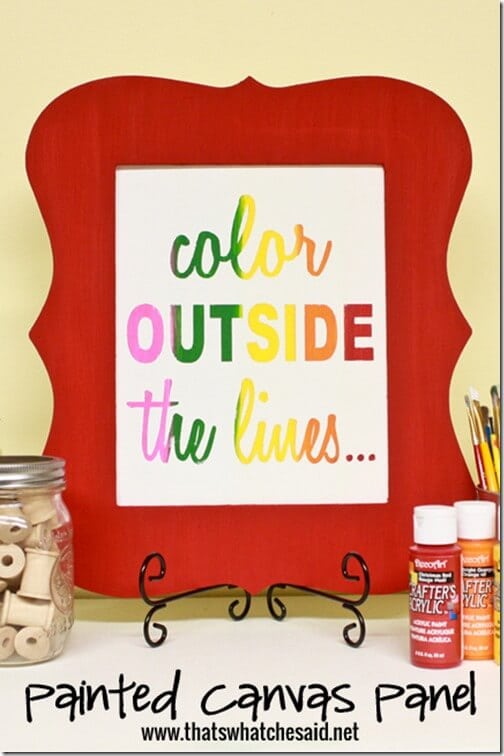
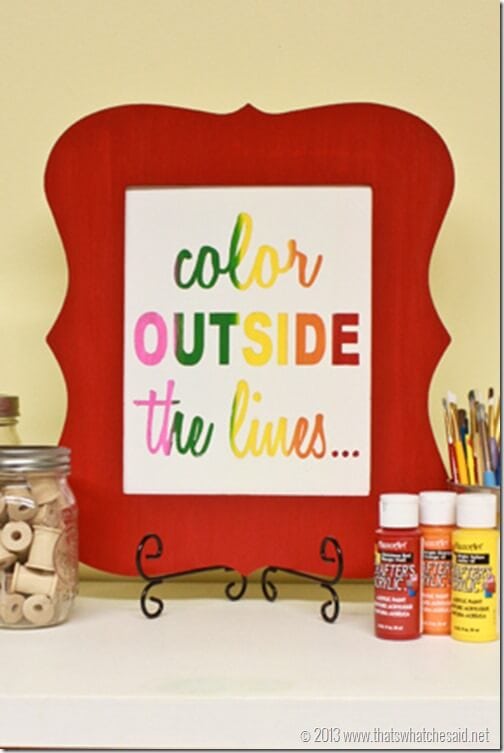
This painted canvas board kind of sums up my feelings at this exact moment! For so long we are told to color inside the lines…it’s actually used to gauge a young child’s readiness for school. Whether or not they can master following the direction and staying INSIDE the line. Since I have used the analytical side of my brain for SO long and then the “rules of blogging” telling me to pick a distinct niche makes me want to scream! Why do I have to pick ONE thing? Why can’t I do it all? Why can’t I COLOR OUTSIDE THE LINES dammit!! So I did…and I continue to do :) {I passed over that rebellious stage as a teenager…maybe I am finding it now?}
Aren’t we supposed to stretch boundaries and test waters with our creativity? I thought so!
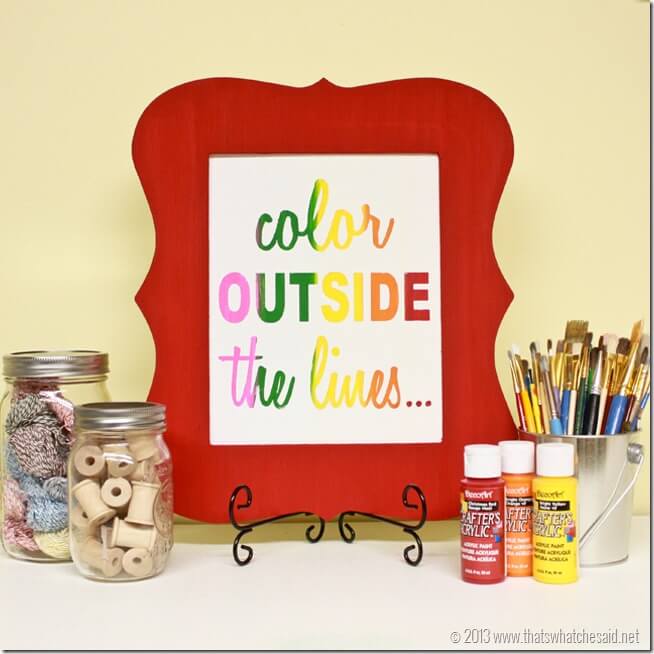
I know I talked briefly about my craft room ages ago. I know, I know…It is pretty much complete I just need to photograph it. Anyway, I shared my color block dresser that I am still in love with to this day! I wanted some fun artwork to display on it and on the wall of my CREATIVE space. I shopped around and didn’t like anything I found so I did what any DIY girl would do and I made one myself! It was really, really simple and I am going to share how to make your own!
Supplies Needed:
- Canvas Board (I used 8 x 10)
- DecoArt crafter’s Acrylic Paint
- Paint Brushes
- Vinyl Lettering or Letter stickers
- White Spray Paint
- Frame
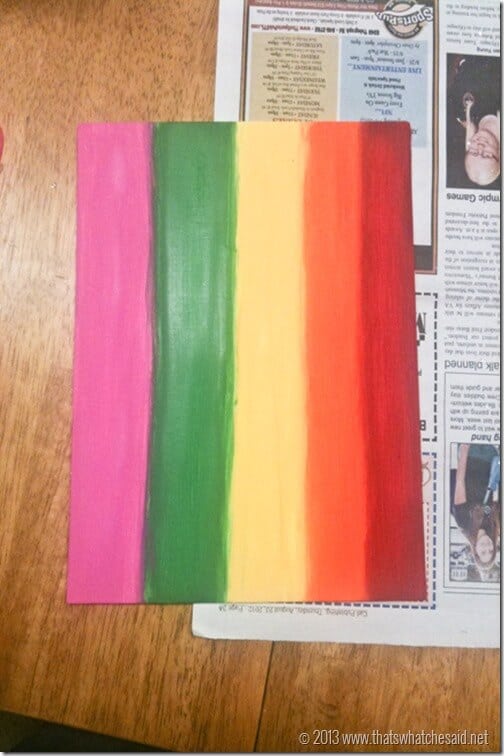
I started off painting my canvas board in stripes of these fun colors from DecoArt’s line of Crafter’s Acrylic Paints. My closet is color coordinated so rainbow was a sure thing for me. You can do any colors that suit your space! It’s hard to tell from my photo but I tried to blend the area where the two colors meet so that it wasn’t a solid straight line. Just my preference…you can keep it straight!
Next I cut some vinyl using my Silhouette Cameo. I used my 8 x 10 size as my guide and mixed and matched fonts that I loved until it was perfect!
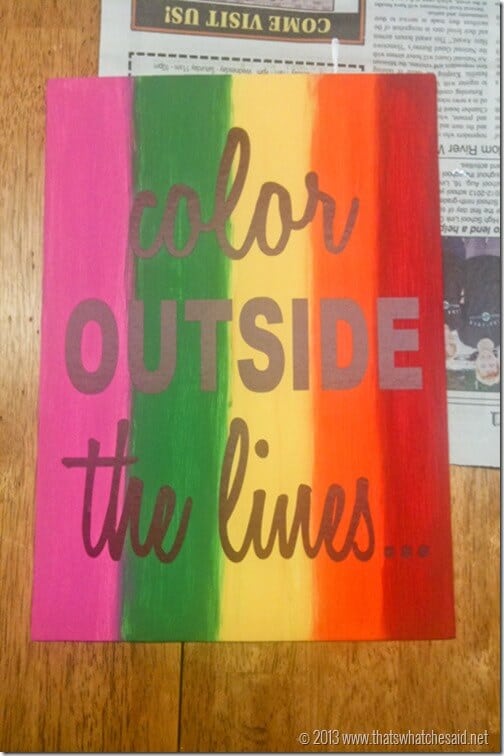
I applied the vinyl to the dry, painted canvas panel with some transfer paper making sure to get it centered!
Then I took it outside and applied several coats of spray paint until I could no longer see the colored stripes show through. Be sure to do this patiently and wait for the coats to dry in between…otherwise you will have a gooey mess! Once it was dry I carefully removed the vinyl lettering!
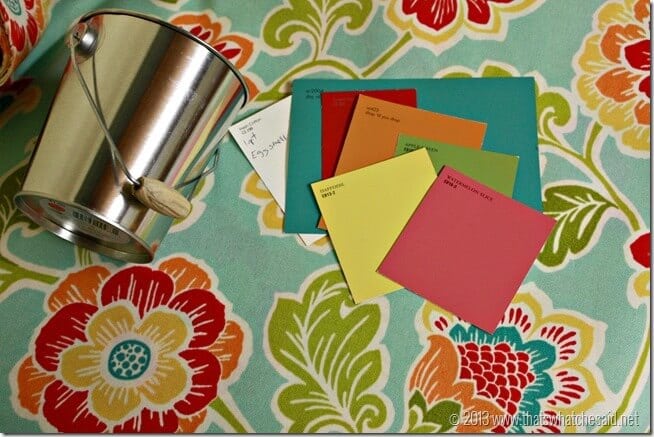
I found this great frame and painted it the same red I used on the panel! 3 coats did the trick on raw MDF board. {I got the frame at Michael’s for only $4 on sale!!!! –wowzers!} I needed more red accents because here again is my color pallet for my craft room.
I love the finished product! Not only because it’s pretty but because it reminds me what I need to do…Color Outside the Lines!
Added bonus: I have a Silhouette Portrait Giveaway going on RIGHT NOW! Hop over to the giveaway and enter if you haven’t already! Already have a Silhouette machine? Well I have some great discounts for you as well!


Disclosure: I was sent paint from DecoArt but all opinions are 100% my own. You can read my full disclosure here.



Comments & Reviews
Crystal says
Super cute!!! I just got a Silhouette and can’t wait to try this!! Thanks for the great idea!!
Dido says
I love your view of life. Reading your blog just makes me happy.
Thank you
Dido
Mary says
Very cute!
Cheryl Spangenberg says
Thanks friend!
Randi - Dukes and Duchesses says
Super cute! I love the technique you used to let the rainbow letters show through … so smart!
Cheryl Spangenberg says
Thanks Randi!! I appreciate it!!
Loren @ My{Sub}Conscious Ramblings says
Super cute! Love the layering idea:)
Cheryl Spangenberg says
Thanks Loren! I am so happy with how it turned out!