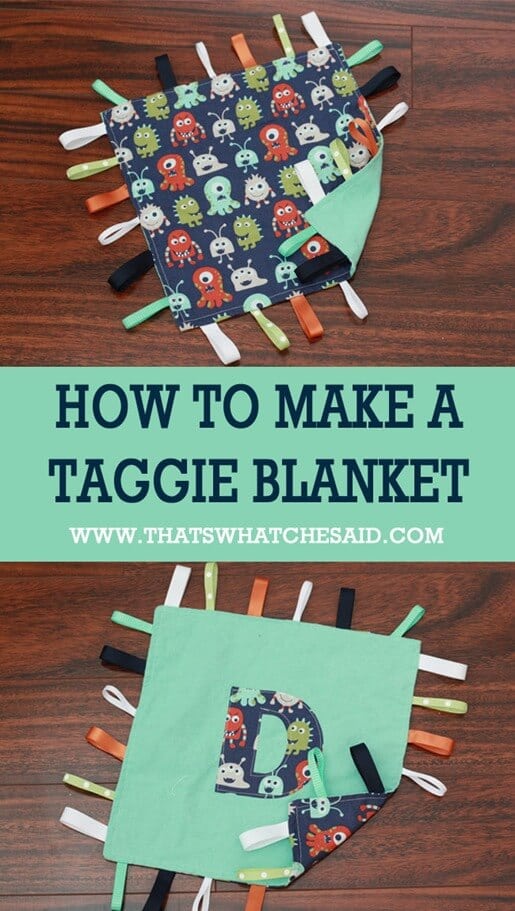
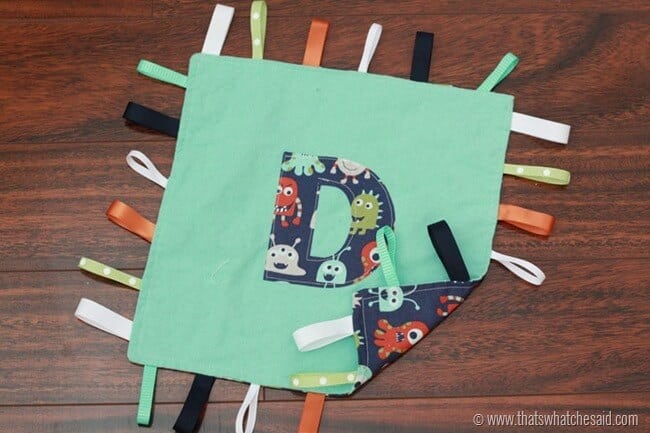
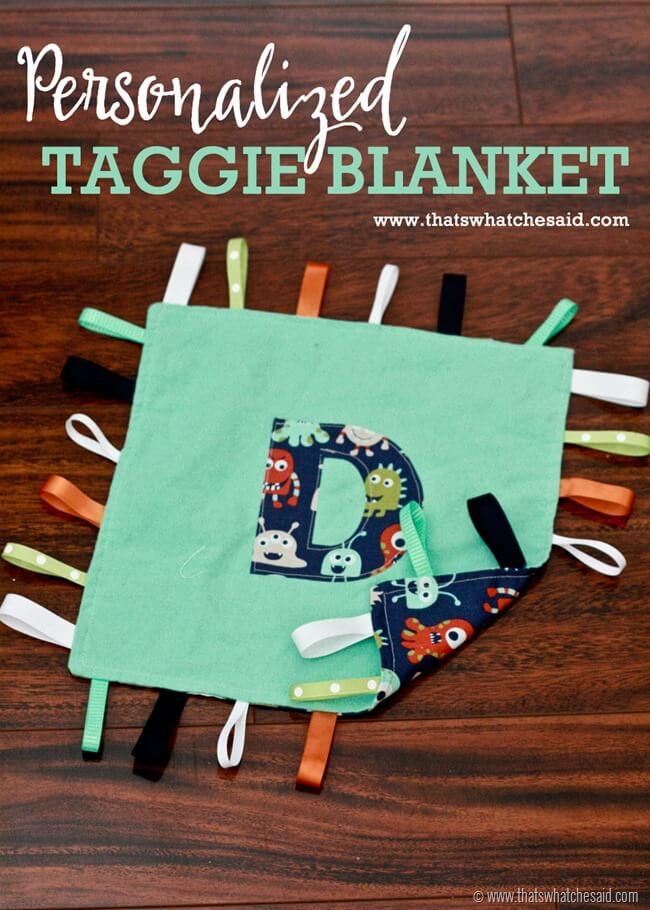
I have been just enjoying every second of Spangenbaby. I just can’t get enough of him! He is such a great baby and his little smile and chunky cheeks just light up my day! I also LOVE making things for him. I saw a really cute taggie blanket at a big box store and I had a great idea to make Jimmy one that was personalized to him. With the help of my Silhouette Machine and ability to sew a straight line, I am sharing how to make a taggie blanket today!
I call him my little monster or my love monster all the time so I happened to stumble across this monster fabric I knew I could use it for something! That something happened to be this taggie blanket! Taggie Blankets are great for sensory skills for babes and they are snuggly and babies love snuggly!
{I mean seriously…this kid…I just adore him!}
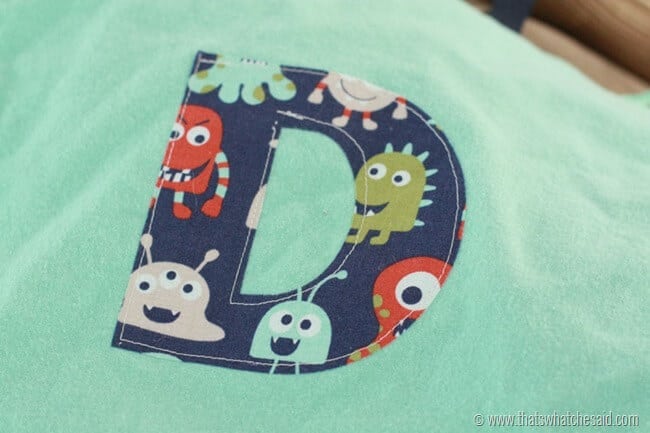
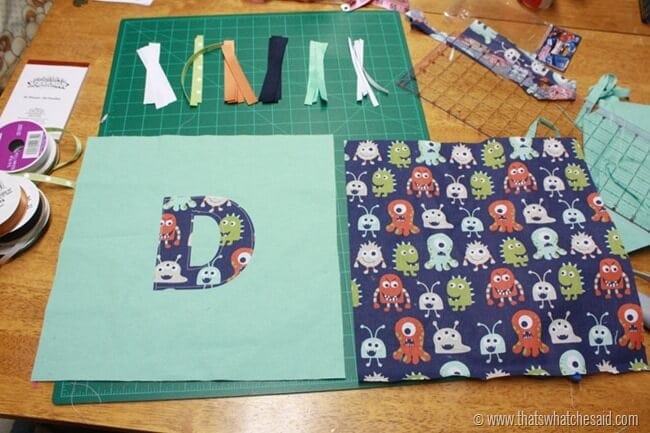
I personalized his by using my Silhouette CAMEO and some heat interfacing. You can certainly do the same and cut the letter out with scissors! If you have a machine you can find my tutorial for cutting fabric on a Silhouette here.
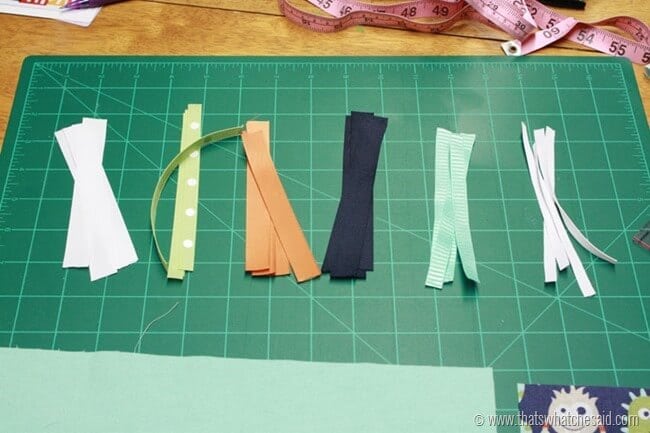
I picked out some matching ribbons. Be sure to choose ribbons in all sizes/widths and textures. I have some gross-grain ribbon of different widths as well as more satin-y ribbons. It’s all about sensory and textures here! I cut them in 5 inch strips. 4 of each ribbon.
I also chose my opposite side fabric to be of a different texture. I used this great aqua flannel for the opposite side of the cotton monsters. I have also made ones of minky fabric and plushy fabric. {These taggie blankets are addicting!}
Supplies Needed:
- (2) 13 inch squares of fabric. Choose different patterns and materials
- 6 coordinating ribbons, each cut in 5 inch lengths, 4 lengths of each color
- Sewing Machine/Thread
- Scissors
- Straight Pins
- Fabric Interfacing
- Iron
I start out by squaring up my fabric in 13” squares. This gave me 1/2” seam allowance on all sides to make the finished taggie 12”. I cut and applied and stitched around my Applique letter exactly like I did in this tutorial. If you don’t have a Silhouette don’t worry, simply follow your interfacing instructions and cut the letter by hand. Apply with an iron and stitch in place.
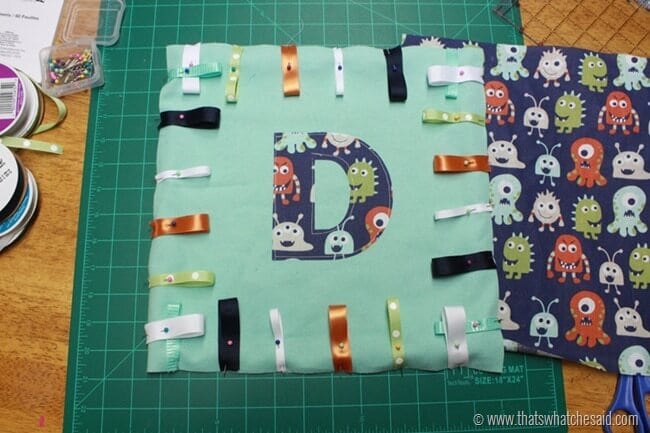
Next, I looped and pinned all the ribbons in place. You want to pin them like the photo below. Pin to the right side of the fabric along the edge. Repeat for all four sides.
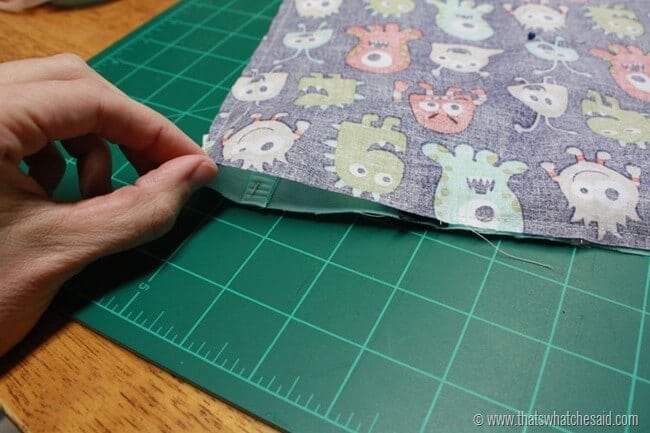
Next place your second fabric square, right side down on top of the first square with pinned ribbons. Straight stitch along all four sides making sure to leave a 2 inch open section at the very end. This is where you will turn your fabric inside out.
See in that hole, the last pinned ribbon piece? After you carefully turn inside out and remove the pins, be sure to remember that that ribbon is not yet attached. After you fold it right side out and remove the pins, carefully fold in the seams of the open 2 inches and then sew a finishing stitch around the edges of all four sides. Make sure to stick that ribbon loop back in the folded part before you sew.
Now you have yourself this adorable double sided personalized Taggie Blanket!
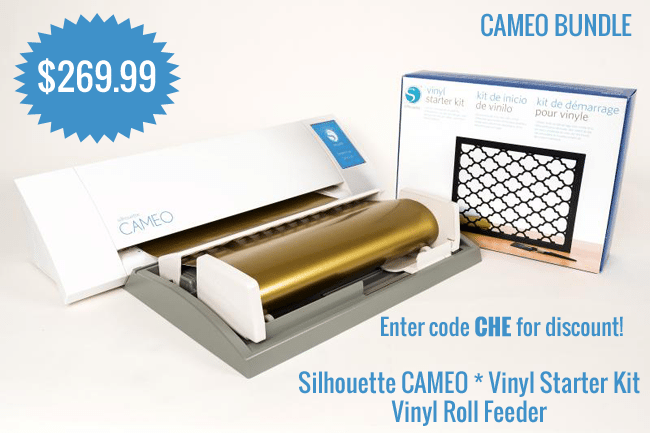
As a member of the Silhouette Circle, I get to share some awesome deals with you. For a limited time you can use code CHE to get some great bundle deals on a Silhouette Machine (like the one I used in this tutorial) along with a Vinyl Starter kit and Roll Feeder!
Be sure to shop here and use code CHE at checkout. Discount valid through 3-31-2015



Comments & Reviews
Amanda says
This is so cute! I love the monster fabric. And oh my goodness… what a sweet little smile he has! :)
Cheryl Spangenberg says
Thanks! I think I will keep him ;-)