I do realize that I may be posting this project a wee bit late but since it is revolving, it really doesn’t matter when you start it! With the colds we caught from the Holidays and then the recent passing of one of our family dogs, I am just moving a bit slow!
I’d love to say that I am that mom that has her children’s baby books up to date, all shots recorded, when each of their teeth popped through, the funny things they say all documented in a cute baby book that holds their first cut lock of hair and pictures of their first bath…well I’m not. I have Michaels finished through this 11 month of life. Yep, he’s FIVE now. I haven’t even started on Ryan’s book.
I do however make a yearly book on Shutterfly of all the photos of the adventures we took that year. It is timed from right after their birthday through the next. Each book is appropriately titled “Michael’s 2nd Year of Adventures October 20, 2007-October 19, 2008” and so on and so on for each year. I save a page in the back and write down all the funny things or sayings that came out of his mouth.
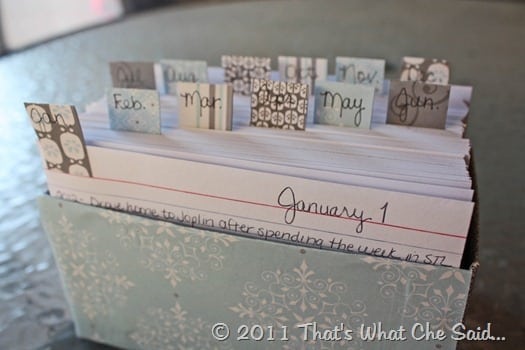
Now with 2 kids I am finding it harder and harder to remember what happened each year and which kid it was and so on. Also Freddy and I have spent a good portion of a night trying to “recall” what we did each New Year’s or what year “this” happened. I try to document things on a word file that I keep on the desktop of our laptop however I haven’t touched that in ages. I am hoping that this cute little revolving calendar will help! It’s right on my counter and I can take a quick moment and just jot down what happened that day if anything. Then when I go to make the boys Adventure books, I can trigger my memory. This would also be AWESOME for new baby gifts. Give the new mom a way to document all those firsts and milestones without digging out the book!
Here is how to make your own!
Items needed:
- Note Cards (I bought (4) 100 packs at Dollar Tree)
- Scrapbooking paper
- Mod Podge
- scissors
- ruler
- tape
- hole punch
- Cardboard Pop Tart Box or scrap piece of cardboard (cereal box)
- Paper Rings
- Patience
I will show you 2 separate ways you can display your calendar. Choose whichever works best for you!
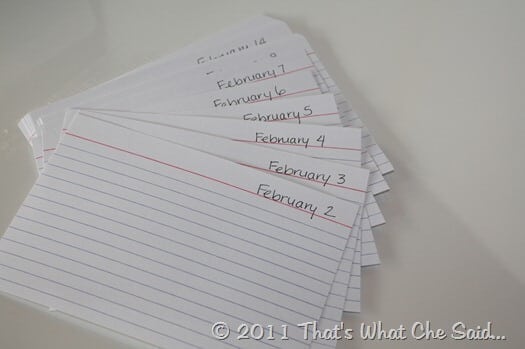
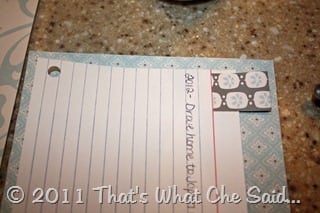
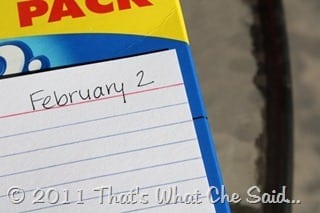
First off: Date the note cards. I just wrote the dates in my own handwriting for the entire year. I mixed it up a bit and did some in cursive, and some in just plain print. This is where you need patience because writing the word February, 29 times…might drive you crazy. I also misspelled it a few times because I was distracted. Good thing for extra note cards ![]()
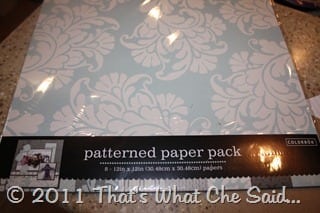
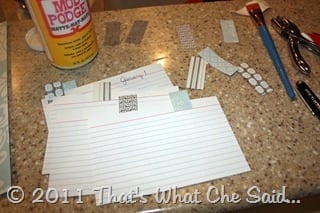
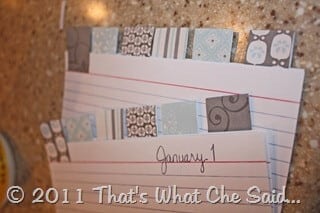
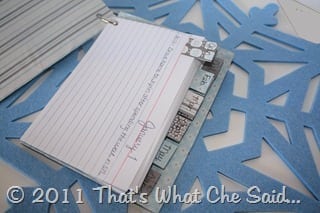
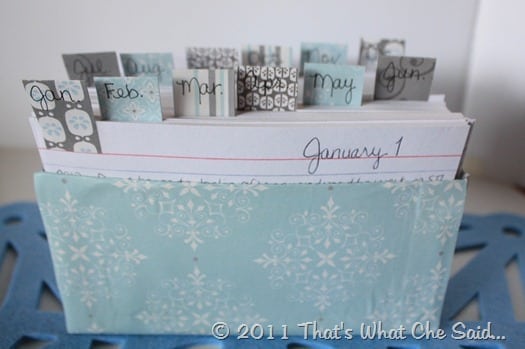
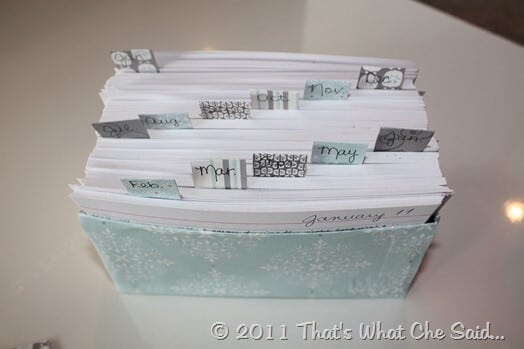
Then I purchased this pretty scrapbooking pack at Target for $0.99. What a deal! 8 pieces of already coordinating paper for a buck! I then cut 12 strips of the paper to be used as tabs for the different months. I cut mine 2 1/4” by 3/4”.
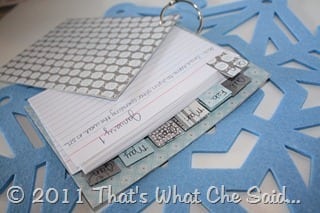
Using some mod podge, I just glued them on the cards for the first day of each month, alternating their placement and patterns so that you can see them all. I also wrote in the 3 letter abbreviation for each month on the appropriate tag.
Now comes choices. Do you want to hang your calendar or display it in a box? I will show you both ways.
To hang your calendar:
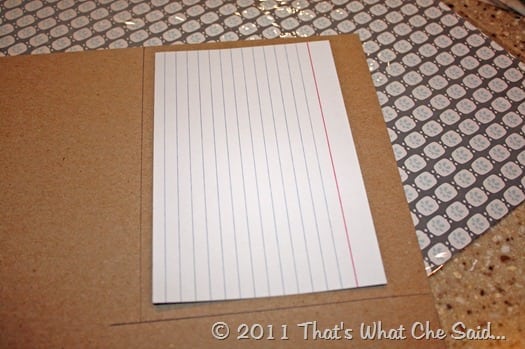
I simply used a scrap piece of light weight cardboard from a cereal box and cut it large enough to cover my index card with the tab.
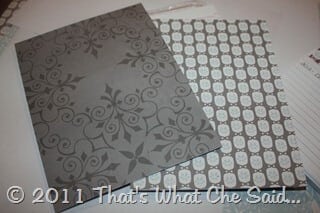
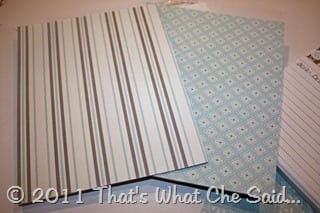
I made two of these cardboard covers and then used 4 different scrapbooking papers & Mod Podge to cover each side of the cardboard to make it pretty.
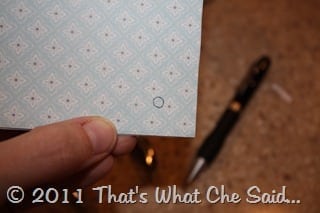
I punched a hole in my first index card, then centered it on the covers and then marked where to punch my holes for the paper ring. I punched away…again patience and a strong hand required on all the index cards.
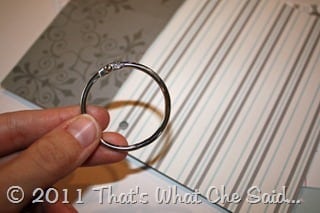
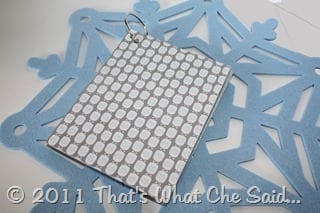
Using that paper ring, I looped all 365 cards together and the two covers. Now it can hang on your fridge or next to your desk. The cards can flip over so you always have the current day on top!
For the box storage system:
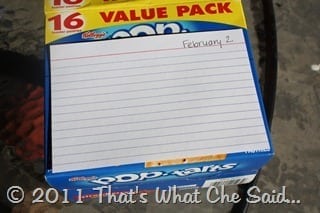
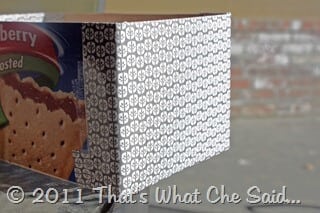
I simply measured a Pop Tart box to the size I needed and cut it to size.
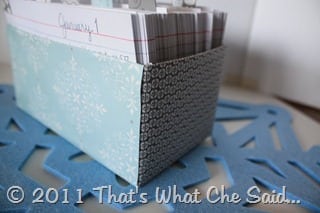
Then I covered the box in scrapbooking paper like I was wrapping it like a gift. I did the two small sides first in a different paper than I did on the larger sides. I also used a bit of Mod Podge to keep the paper snug against the box!
Then as the days go by I just move the cards to the back of the box keeping the current day up front. It’s then easy to QUICKLY jot down anything funny or cute that happened that day. Like our AMAZING weather we were having in JANUARY or any new words Ryan learns. Right at my fingertips!
Linking Up Here



Comments & Reviews
imklvr says
Yet another brilliant idea from your awesome self! I love it and I’m going to tell my granddaughter about it so she can document my great granddaughter’s years…..oh, yes, and the one that’s due in July! Thanks, kiddo!
Laura @ Laura's Crafty Life says
This is a great idea. I am really bad about recording my kid’s stuff. I always mean to, and then it doesn’t happen!
Aimee says
I adore this idea! Life goes so fast-it is always nice to look back:)
aspiretoinspire
Sara says
This is absolutely Adorable!! Hoping you can link it up at my turquoise lovin’ party!! http://www.sweetlittlegals.com/2012/01/turquoise-lovin-22.html
Alissa says
That is such a great idea, no matter how much you say to yourself at the time ‘i will never forget this’… YOU WILL. But not if you have one of your memory calendars
Alissa@look.find.inspire
Cheryl says
That is exactly right Alissa! I do that all the time and then 20 minutes later “What did he say again?” or “When did that happen?” :)
Pam says
Che, I just stumbled across your blog today. You are absolutely adorable and I can’t wait to try some of your crafty ideas.
Cheryl says
Awww Thanks Pam! I am so glad you stopped by! I hope you love what you make!!
Erin @ How to Nest for Less says
This is simply adorable!