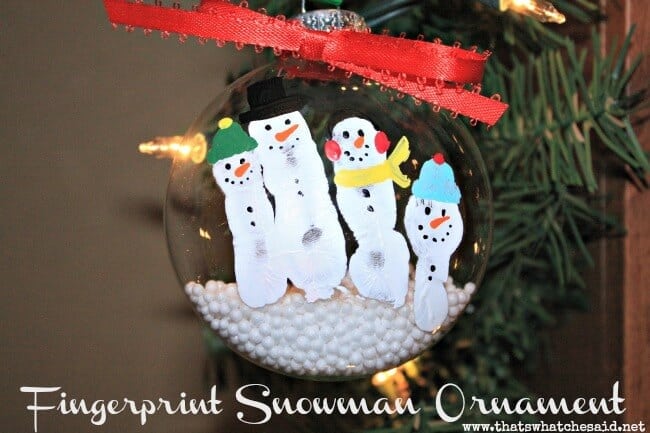
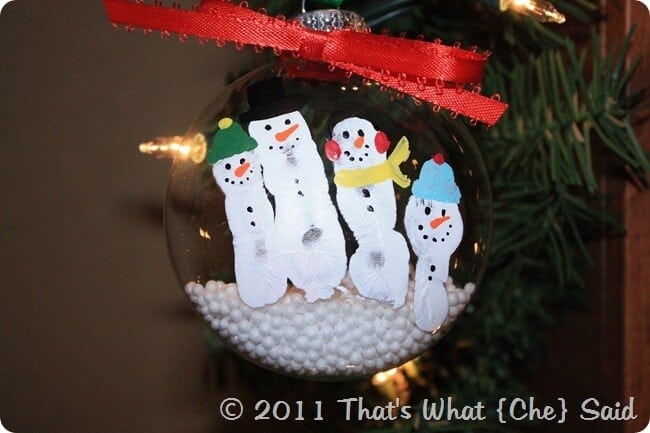
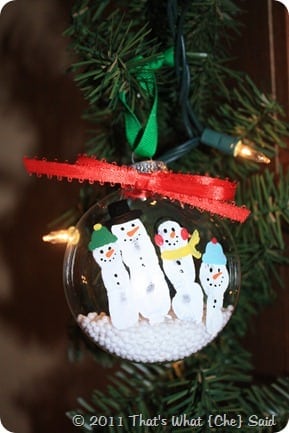
Today I am sharing my super cute Fingerprint Snowman Ornament! Made from the cutest little fingers!
OMG I have been waiting to share this little project with you for a few days. I wanted to get some pictures of it on my Christmas Tree. Well….we put up the “pre-lit” tree this evening and only one small part of one of the several strings of lights were working! :( So no tree pictures. But I couldn’t wait to share! So I just snapped a picture of it hung on some lit garland I have hanging up! It works, just use your imagination!
I originally was inspired by the ladies at Eighteen25. They made some cute ones last year on small canvases!
I thought I’d take it one step further because I really, really wanted to use some of that fake snow!
Items Needed:
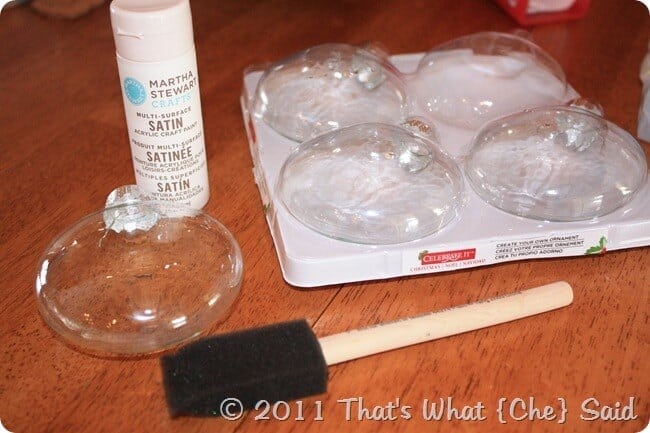
- Clear Glass or Plastic Ornaments
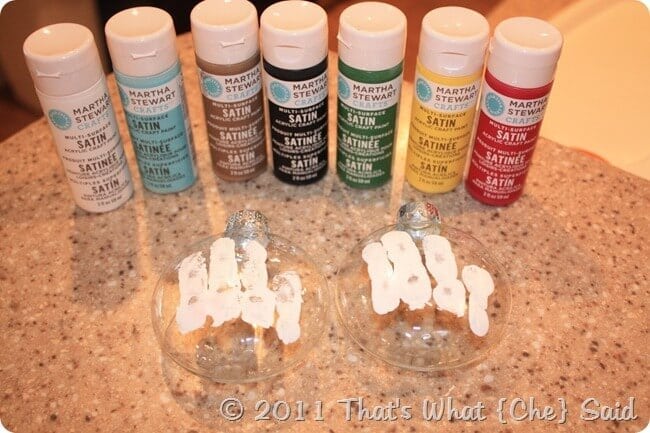
- Paint (White, Black, Orange for sure, any other colors optional)
- Paintbrushes
- Ribbon
- Toothpicks
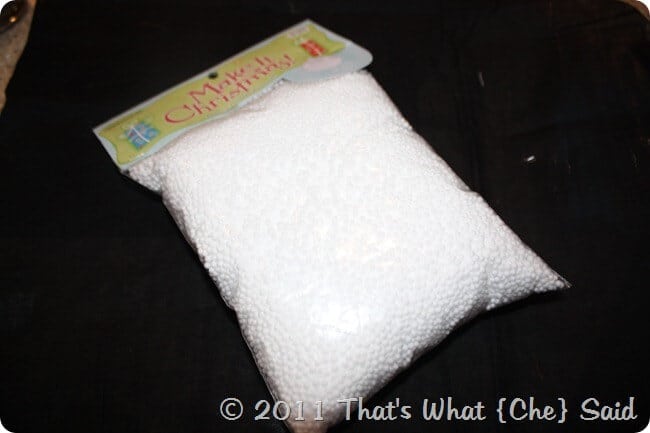
- Fake Styrofoam Snow
I chose to go with the flat glass ornaments because I am mailing them. I thought I’d have a better chance to find a box to fit the flat ones!
Start off by finding a little set of fingers! Michael helped me out! Paint only their fingers (the whole finger, not the finger tip or the palm of their hand) with White Paint. I used Ms. Stewart’s new line. I {heart} it. It’s thick and covers really well and can be used on ANY surface. You know how I love multi-tasking, multi-purpose things!
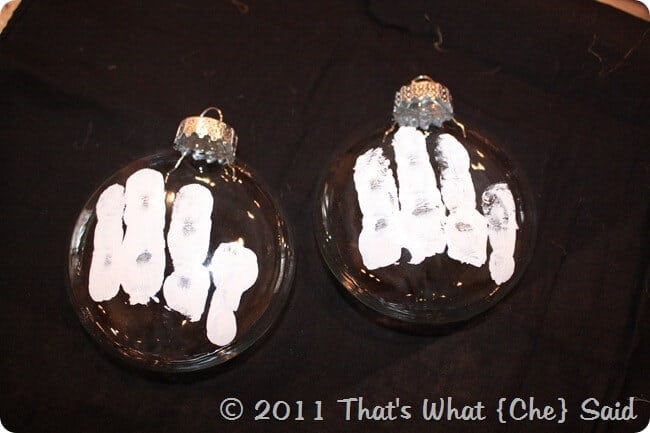
Gently have your helper place their fingers onto the ornament as if they are grabbing it from you. You will be left with something like this:
and someone like this:
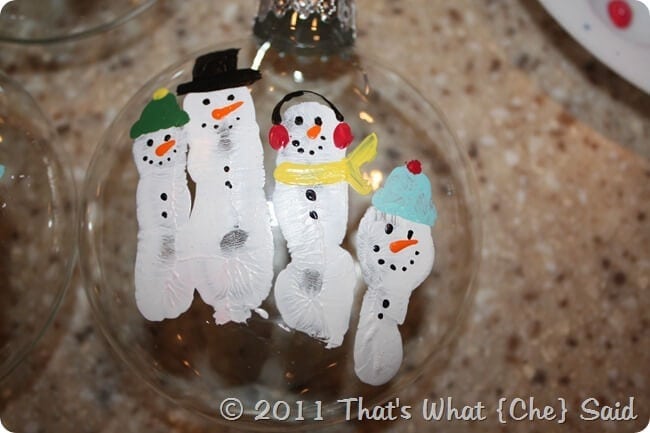
Hehe! Once those dry, I decorated them. I had an assortment of colors however you only really need Black and Orange (in addition to your white for the snowman bodies). I wanted to add a bit more color!
We’ll start from the top and work down! For Freddy, I added the traditional black top hat. For my little snowman, I added ear muffs and a scarf. For the boys’, I added stocking hats! Next I used a toothpick and made the small dots of “coal” for the eyes and mouth. I also used a toothpick for the orange carrot noses. Trick: Place a dot of orange paint in the center of the face area with the toothpick and then just use the tip of the toothpick to drag it out to a point. It gives the nose a great real 3D carrot look! Then I added some buttons also using the toothpick.
After these dried, I used a scrap piece of paper to make a small funnel and added the fake styrofoam snow.
Trick: DON’T use a plastic kitchen funnel. The styrofoam just static clings to the funnel instead of funneling out into your ornament. Paper worked MUCH better!
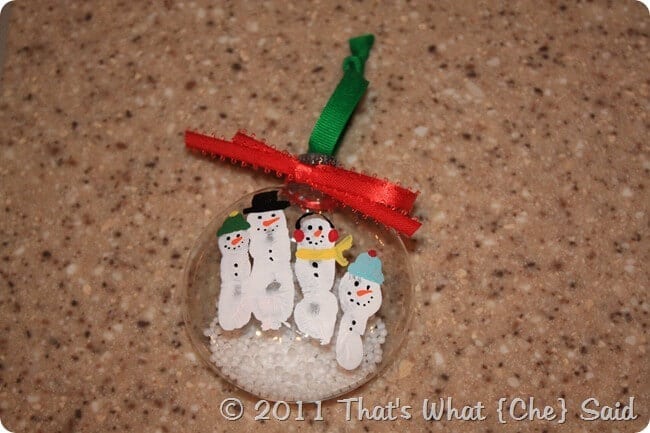
Next I tied a red ribbon around the neck of the ornament and a green one for the hook. This is option however it added a good pop of color!
I like to date ornaments so I know what year they are from so I added a 2011 on the back!
These are GREAT for grandparent gifts from your little ones. Oh and they are SUPER CUTE!!! ![]()
Disclaimer: In no was was I compensated for mentioning Martha Stewart’s new line of paints. Not by MS herself or by Plaid Enterprises. I really just like it. A lot. So I just use it.
Don’t forget to link up your projects at my Link Party and also only a couple days left to enter my giveaway for a Nest Egg Pendant of your own!
