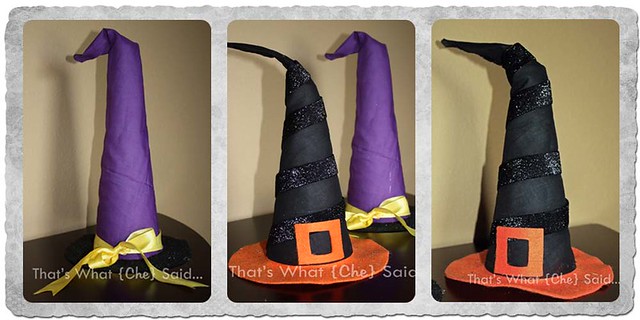
Are you sick of my Halloween posts yet? I hope not, because this one is super cute and I also have a plan to reuse parts of it for future projects! I love multi-tasking! Let me show you how to make these happy little witch hats for your Halloween decorations!
To make your own Witches Hats you will need:
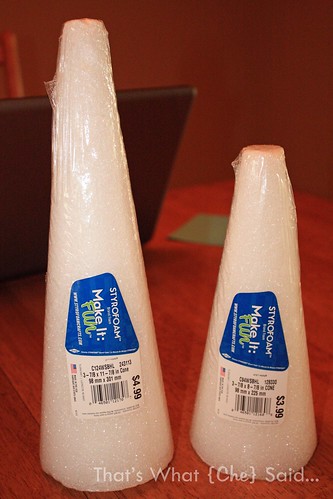
- Styrofoam Cones
- Fabric
- Ribbon
- Felt
- scissors
- hot glue or other tacky glue
- sewing chalk pencil
To start I chose two different sizes of cones and I found these handkerchiefs/bandanas at Hobby Lobby for $0.99! Can’t beat that price and they are the perfect size!
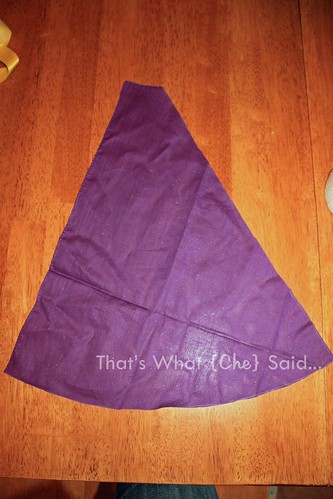
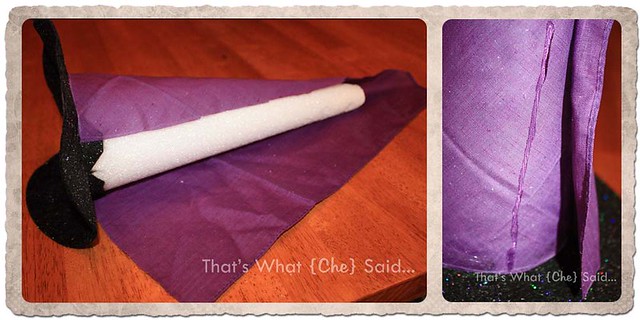
I first positioned the large cone along the hemmed edge of the bandana and then rolled it up to see my pattern. I used my white sewing pencil to mark out my pattern and then I cut it out.
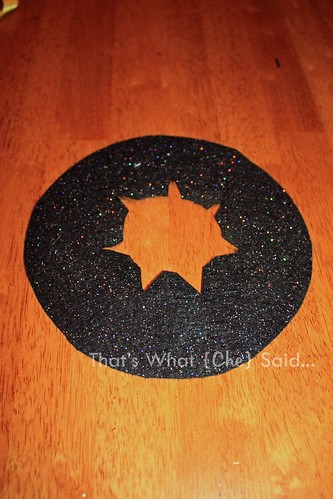
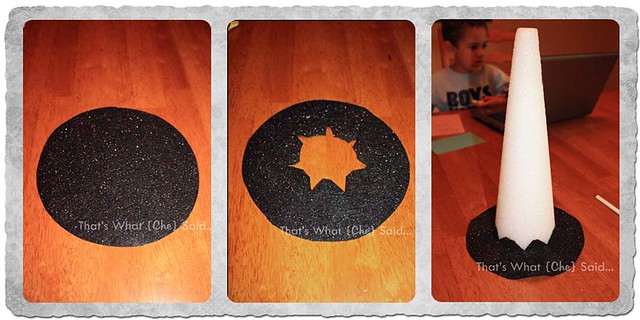
Next I measured the bottom of the cone and cut a circle that was 2 inches larger on each side out of felt! (I found this great sparkly glittery felt that I love!!) I then turned the felt circle over and on the back I traced the outline of my cone. I then cut a circle that was 1/2 inch SMALLER than that outline. I then cut out v notches along that circle up to the outline I traced so you are left with a piece like this:
This is the brim on the witches hat. I then carefully slid the brim down the cone to the bottom so it looks like this.
Next I took the hat piece we cut previously and I used hot glue to glue the hat pice to the notches of the brim. Why not just glue to the cone you say? Well I have plans to use these cones again so I am creating a “slip cover” of sorts! Continue to glue all the way around the cone.
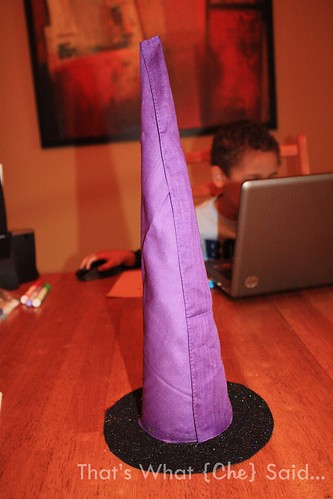
Next run a strip of glue up the seam of the hat and glue the seam all the way to the tip. (top right photo) I was careful to make sure to keep the already hemmed edge of the bandana on the outside so that it looks like I took the time to sew it. (below)
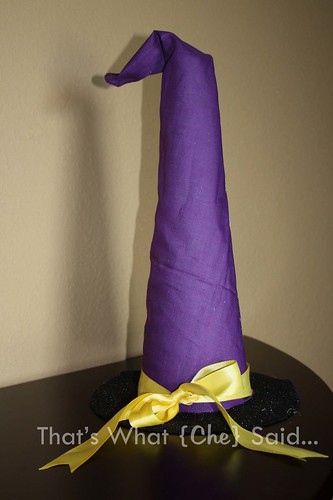
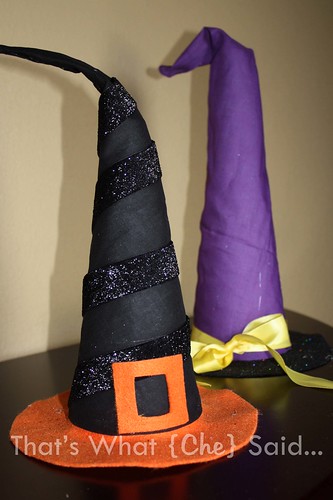
Next I tied a ribbon around the bottom to hide the seam and add some color and fun!
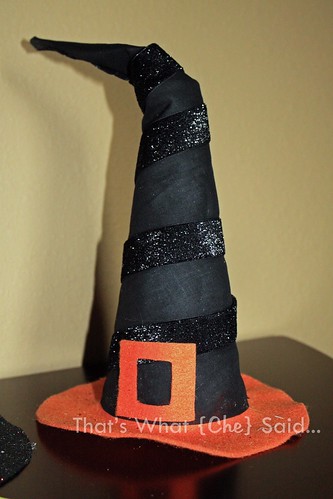
For the smaller cone I repeated the steps for the hat and brim but this time I used the black bandana and orange felt.
Once they were assembled I wrapped the cone with some glittery ribbon and attached it with hot glue. I had to cut v notches in the ribbon along the back to get it to lay flat. Then I cut a buckle out of felt in place of the bow and ribbon!
Wah-Lah…really cute witches hats! There are several steps to this project but it only took me about half an hour to make both while taking pictures and making notes to myself. So you can easily do this project!
Now it might be time for me to go make myself some witches brew…and work on my next post explaining to you all why my photos always suck and are so “orange”. Not in honor of Halloween!!




Comments & Reviews
Sharon says
These are so cute! So colorful and I love the touch of sparkle. I’ll be sharing these, Che.
Cheryl Spangenberg says
Thanks Sharon!